Wednesday January 14, 2004
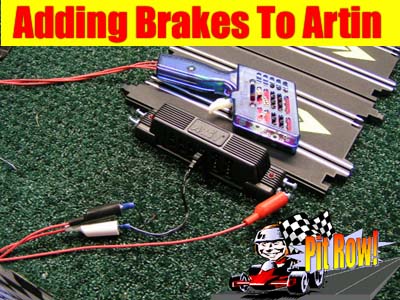
Artin Custom Power Base
 This
quick article is just to show how you can modify the Artin Power Base for brakes
and to keep it near original form.
This
quick article is just to show how you can modify the Artin Power Base for brakes
and to keep it near original form.
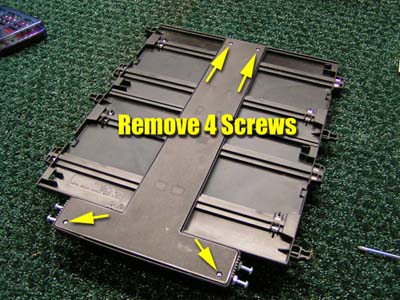
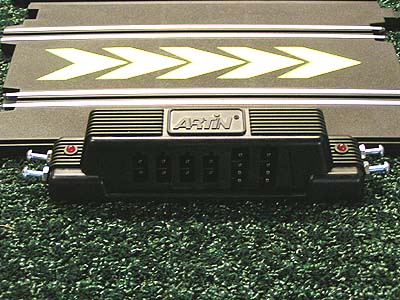
First there are 4 screws to remove the back panel of the power base. With it turned upside down you can easily see all the wire connections you will be working with. Because of the way the Artin controller connections are wired, you will only need 1 brake wire attached for both lanes.
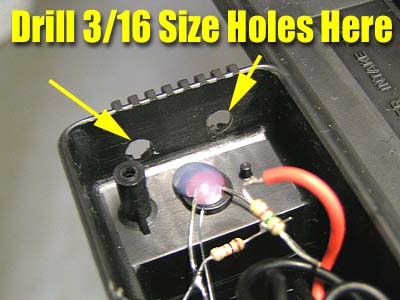
After removing the back panel, use a 3/16 size (or smaller if you want) drill bit and drill 2 holes on the sides of the power base as shown. I chose this size because I felt it was ideal for the alligator clips used on both the Parma and Professor Motor controllers. For this article I am using the Professor Motor #2055 standard controller.
You don't need very heave wire for this modification. After trimming the Artin controller plug from the old controller to use the existing plug, we used the left over wire for the brakes because it is large enough to work properly, yet small enough to fit inside under the track to allow the backing plate to be installed smoothly without any pinching of the wires.
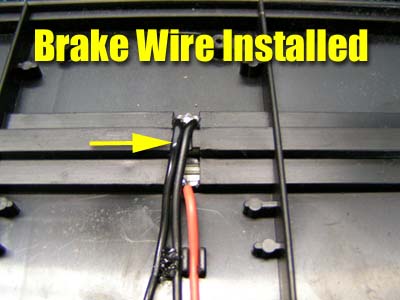
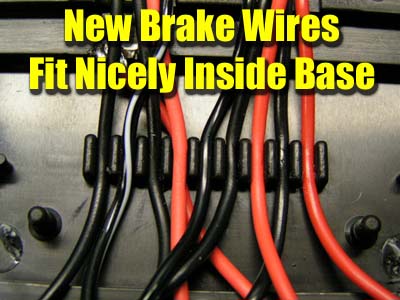
Using my method of installing power taps, I stripped the brake wire about 3 to 4 inches exposing the wire. Then I simply insert the wire into the negative side of the lane as shown. If you wanted to you could expose a little part of the wire and drop a small amount of solder here, but it is not required. Now take this wire and run it through the existing wire channels in the power base. Don't worry about being perfect here, it will all fit nicely in the end. As I fed the wire under the power base, I used super glue in spots to keep it sealed down in place.
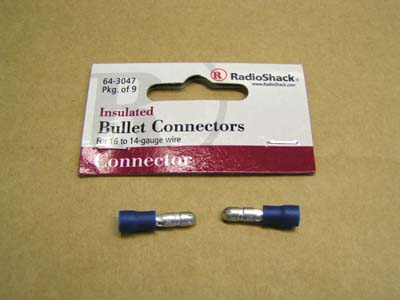
Now it is time to attach your wire to a electrical connector. I used simple eye connectors found in most hardware stores or Radio Shack. Here is where things get a little tricky, but hopefully the photos help tell most of the story. Make a small jumper wire about one to one and a half inches long. Take one end and twist it together with the existing brake wire you just installed. Then attach this wire to your eye connector and crimp it firmly.
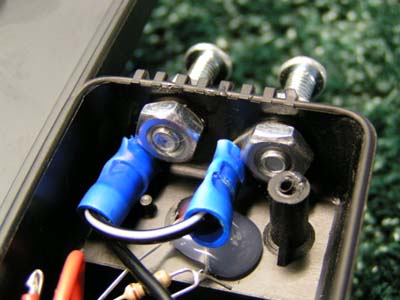

Now take the other shorter end and connect it to the eye connector. You are now ready to attach them to the bolts. I used the jam nut method as you can see to install the bolts. Once I had the distance I wanted, I installed the connectors to the bolts and then the backing nut. When finished, make sure it is nice and tight. A trick I have used is to take some super glue and coat each bolt and nut from the inside, this will keep this firmly in place for quite a while. You could also use hot glue here if you prefer.
You are almost completed. Now trim off the 2 posts on the backing plate of the power base, the backing plate will now fit nice and flush as it did originally. Install the 4 screws and you are completed.
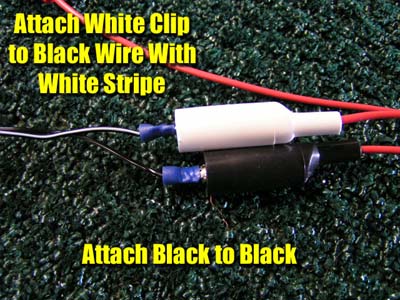
For the controllers I wanted to use the original plugs just as I did on my PARMA upgrade. I also wanted to make it versatile for others who might visit my track, so I chose to use barrel connectors so that alligator clips could easily be used. Cut the original controller wire to your desired length and attach the barrel connectors as shown.
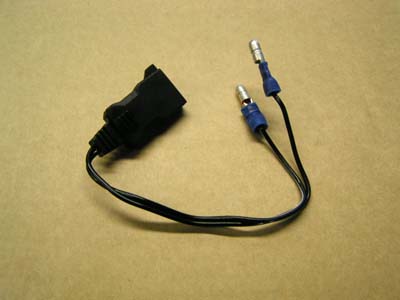
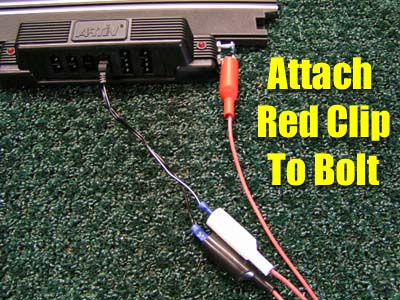
Yes, you could use color coded barrel connectors but the original Artin controller wire is pretty clear with the white striped wire going to white and the black wire going to black as shown. Now plug this into your power base, attach the alligator clips with the red clip to one of the bolts and you are ready to race. The bolts for the brakes give you plenty of distance between them for safe connections.
*NOTE* For a 2 LANE POWER BASE that does not have a white-striped wire, the BLACK WIRE from your new controller goes on the TOP Controller (or top post at the power base) lead and the WHITE goes on the BOTTOM lead. You will know if you have hooked it up wrong IF when you plug in the controller the red light is OFF, and only comes on when you apply power. If this happens you will also notice you do not have brakes. If this happens, just switch the leads and the red light will come on and braking will function normally.
If you have not guessed it by now, I like this power base. It has decent wire for durability and I find it very easy to do conversions like this. From the time I started to the time I was racing was around 45 minutes. Using this conversion along with adding a good power supply as we have already covered will give you simply one of the best quality home tracks you could ask for in my opinion.
High quality control (Professor Motor is top of the line in my eyes), clean and abundant power that is better for your model collection, and brakes for the best performance.
- Harry
If you any questions, or need further help in this modification please feel free to contact me. Our goal is to help you get the most out of your hobby so by all means let us know.
![]()