Friday February 22, 2008
Friday February 22, 2008
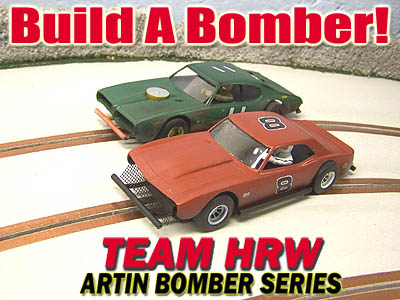
Part One - Body Prep
Although we have a great selection of read to run models in our hobby, there are some series of cars that are not produced and most likely never will be. The solution? Build them yourself. One of my favorite forms of racing is good old Saturday Night Stock Car Racing but in order to enjoy them, we have to create them. Over the last few years we have settled on a standard here at HRW so I thought we would share with you just how we bring one to life.
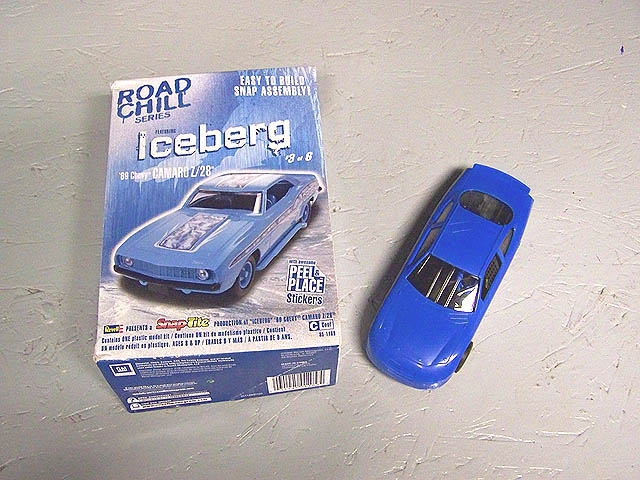
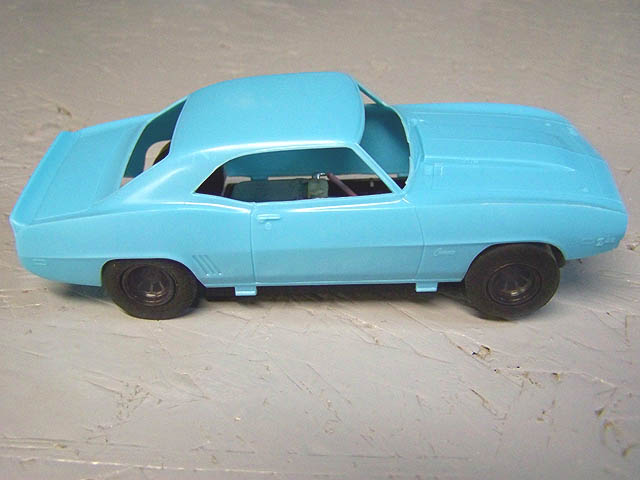
We like to use several different bodies for these conversions such as RMS Resins and BOSS Bodies. But the most popular choice has been the Revell 1/32nd scale SnapTite kits. These kits have been out for quite some time although under different series names. For this project it is one of the "Road Chill" series of the Chevrolet Camaro.
We also need a chassis to build upon and our standard has been the Artin Stocker chassis. This chassis is one of the easiest to modify and can be tuned to pretty much any taste. Since we like our models to be close, we keep all of ours stock. This means the motor, gears, axles, wheels & tires are all kept stock Artin. The only real modifications we perform is to the chassis. We do this to fit what particular body we are wanting to use and also to trim some areas to utilize our "nerf bars".
Now that we have our kit and Artin Stocker, let us get started.
Tools & Equipment
You are going to need some tools to make scratch-building easier. Here is a quick list to get you started:
Dremel or other brand moto-tool with assorted attachments
Sandpaper (Medium to fine grit)
Hot glue gun with glue
Testors Brand Model Glue
Exacto or other brand hobby knife
Small cross-tip screwdriver
Assorted Evergreen or Plastruct brand tubing (Part#'s given in article)
Deck of playing cards (Yes, seriously) *Optional
Screen door mesh (assorted brands) *Optional
Your choice of paint & decals
First, open your kit and remove the body. For our builds here the body is all we use from this kit. Don't throw the rest away however as you never know when you will want these other parts. We keep ours in a large box for just these occasions.
Now using your cross-tip screwdriver, remove the 3 screws that mount the Artin body to the chassis. Make or find a small parts bin for these screws and save them as they might come in handy with other projects. We do not use the screws with our body mount process.
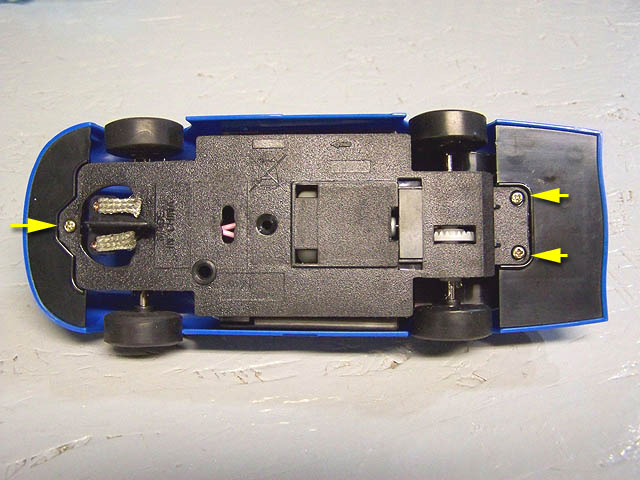
Time to set the body on the chassis and have a look. The Artin chassis in stock form is set right at the wheelbase you want. It is not perfect, but we will be doing some sheet metal work on the body later which will make things fit nicely.
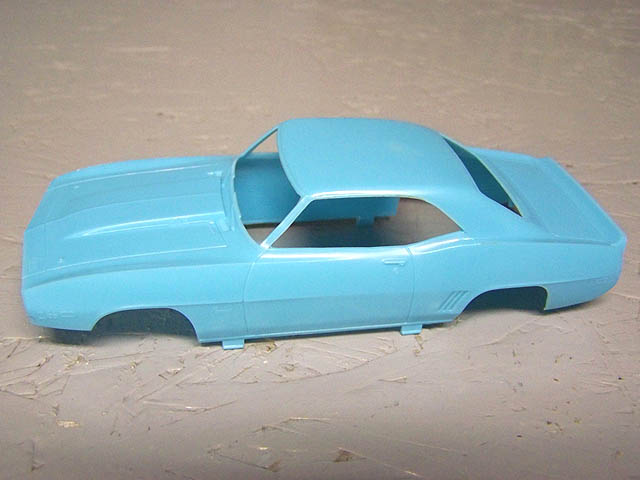
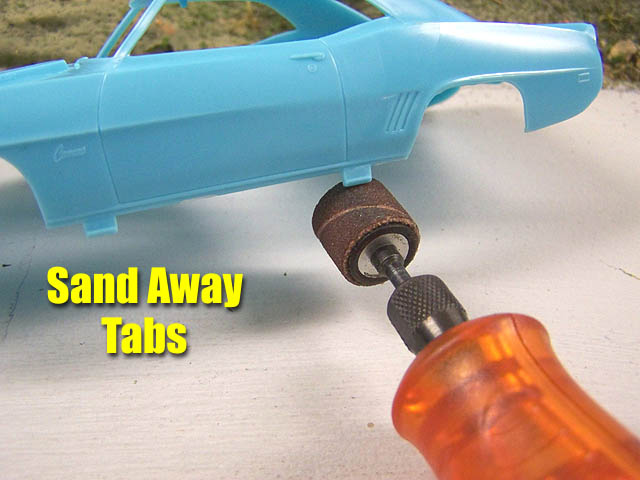
Returning to the body it is time to start cleaning her up. I start first with removing the tabs on the bottom kick panels. I use a sanding barrel attachment for this but you could use a hobby knife or even snip them off with side cutters. Since I will be using my Dremel for other work, I just start with that.
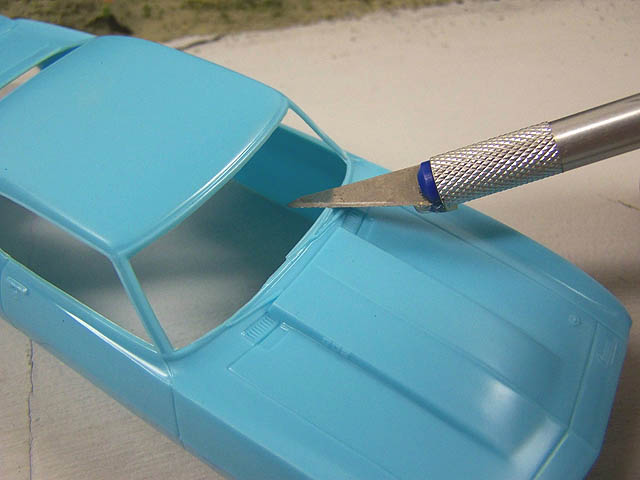
After these are cleaned off I move to the wipers. I use a hobby knife and trim them flush with the window.
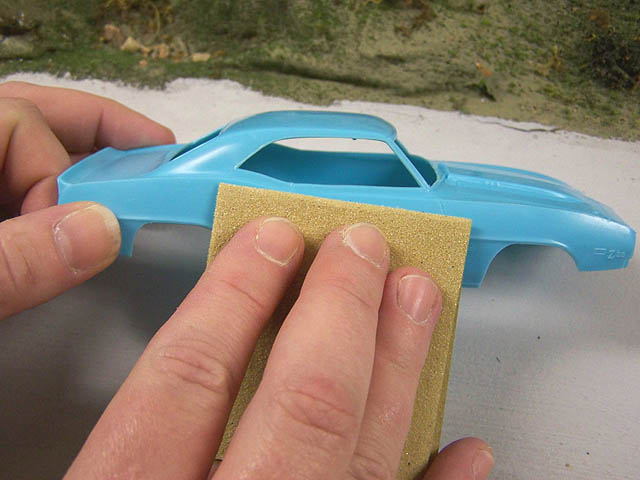
Once this is finished, it is time to sand the body to remove items such as the door handles, Camaro logos and marker light moldings. You do not have to go this far of course, you could leave all this in place and simply paint over them. I just like the look of the body better having these items removed. We use a medium to fine grit sandpaper for this task and it will leave behind some scratches. Unless you are wanting a showroom look to your model, don't worry about it. These scratches add a little character to your old bomber.
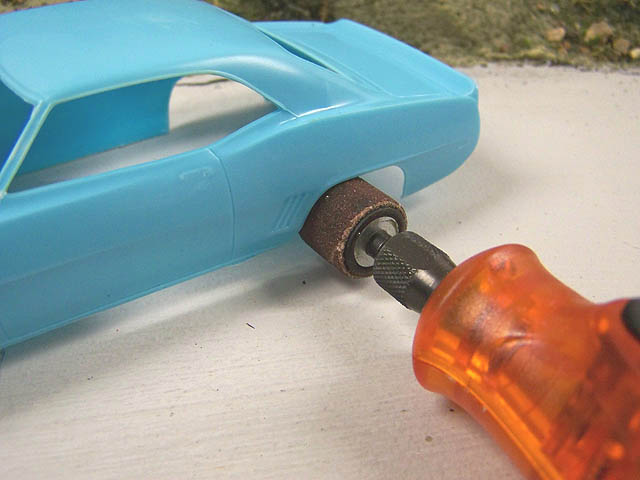
Now we have come my favorite part: wheel well sanding. Or as we like to call it: "wallering"! We use a sanding barrel attachment in our Dremel and begin to slowly enlarge the wheel wells to clear the tires.
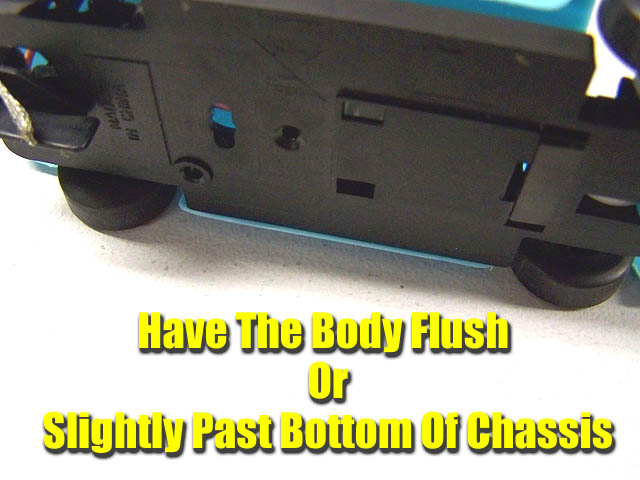
I use the bottom of the chassis as my guide. I will waller these out until the bottom of the body is flush or just slightly past the bottom of the chassis. Our body mount system we will show you later is the reason why. In any case, do not get to concerned trying to make them perfect. These are Saturday Night Bombers and most are usually far from perfect. In fact, imperfections on these cars increases the scale realism for me.

When one wallers, do so in stages. Sand a little and test fit the body. Sand more and repeat until you get the look you want. One of the best things about using these bodies is that if you go to far, or make a big mistake, no real tragedy.
These kits can be had for around $6.00 and sometimes even less. So even if you ruin it, your budget is still intact. Once you have it where you think it looks right, it is time to move one to the next step. There will be some flash molding left behind, but we will clean that up after our final test fit later.
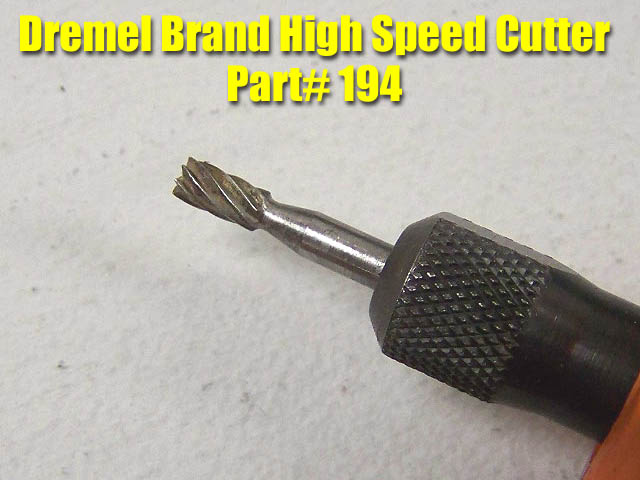
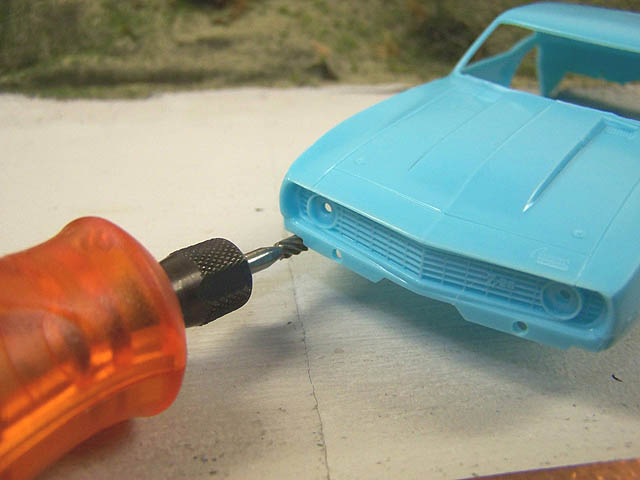
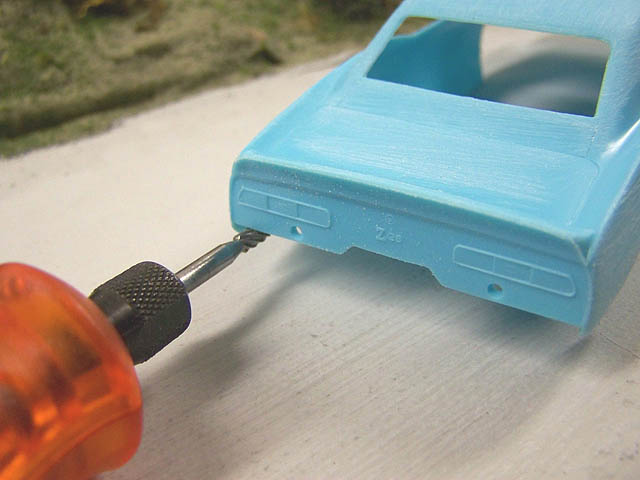
The next process is purely optional. I like to remove the entire front grill and rear tail light housing panel. You could leave these in place if you prefer, so again just build to suit your tastes. I like to use a high speed cutting tool for this task as it is small enough in diameter to get very close into the corners for a clean cut.
Once these are finished you can clean them up with some sandpaper. Again, nothing critical here.
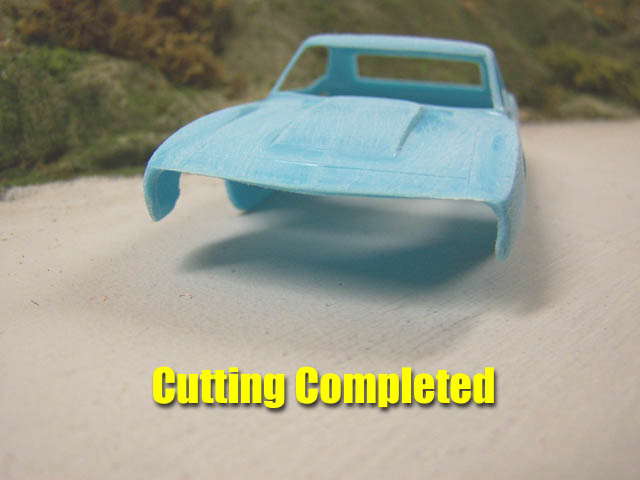
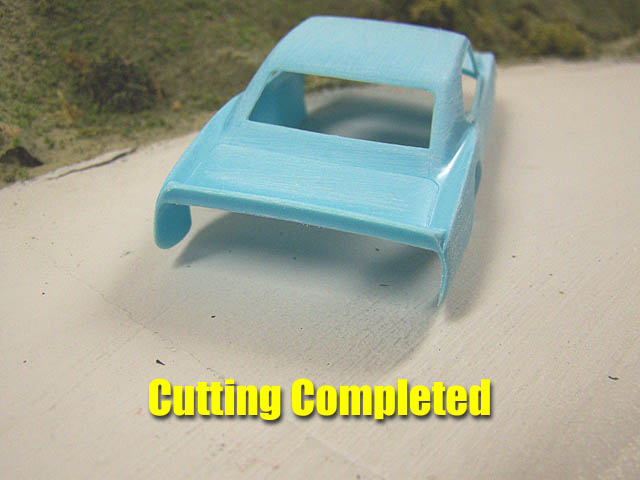
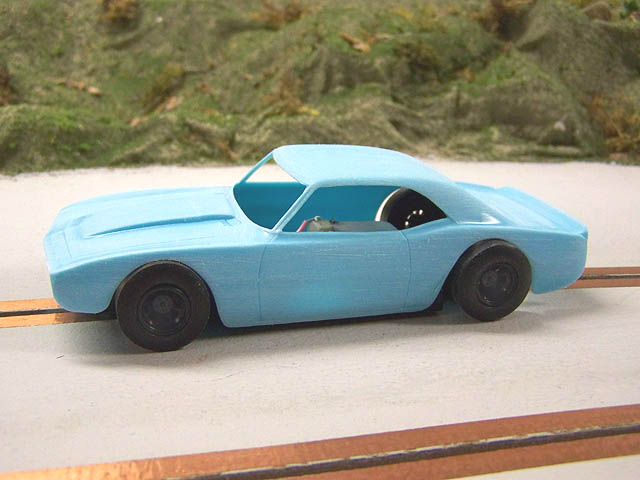
Your body is now basically completed except for some small modifications we have to make after the chassis work is completed. If you desire, you can now wet sand it with finer grit sandpaper to clean up the rough scratches if desired. For the car we are building, she looks just fine.
Starting to look like a old Bomber already isn't it?
It is time for some chassis work so let us click on over to Part Two!