
Building Bottomland Speedway
This track was built a few years ago for our good friends Nick and Donna (Mr. & Mrs. MOKID) in Poplar Bluff, MO
It was to be a surprise to Nick. Our plan was to build it as complete as possible and then for me deliver it and finish assembly before Nick got home.
It was a close one, but we pulled it off :)
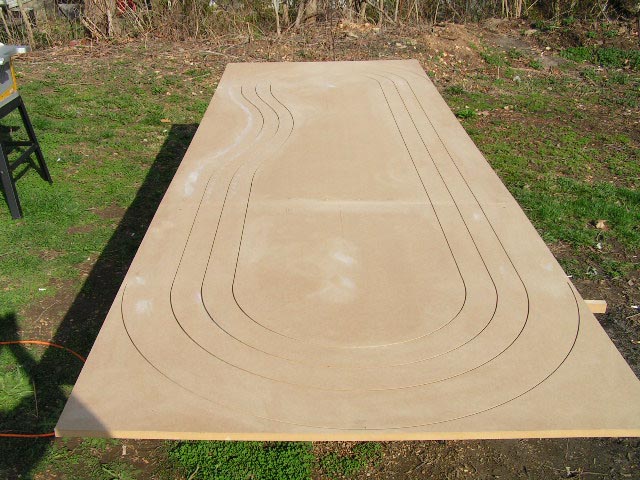
The track is 4 x 12 foot.
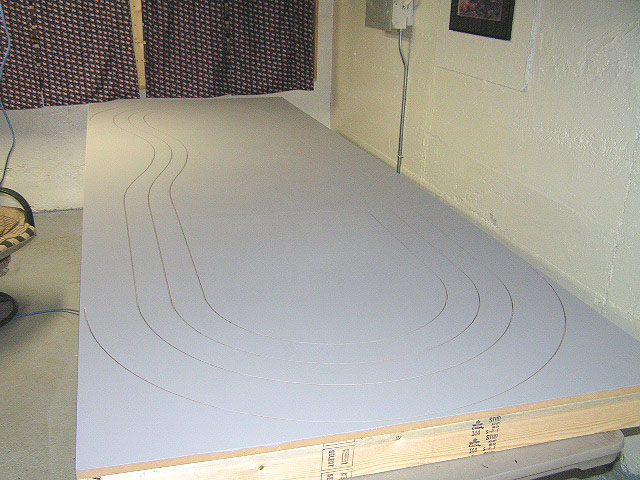
Here are some photos of the track being built. Not much, but you have start somewhere!
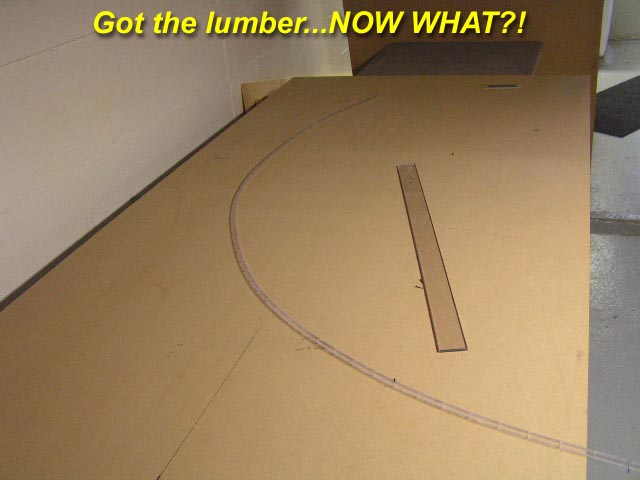

The new router seems to be working. The outside lane is for the wall.
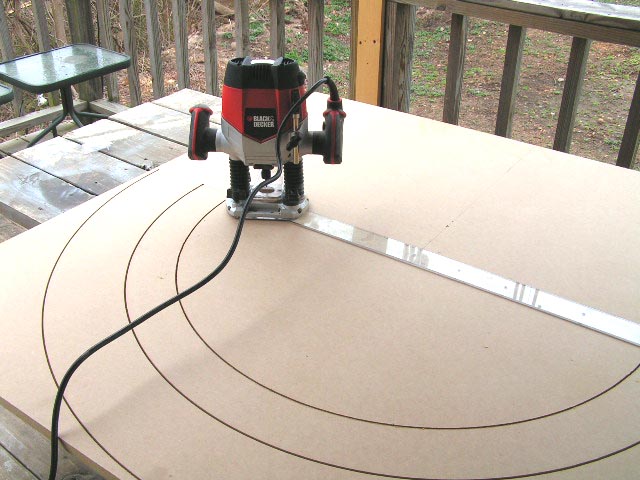
The 3rd lane getting ready to go in.
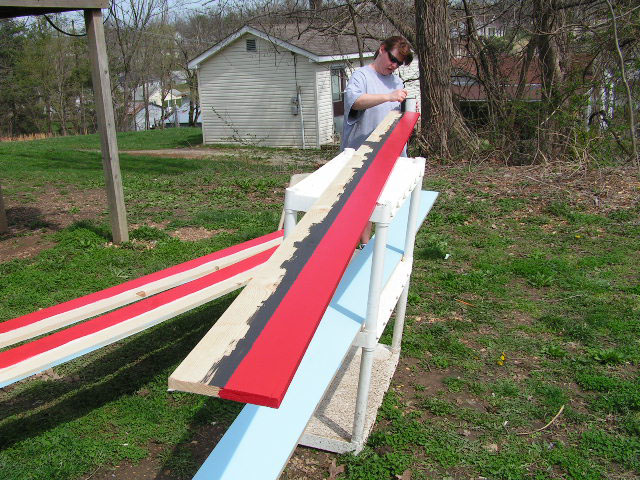
This lexan strip worked perfect for a radius guide. It is 2 inches by 3 foot, 1/8 thick. Any auto glass shop carries it and will cut it to your specs.
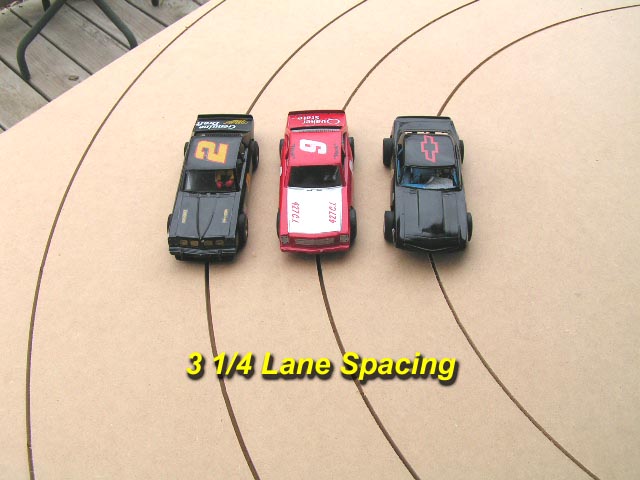
3 1/4 lane spacing was chosen. This allowed plenty of room for 1/32nd scale models and even for 1/24th scale Saturday Night Stockers.
For the 1/24th scale cars, it really gives close racing action which is what is desired. Plenty of fender banging!
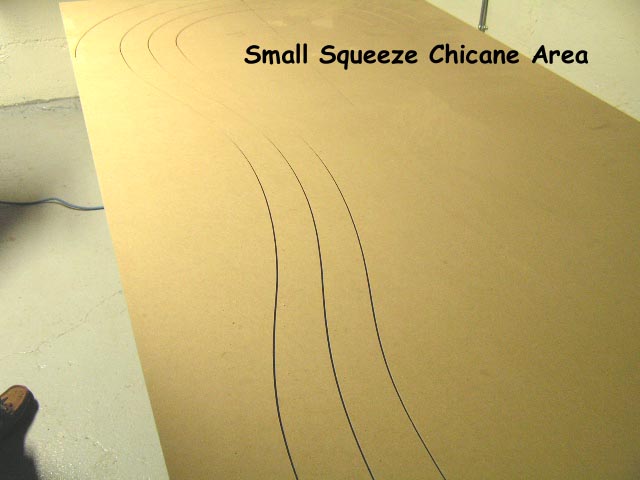
This section was included to add a little more to the action. The lanes are narrowed slightly to give a gentle chicane.

1/32nd scale cars can still make it through, but at speed things will get dicey. 1/24th scale cars will certainly have to check up here!
This is why this distance was chosen. The lanes were just measured by the old "eyeball method" and it looks to work fine.
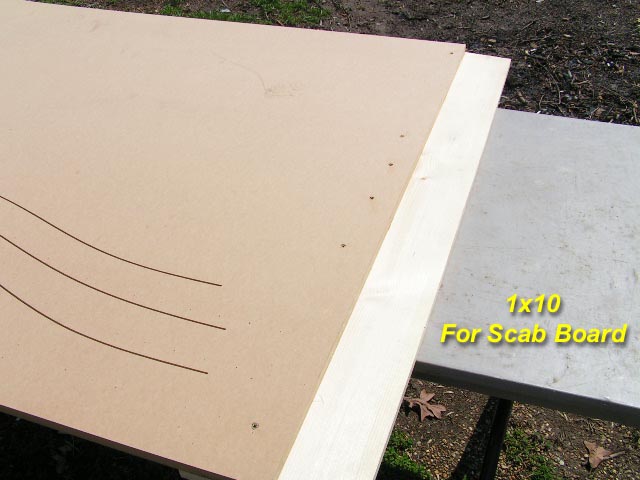
Getting ready to join the 2 sections and route the straights. Using a 1x10 section of pine will work nicely as a "scab" board to join the 2 firmly.
I coated the surface with Gorilla Glue then place the board where it was flush.
I then coated each screw with a light drop of Elmer's wood glue and drove them in to proper countersink depth.
I also ran screws from the underneath to make sure we had a strong joint.
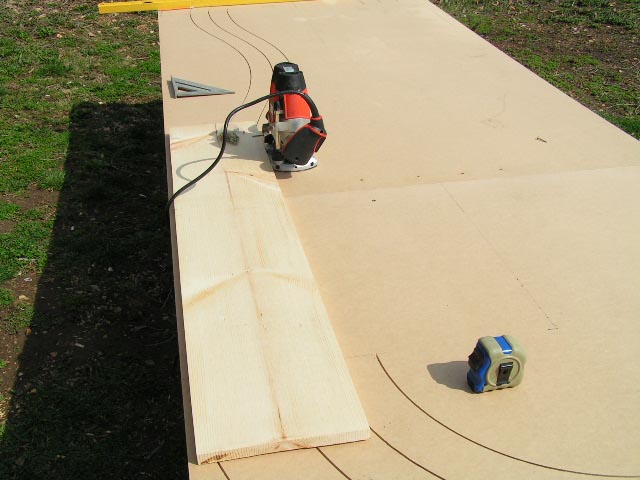
For the straights I used another 1x10 as a guide.
I installed the router in the previous slot on each and to make sure it was flush. Then attached the board with screws.

Here is the last lane. As you can see, using a board like this for a guide makes some pretty decent straights.
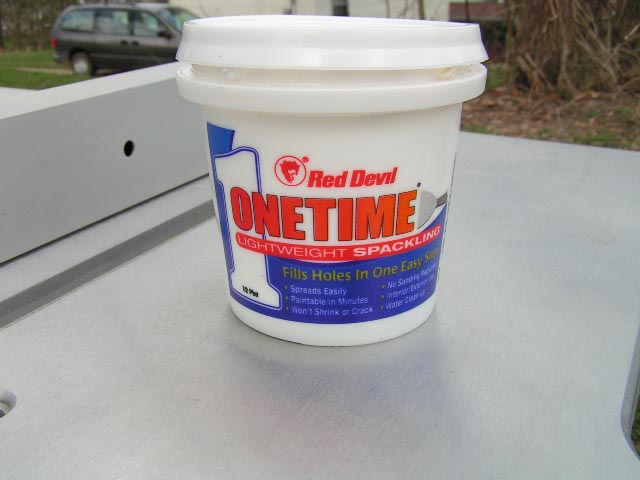
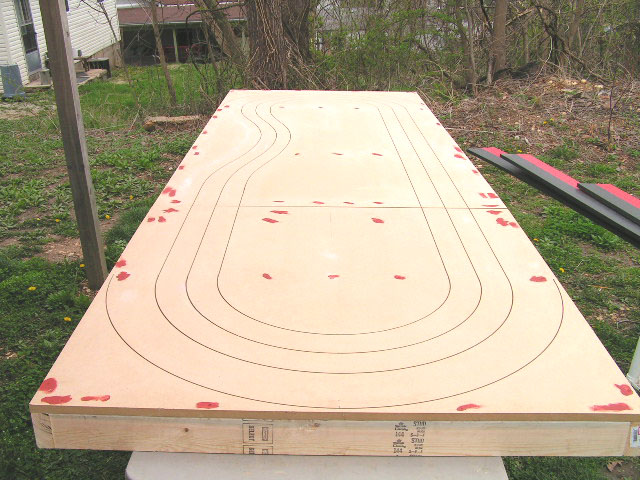
Time to clean up the small holes around the track. I used a common spackle found most anywhere, it works perfect.
Here it is after it all has been sanded. I sanded the entire track to make it as smooth as possible.
I will still have to do this again after the framing is complete, but since it was here I did what I could to save some time later on.
While I was working on the frame, General MyWay begins painting the side frames.
We have a specific theme for this track which you might guess. You will see soon:)
This part did take a good part of an afternoon, but it was worth it.
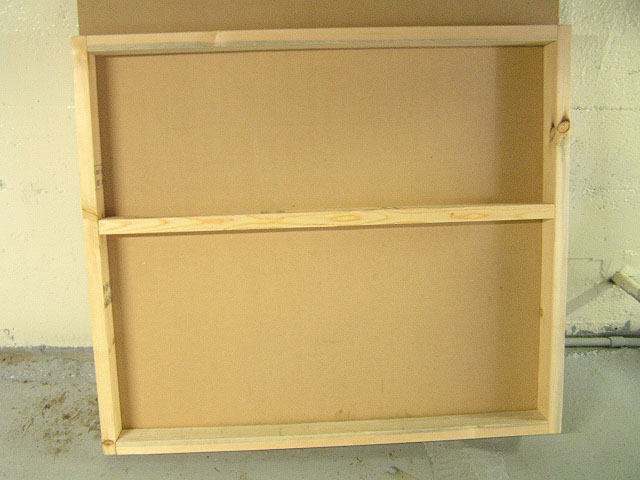
Framing undersides complete. Simple 2 x 4 construction using Gorilla Glue and screws makes a strong platform.
The final prep of the surface. I went ahead and used some spot putty for the final screw hole clean up.
Spackle would have worked just as easy, but since I was outside and dust was not an issue, I went with the putty.
Finally we get the paint completed after sanding and cleaning the top.
Used inexpensive flat latex paint found in Wal-Mart. In fact, poor Nick got leftovers as this is what I had left after our oval.