Sunday March 28, 2004
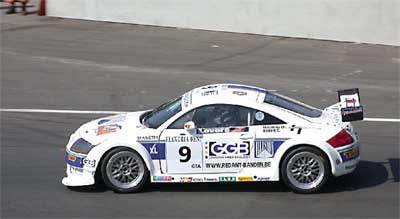
Ninco Audi TT-R
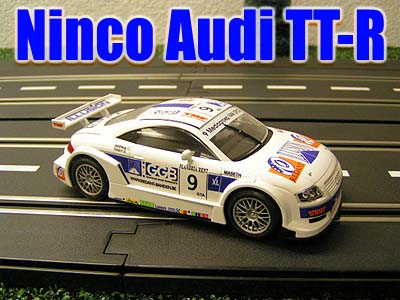 Some models get released that simply seem to fade away without much interest
by the enthusiast and this model by Ninco might fall into this category.
Although technically not a new release, this is a new livery and I felt this
model deserved more attention this time around. Arriving safe and sound from our
new Ninco friends at MRC, it was time to give it a quick look.
Some models get released that simply seem to fade away without much interest
by the enthusiast and this model by Ninco might fall into this category.
Although technically not a new release, this is a new livery and I felt this
model deserved more attention this time around. Arriving safe and sound from our
new Ninco friends at MRC, it was time to give it a quick look.
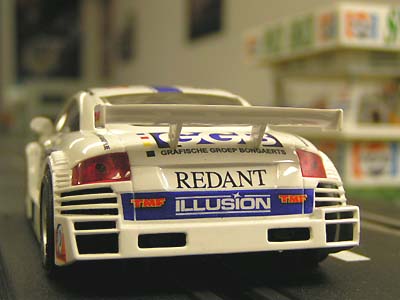
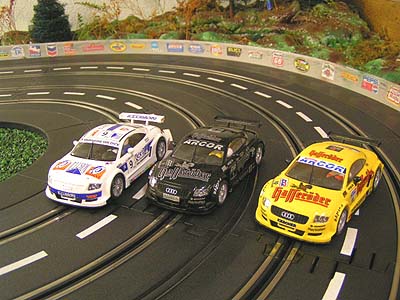
In my opinion Ninco is one company that can sometimes provide us with a great balance of scale detail and operational performance and such is the case with our little Audi. Tampo-stampings and overall fit and finish were are good as you can expect in our hobby with a durable, dirt free clear coat sealing it all in place nicely.
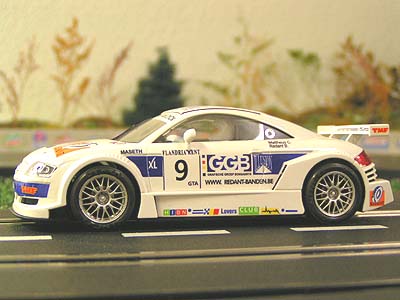
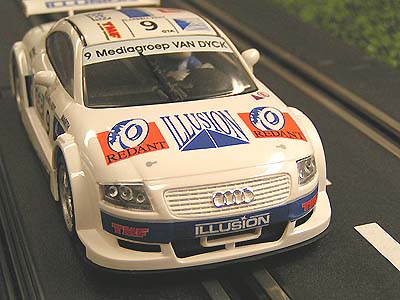
According to the prototype photos I could find, Ninco has done well in matching the 1:1 counterpart in our scale. There are a few issues such as the front grill openings that seem to change from race to race, but not nearly anything that would stop me from enjoying this model on the track.
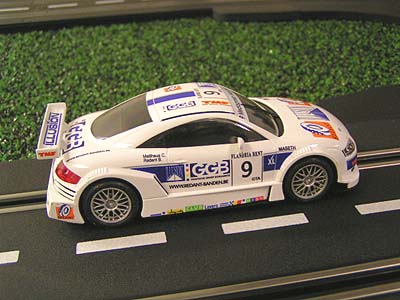
The interior is of a half-tray type design and accomplishes the mission of adding scale realism without an over-abundance of tedious parts under the hood. This is what I mean by balance. This light interior also gives you more room to work with when trying to tune this model for different tracks and/or non-magnet racing.
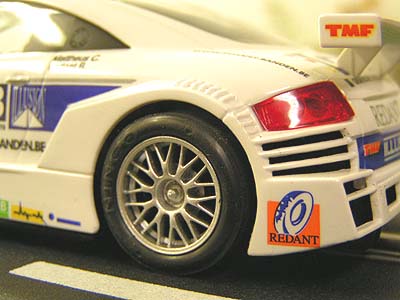
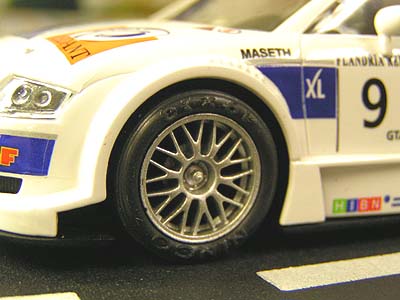
Wheels and tires are all standard Ninco fare and on our sample were nicely round and true requiring minimal sanding. One thing about some Ninco models is the front axle seems to have an excess of horizontal and vertical free-play that for some track situations and personal taste needs to be addressed. My procedure isn't perfect, nor the best way of doing it...but the results I get make for a better performing slot car and we will get to that in a second.
However, before we start modifying anything it was time for our OOB (Out Of Box) test. From the case to the track with only slight braid adjustment, this model ran nicely and functioned as intended. Even without the tires sanded, control and smoothness was at a high level. Our little model could stay just the way it is and many hours of fun could be had with it. However, the small amount of changes I wanted to make would make it even better so let us get started.
First we turn over the model and notice that 3 screws secure the body to the chassis. Once removed we can see the inner workings of the model such as the new Ninco NC-5 Speeder motor rated at 20,000 rpms at 14.8 volts sitting in the inline position equipped with a 9 tooth brass pinion turning a 27 tooth crown gear.

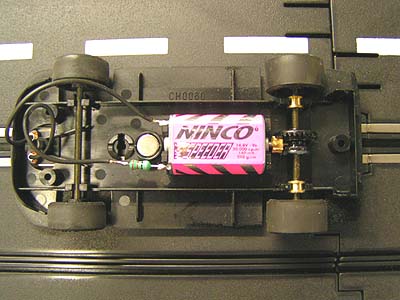
Brass bushings are found seated snugly in the chassis holding the rear axle in place. Although I didn't notice any movement by them during testing, I still added a drop of clear silicone adhesive over these bushings to make sure they do not begin to spin under harder racing conditions. While you are here, make sure you add a drop of your favorite lubricant around these bushings and on the pinion end of the motor.
In front of the motor we see the Ninco standard button magnet that for most of us is more than enough magnet to enjoy this car. There are areas where you could add more magnet but for me this is perfect. Regardless of the long, ongoing argument between magnet and non-magnet racers, there are some of us that enjoy a LIGHT magnet car as well. This magnet simply helps keep the car pinned down, yet it forces you to still DRIVE the model and leaves it with an excellent window of correction in case of a spin.
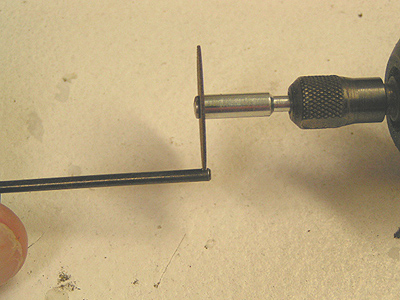
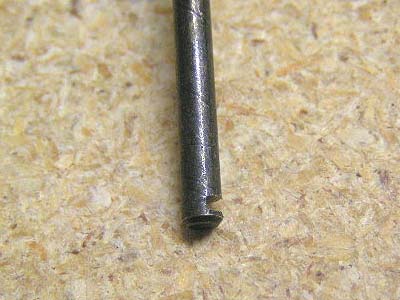
Up front we see the spring loaded guide and the front axle assembly. Here is where I do a couple adjustments to make this car even better for my tastes. After twisting and removing one of the front wheels, I remove the axle from the chassis. Then I get my Dremel Moto-Tool and attach the standard cut-off disc and shave the end of the axle slightly. This model needed only about the thickness of the cut-off disc itself to get it near perfect and remove the excess side to side free-play.
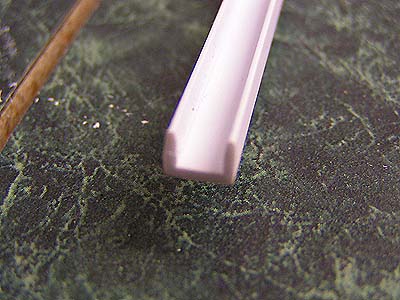
Next it was time to remove the free-play in the axle going vertical. I usually use Plastruct tubing for this procedure, but guess what? I was all out of it! This ever happen to you? Luckily I had some other Plastruct styrene around and not only did it work...it was better than I thought and accidentally found a new way of doing it that I like better. I used the same Plastruct 1/4 inch by 6.4mm (Part# 90585) that I used to fill the gaps in my Artin 4 lane layout.
![]()
I cut 2 small pieces and installed them as shown in the photo. The best part is that you notice there are 2 small ribs that are there originally to help reduce the free-play. Well, this Plastruct just snapped in place snugly on each side and it didn't require any adhesive. Not only that but it is virtually at the perfect height and eliminated near 100 percent of all the free-play. Was I happy?...you bet!
It was time to hit the track. With the new Speeder motor it does have plenty of punch out of the corners and acceleration and braking are both crisp, yet match our little car nicely. If you have older versions of the Audi equipped with the NC-2 you have a choice between downgrading the new Audi, or upgrading the old. Depending on your performance tastes will dictate the route you choose.
I really liked this car just the way it came with only these small front end adjustments but I wanted to try it without the magnet. So out it came and back to the track we went. With no weight added this model can be a handful to say the least, sliding everywhere I took it. It was still fun but it needed some weight to suite my tastes.

The great thing about the interior Ninco chooses is that you have plenty of room to work with. I added 1/4oz of lead tabs on each side of the motor and one 1/4oz tab up front. Stock chassis weight BEFORE adding lead and with magnet installed: 2.2oz. Chassis weight after magnet removal and lead added: 2.9 The first lap of testing told me this is what I wanted. With clean and sanded tires this model was simply a breeze to pilot through the turns. I set up a small road course on the floor and spent a good 2 hours floating it in and out of the chicanes and tight turns we created.
 Bottom line? This model is ideal for just about any
enthusiast in our hobby. It can be tuned to virtually suit any driving taste
quickly and easily. Some of you might not be fans of these models, but if you
simply enjoy a smooth slot car with power to spare, you owe it to yourself to
take a closer look at these little machines. I am glad Ninco decided to bring us
more in this DTM series and look forward to adding even more to my collection.
Bottom line? This model is ideal for just about any
enthusiast in our hobby. It can be tuned to virtually suit any driving taste
quickly and easily. Some of you might not be fans of these models, but if you
simply enjoy a smooth slot car with power to spare, you owe it to yourself to
take a closer look at these little machines. I am glad Ninco decided to bring us
more in this DTM series and look forward to adding even more to my collection.
- Harry
As always feel free to contact me about this article or just the hobby in general at harry@homeracingworld.com, or better yet drop into our Message Forum and share your thoughts with other enthusiasts!
Thanks go to MRC for providing us with this model.