08/24/2010
 Summer time! Here in south-western Ohio this summer has been a terribly hot and dry summer and with the heat I've been searching for about any excuse I can find to spend more time in my cool air-conditioned basement. (Like I need any more excuses!- Ha!) Well as luck would have it I got in a conversation with Bob of Model Rectifier Corporation about some of the upcoming NINCO models and it occured to Bob that no one has really been given the chance to get their hands on a review sample of NINCO's new XLOT product line. Needless to say I couldn't walk away from such an opportunity and I agreed to give one of the XLOTs a total shakedown and would report my findings. Over the next few pages, yes I said pages, I'm going to give you a detailed look at the XLOT Porsche 997 and highlight as many of its features as I can... and there are many.  The case: first let me say that WOW this case is big. Granted the car is 1/28 scale but you could fit two of these, possibly three if turned the right way inside this clear plastic case. At first I couldn't quite figure out how to open it, there were no latches and unlike a more typical case the clear lid was not attached to a black plastic base although the trick to prying one of these open does come down to black plastic. 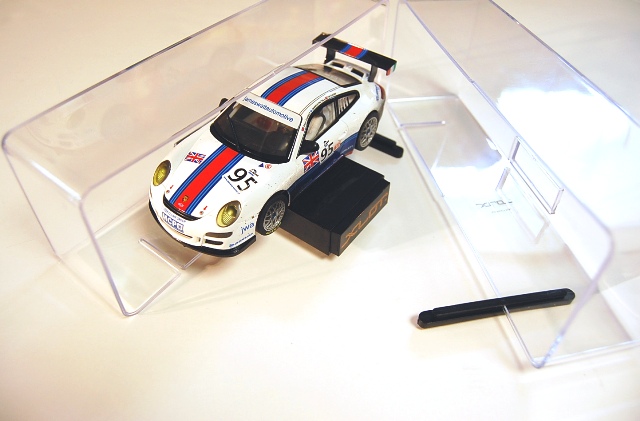 There are thin plastic 'slides', for lack of a better word, that slide in to groves cut in the bottom sections of the XLOTs clear lids. Oh... remember to also cut through, or peel off, the XLOT warranty stickers on the ends of the case as well. Once the stickers are removed the two parts of the case slide away from each other and open to two equal parts with the car ending up secured to a black plastic 'bar' as seen in the image above. 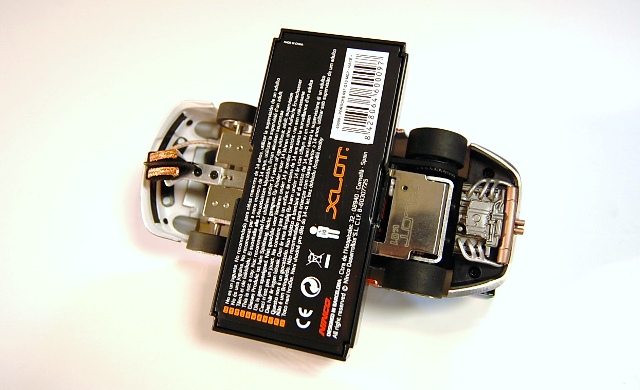 This 'bar' serves to not only provide a legal disclaimer, in eleven languages no less, but it also doubles as; 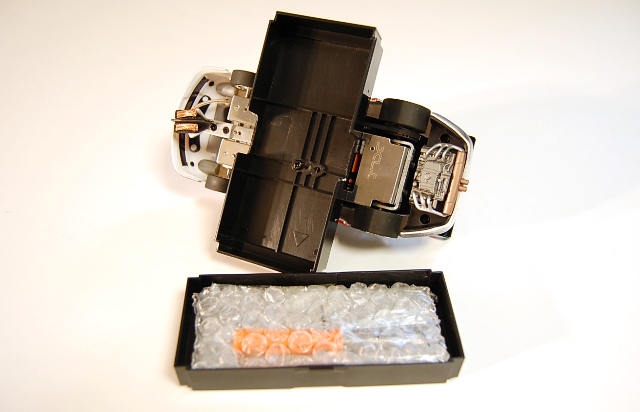 A tool box! You have to separate the top from the bottom in order to unsecure the car from this black case and upon opening it I found several tools wrapped in bubble wrap! It's like a present inside of a present. 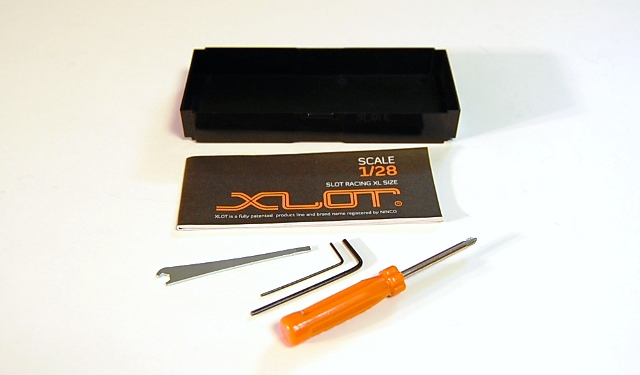 Inside this case within the case you'll fine the NINCO XLOT 'instructions', I got a smile reading line on the instructions that reads 'Racing in XL size', and per the instructions the included list of parts contents consists of: Car Allen key (0,9mm) Allen key (1,5mm) Multi wrench Phillips screwdriver (which you can use to unscrew the car from the tool case lid) 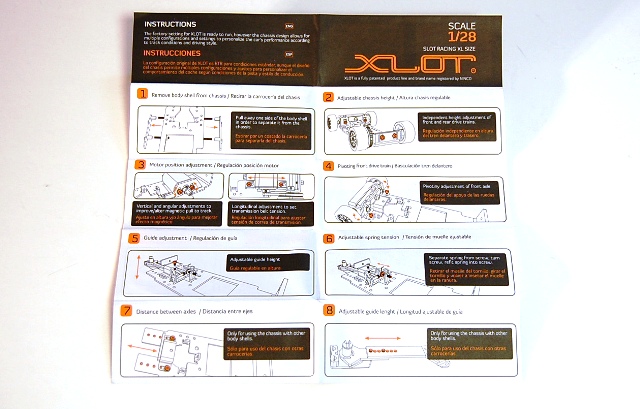 The instructions is a handy little fold out piece of paper, printed on both sides, that contains everything you need to know about your new XLOT car. One side details all of the features and adjustments of the XLOT while the other side contains information on... 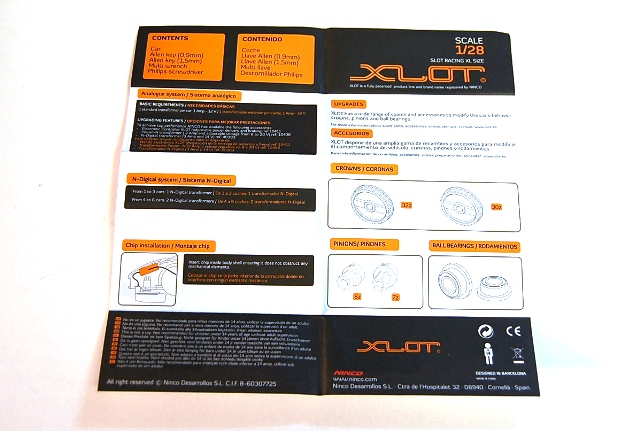 The contents, basic requirements (shown to be a standard transformer/1 Amp -12v), information on the XLOT Electronic controller, digital information, upgrades and spare parts.  On to the instructions and Step #1 is perhaps the most important... removing the body shell from the chassis. This is surprisingly a very simple matter as the car uses no screws to secure the body to the chassis, sort of. 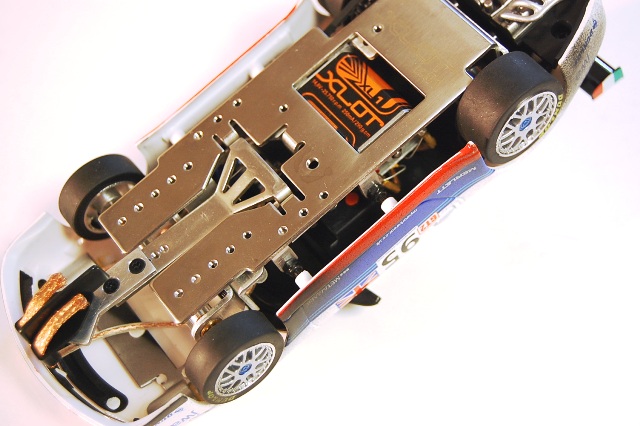 On both sides of the chassis there are little metal brackets that hold small black adjustable bolts which the body brackets slide over. 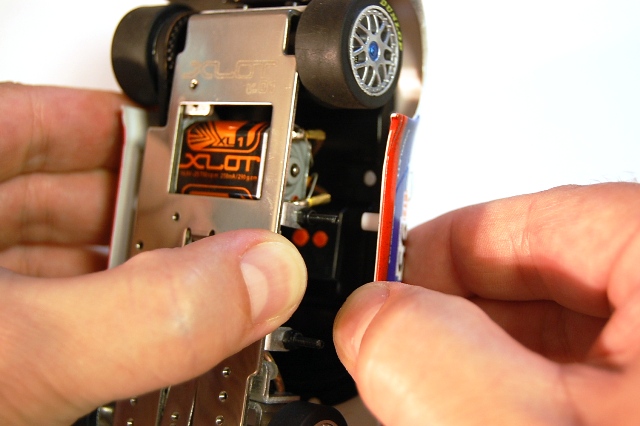  To remove the body you simply need to spread the side of the body away from the chassis. This method of securing the body is not new to me as I've been using a similar body attaching method on several of my larger 1/24 projects and I like this method of holding a body on just fine. It certainly makes for quick access to the chassis underneath. 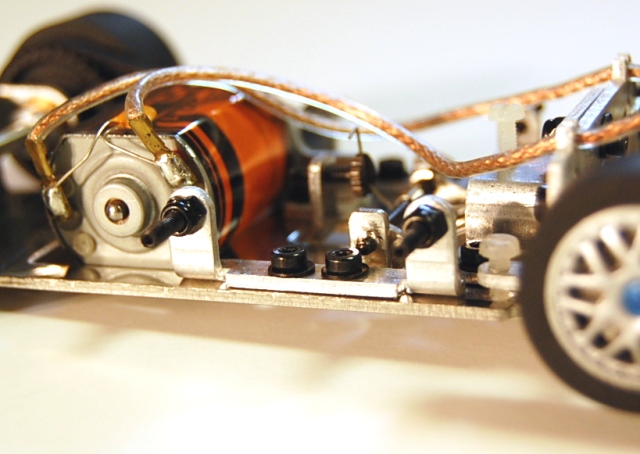 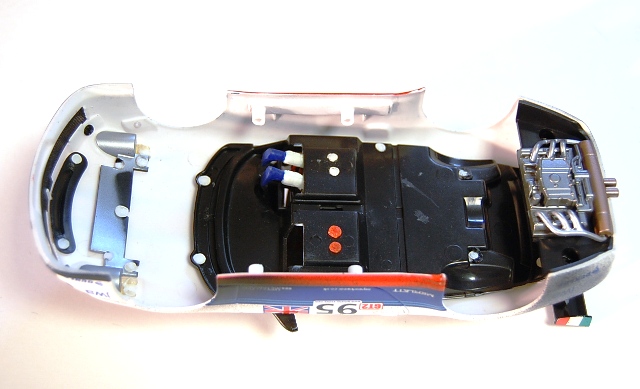 Body now removed we can see, from the underside, NINCO's use of a familiar shallow pan-style interior. The shallow interior is still deep enough to allow for a full drivers figure while leaving lots of room inside the body to clear all the parts and pieces of the chassis. 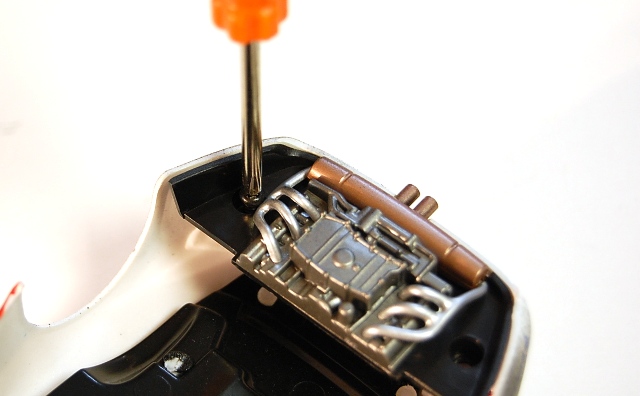 The screwdriver, used to take the car out of the case, can also be used to remove the rear engine detail that is secured with screws to the body shell. You do not need to do this to take off, or put on the body, but you can remove it if for some reason you'd like to.  Inside the nose of the body the vent work is backed with a thin black screen and the piece that hold the headlamp buckets doesn't contain any openings to add lights but it looks easy enough to modify if feel creative. 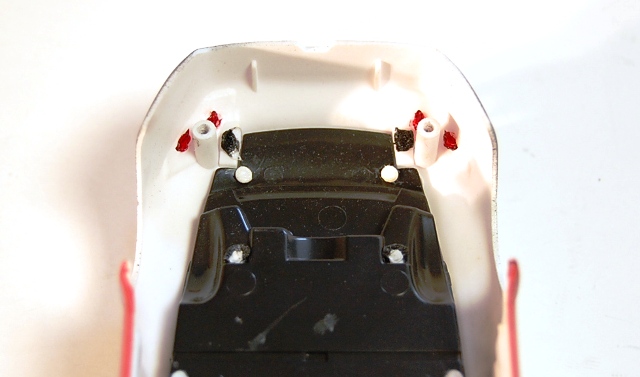 Not a whole lot to see in the back of the body although I'd like to point out that the spoiler heat welds seemed surprisingly small to me considering the size of the wing itself. Time will tell just how well secured this wing stays.  With the basic 'functionality' of the body covered its time for us to turn our attention to the most interesting part of the XLOT car; the metal, and highly adjustable chassis. For the first time racer this might look a little intimidating so we'll break down each of these features on the following pages. For now though you can soak in many of the screws and parts of the XLOT chassis.  Thanks Go To MRC For Sponsoring This Review!
|