
05/23/2011
05/23/2011
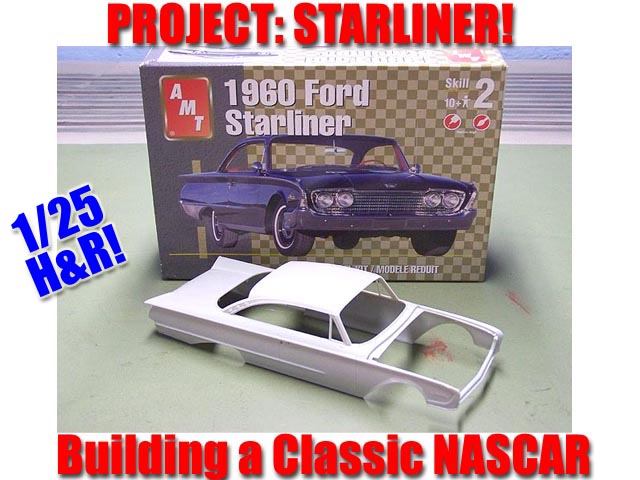
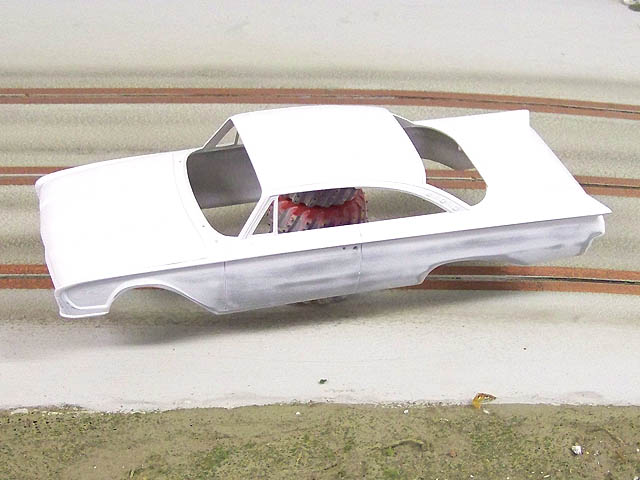
So here we are with another classic NASCAR project. These big old
cars just get to me. When you think about it, these are some of the wildest
examples of stock cars ever raced. These cars such as the Mercury Marauder,
Impala, Galaxie...etc were NEVER made to be treated like the good old boys did.
The Starliner fits right in. One of Ford's luxury offerings that certainly the
designers never dreamed would be a race car. But race them they did. Right along
side other 4 wheeled barges complete with chrome and fins.
Ok, so we know they raced them and I could easily use any of these for this model. But I ain't gonna! So...if you are expecting a true scale slot car transformation, you have tuned into the wrong channel. This model is going to be a purely fictional effort. One that (I hope) will look the part and will look "right" racing next to my other models.
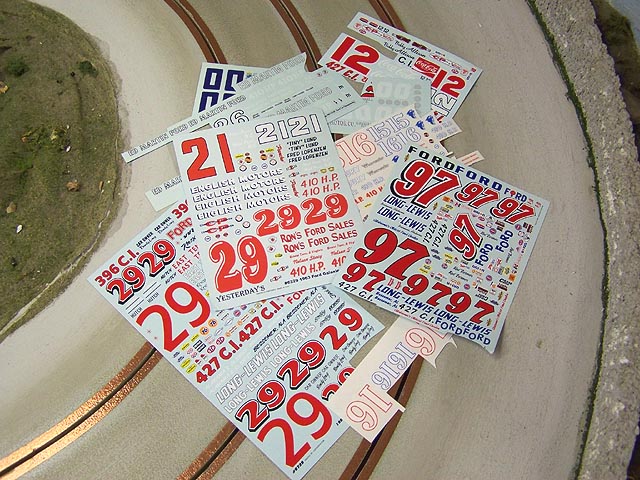
I have a slew of older decals. Some never used,
some partials from other projects. These have been tucked away in my decal
binder for too long. Sure, I was going to use them someday...well...someday is
here. I think we can come up with something out of this mess.
The kit itself is a nice one. First, it is 1/25. That is the scale I like best.
And since my other 60's NASCARS are this scale it pretty much had to be in order
to look right.
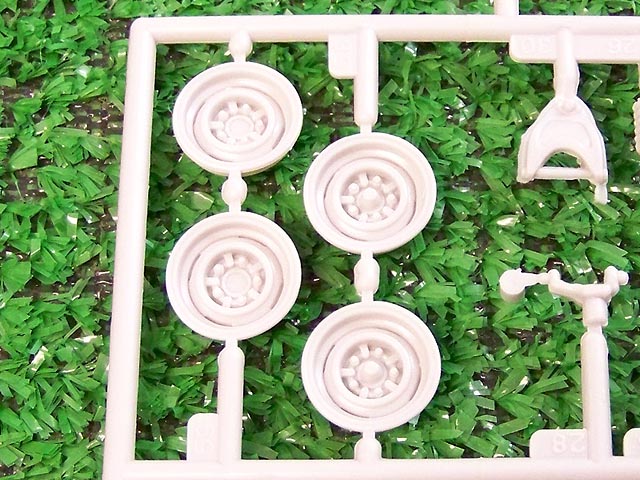
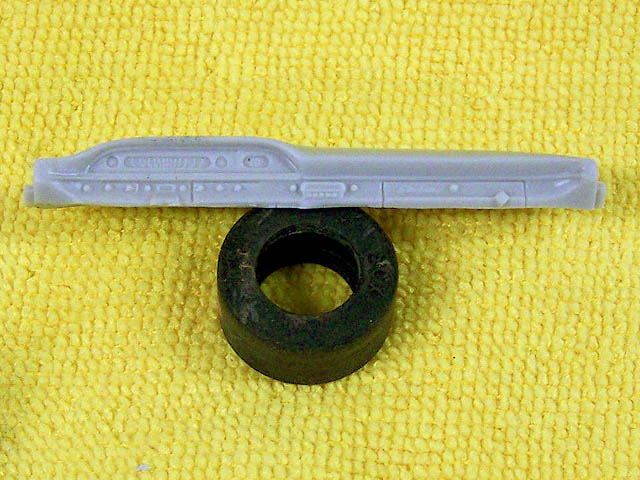
Another major plus with this kit is the stock steel wheels I will use for
inserts. Yes, you can get these from various vendors now, but it is nice to have
them included.

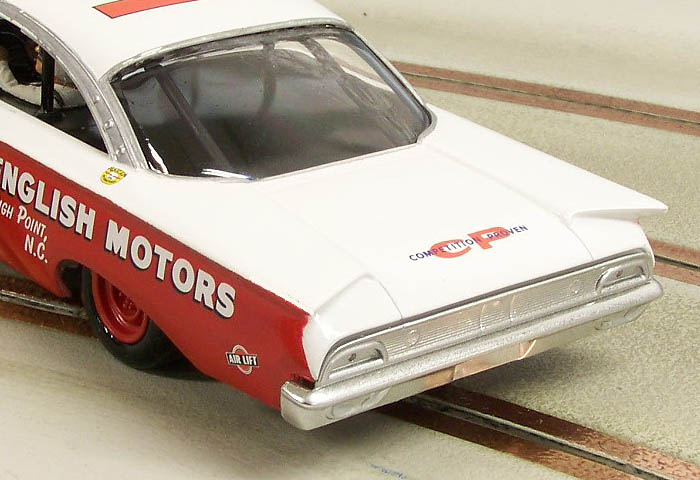
And although this is a fictional build in paint scheme, won't mean I will not try to build it like it should be. On 1:1 examples The bottom chrome trim was sometimes left in place. But on quite a few it was all removed. I wanted it gone! So my first task was sanding all this side trim off. This takes awhile but I have nice and smooth.
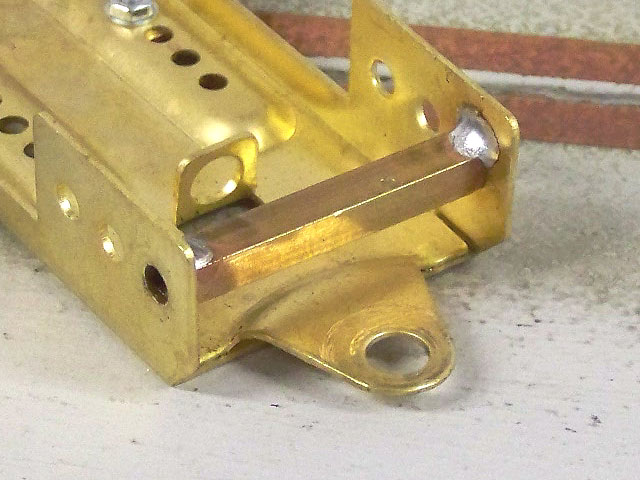
While the body is in primer let us work on our H&R chassis. I strictly use only this chassis for good reasons. It is very easy to adjust the wheelbase, you can get very close to scale with the wheels using different sizes and compounds, and it is affordable.
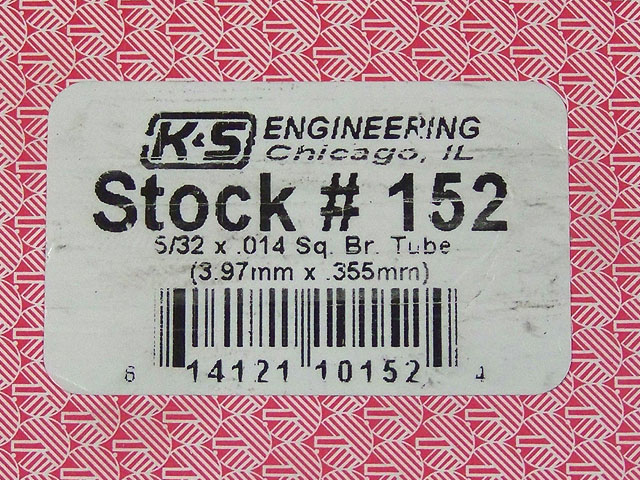
I like to isolate the front axle. I use square tubing from K&S but you can use round if you want. In fact, you don't have to do it all. I just like doing this as it stops the wires from rubbing, adds a little more strength, and helps keep lubricant in place.
Adjust Chassis First!
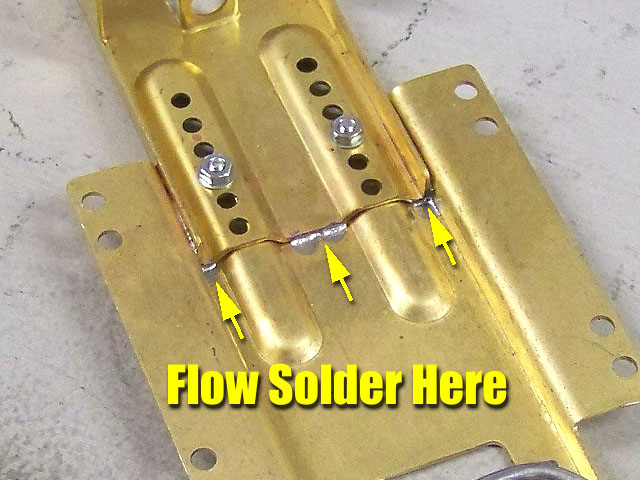
Another step I like to do is flow some solder in the slider front bulkhead to just add strength. Again, you don't have to. The screws provided work fine. I have many that never see this step.
Install axle when you solder
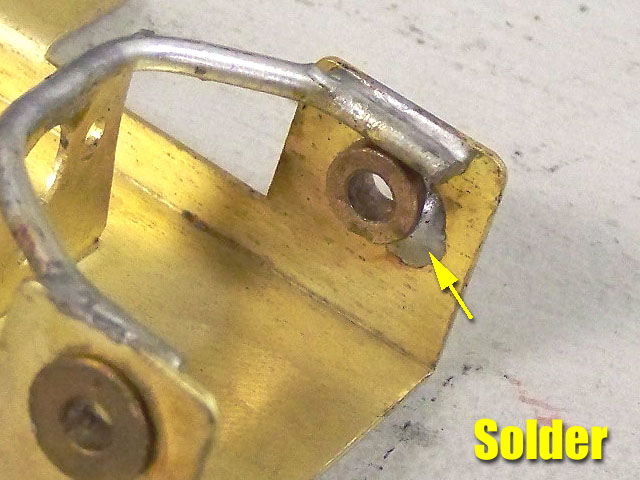
Finally I like to "tack" in the bushings to make sure they stay put. I set them with the axle in place and leave the axle in when soldering to prevent them from moving.
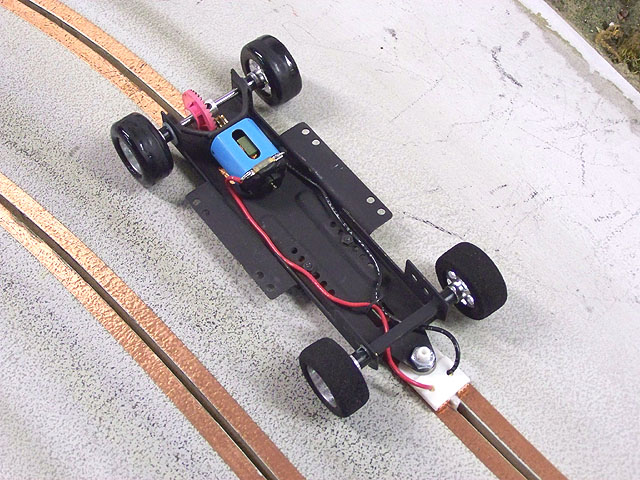
I gave the chassis a coat of flat black then installed all the parts. I like using the 18K HAWK motor to give realistic speeds.
Have the base coat finished and wet sanding the lower half for the other color.
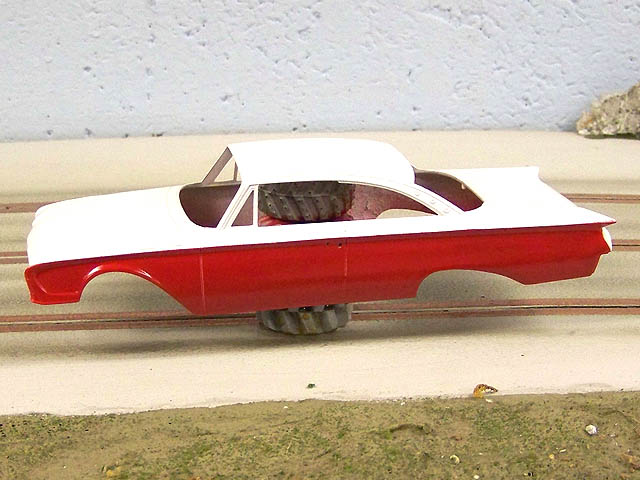
Now we can see more of the overall plan. I am using KRYLON for both colors.
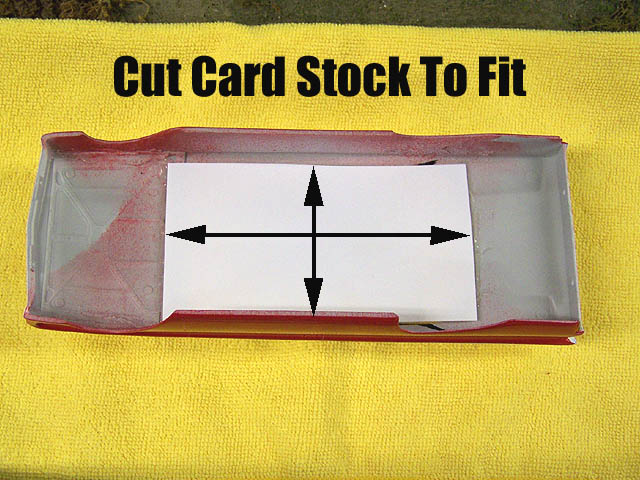
While the paint dries time to work on the interior tray. Some folks like a full interior and that is great. I prefer a half-tray type design. No, I do not like the lexan/Pteg Parma tray. I like to make my own. Very easy to make, yet can still add a little touch of detail to the model. First I use any old card stock to cut and fit the model.
Before
After
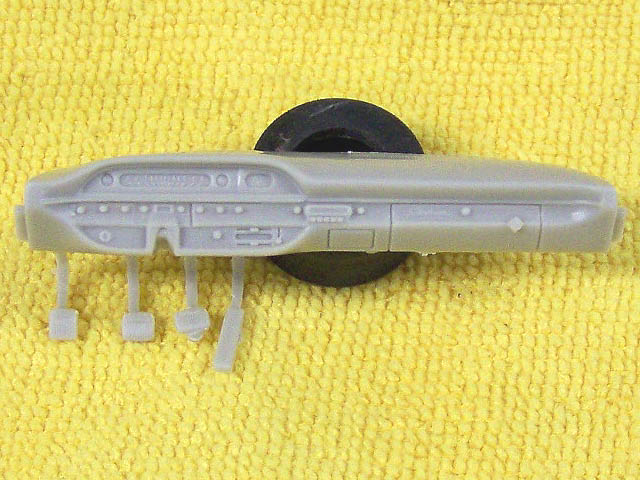
I use the dash but I trim half off so it will sit on the cardstock the way I like it.
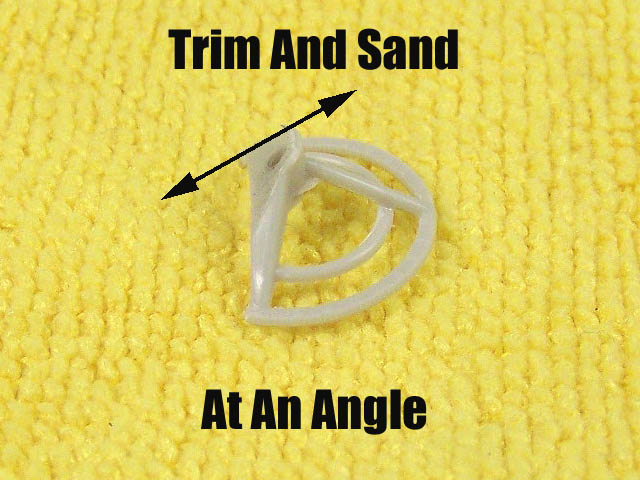
Next I sand and trim the steering wheel.

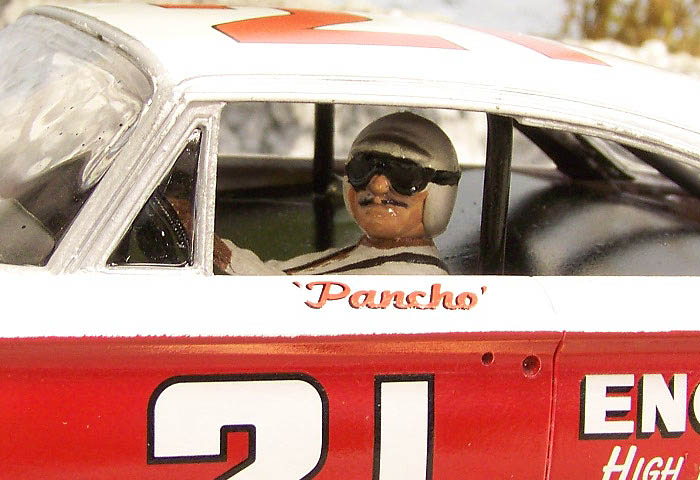
Now I test fit the driver. After this I painted the interior flat black and then glued the driver figure in place.
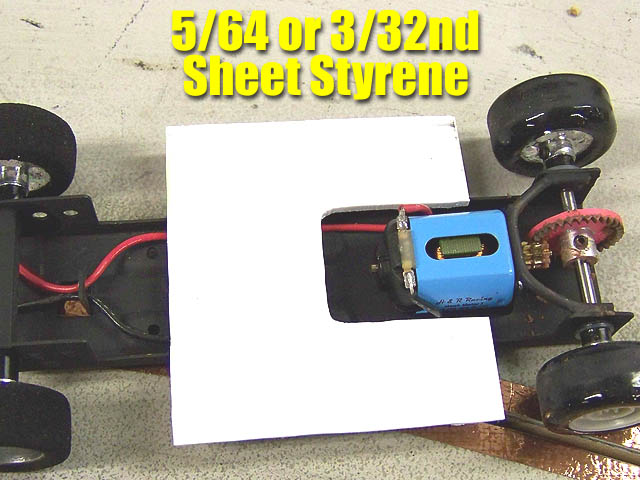
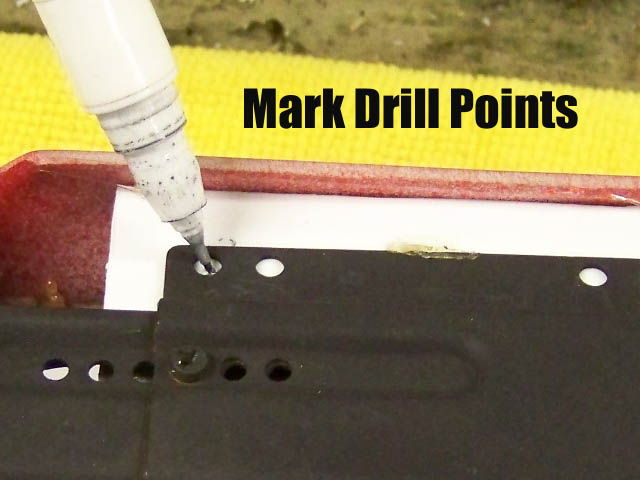
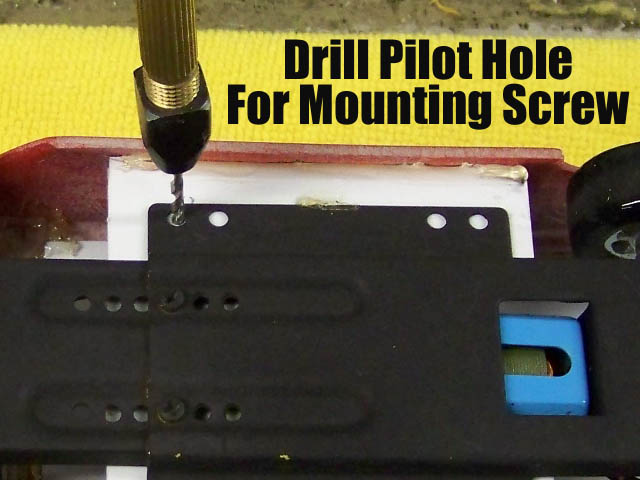
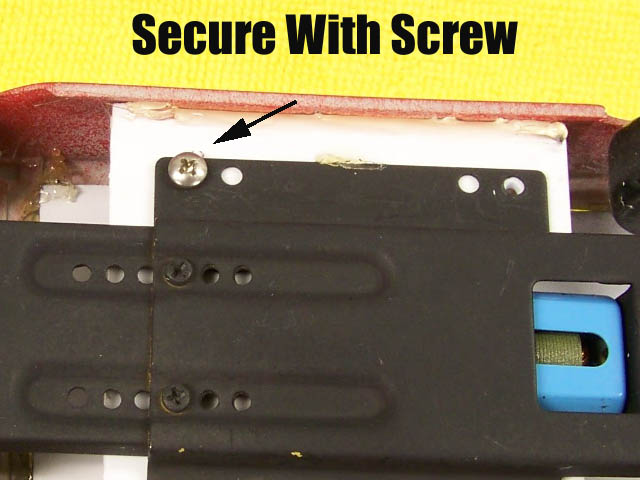
Time for the body mounting process. First I like to use 5/64th or 3/32nd thick PLASTRUCT or EVERGREEN styrene sheet. It is thick and strong and will hold a mounting screw very well. I measure and cut the sheet the correct size for the body. Then I cut out a notch for the motor as shown. I roughly test fit this on the chassis to make sure it is enough.

Then I tack the plate into place. Just TACK it in because you will likely have to adjust it for the right height. Using hot glue will let you cut it with a hobby knife easily and re-mount it.
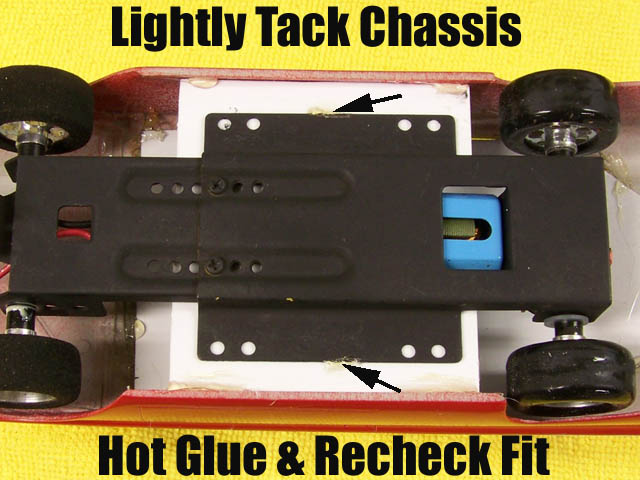
Once it is set where you like it, get the chassis on where it looks right and again lightly tack it into place.
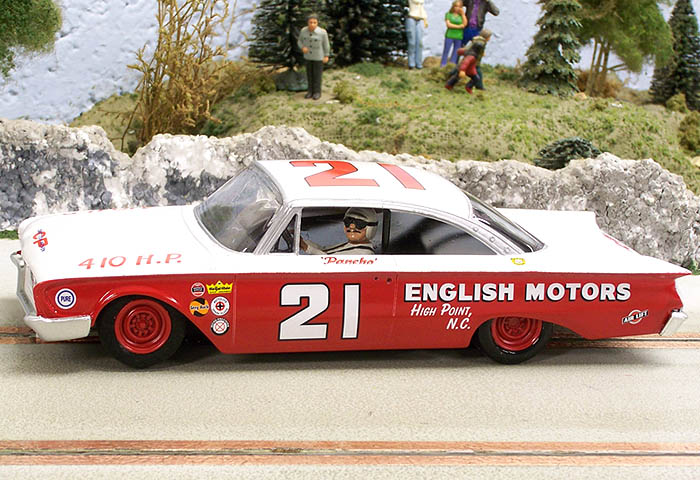
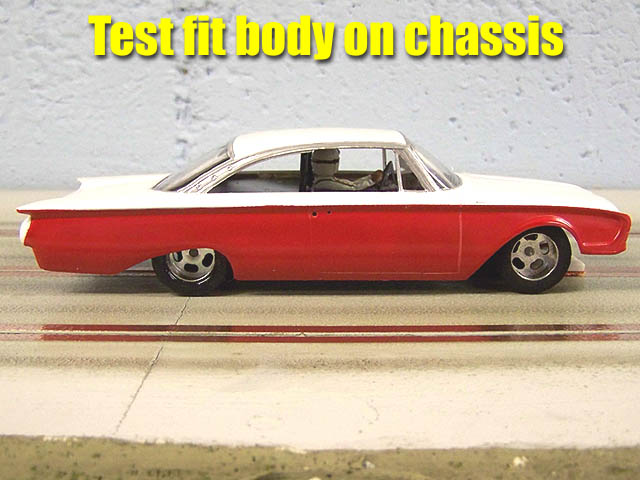
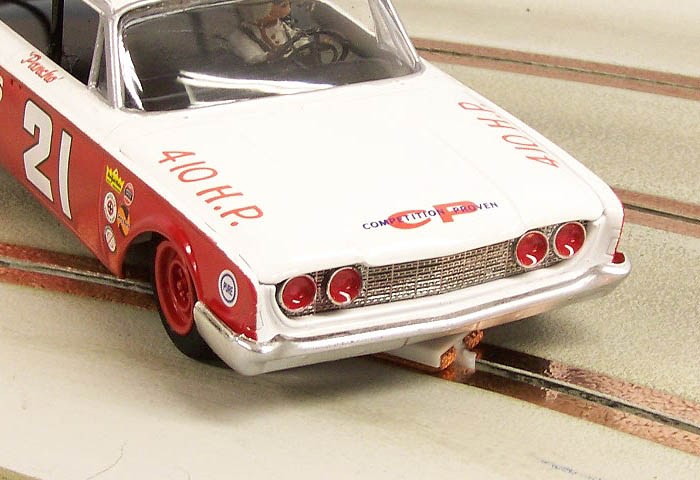
Now add decals and clear coat!
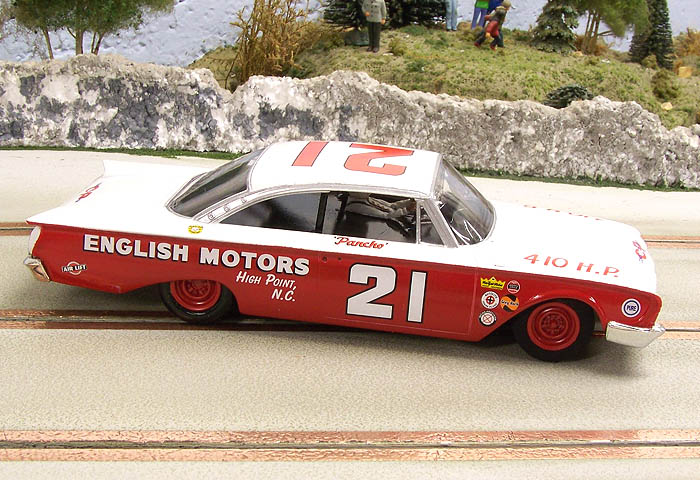

The important thing for me was making a car
that fit in with the others I had. I feel this car does that well enough. No, it
will never win any scale modeling contests but that is fine by me. I was never
attempting that. These cars are runners and will see plenty of action VERY soon!
Fun build. I hope this article helps some of you create your own.
Now...what to do next?
- Harry
As always feel free to contact me about this article or just the hobby in general at harry@homeracingworld.com, or better yet drop into our Message Forum and share your thoughts with other enthusiasts!
Copyright © 2011 HomeRacingWorld.com All Rights Reserved