Tuesday September 25, 2007
Tuesday September 25, 2007
by Harry Wise & Dan Dyke
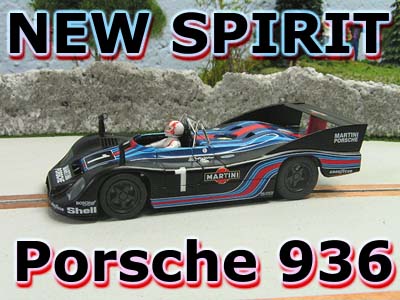
The latest release by Spirit caught my eye simply because of the car they have chosen. I am a fan of the older Porsche models and first glimpses of it told me I wanted one. Arriving safe and sound from BRS Hobbies it was time to see what Spirit has accomplished with this legendary car in our scale.
When this model first arrived, I began to inspect it and go about our regular review process. However, it landed on our door just days from a major home racing event and decided to make this review a little different. I passed this car around to around 15 to 20 racers throughout the weekend, plus have had some of our forum members write in with their thoughts. All of this combined information will be listed here for the most unbiased review we could bring.
Physical Appearance/Scale
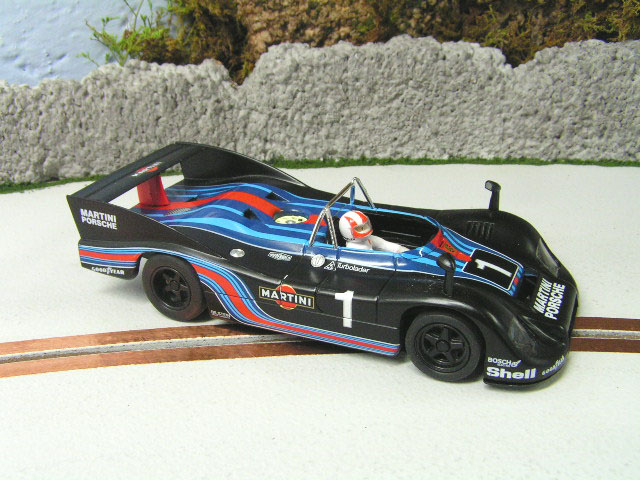
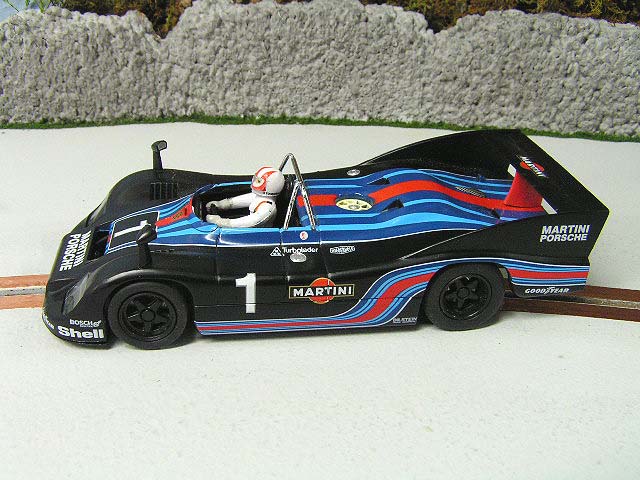
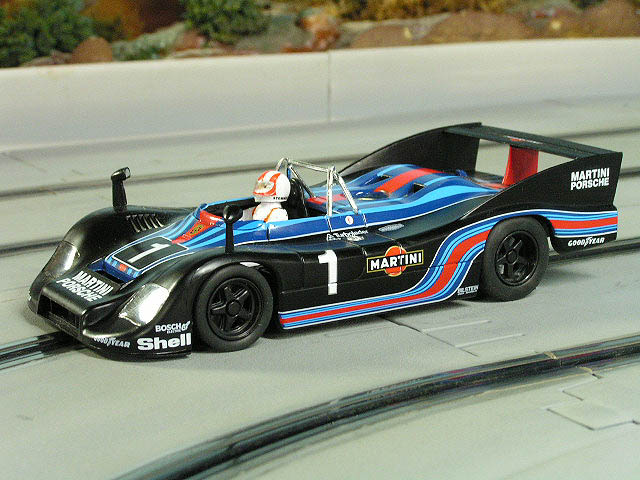
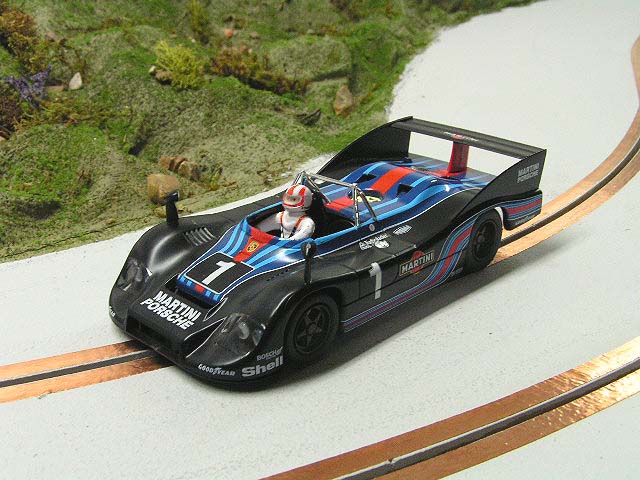
On our model the paint and Tampo markings were very well done. However, I had reports that other models such as the white #20 version had some issues in the striping. There are variances in these models with quality control as you can expect, so I suggest ask your dealer to check your model before shipping. BRS Hobbies is a very reliable dealer and has done this for us on several occasions. On our model I can only report that it is about as nicely done as you could ask for.
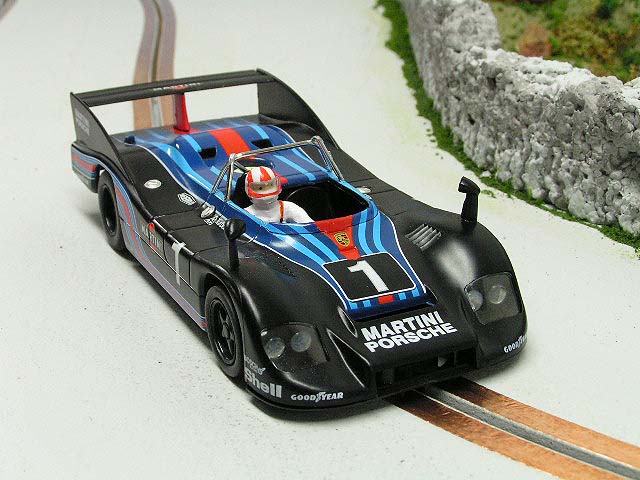
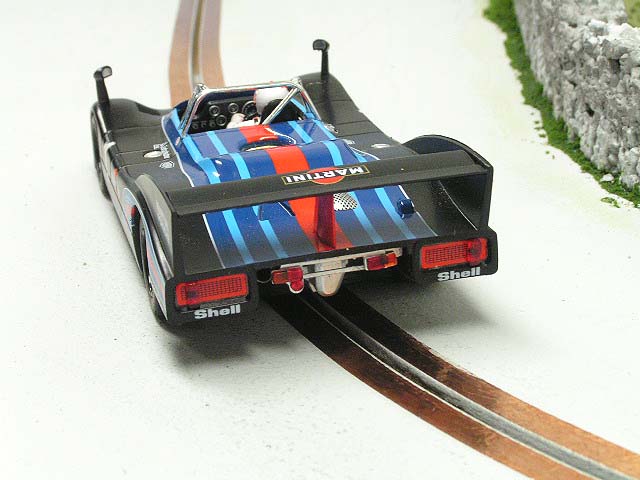
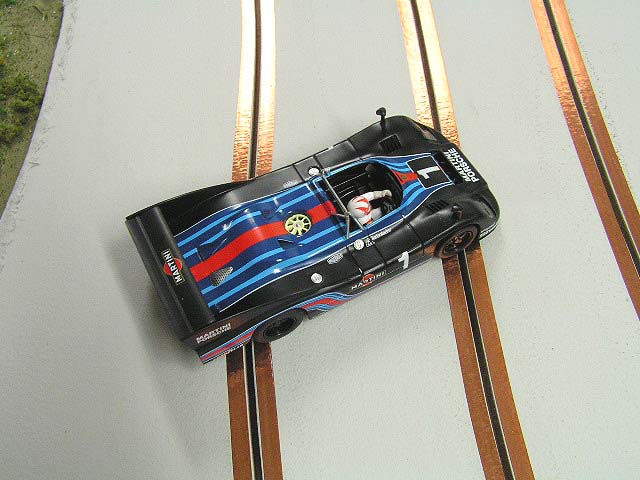
On scale, there has been a large debate on this. It does appear that Spirit has not exactly captured this car as accurately as they could. However, some enthusiasts could not even tell me about these flaws because they have never seen the 1:1 car. Some may scoff at this, but not everyone in this hobby of ours knows every single classic Porsche that raced. So for them, they could care less. I will let the photos speak for themselves and like we always do, let YOU be the judge if it is good enough.
Our Of The Box Testing
Although the model did run out of the box, it had some issues. The main problem is the rear tires rubbing the body. On the advice of fellow reviewer Dan Dyke, we loosened the 2 rear body mount screws about 1 full turn and this helped a great deal. There was still some very slight contact, but the model now ran much better. We used a wide variety of power and control options and all seemed pleased with the braking & acceleration levels.
While other racers made laps with it, I could clearly here a clicking noise that sounded like a gear issue. However, so far it was running without showing any signs of stripping so I decided to just the racers have at it. I have no initial lap times during this phase of testing, but I do for our own testing when it came back here. 4.6 seconds was the best we could manage which is not stunningly fast, but we knew it had potential.
One thing that did come up was the amount of guide travel. There is plenty of it for most enthusiasts and average compared to some other brands. But if you need any more than this you could trim the chassis.
Looking Closer
After the initial testing we inspected the model more closely. The tires were in need of sanding as they were cupped in the centers. This is not really an issue as most every model purchased today needs some level of tire sanding. While turning the rear wheels Nick Nesbitt noticed a small piece of flash molding on the teeth of the spur gear. Here was our clicking sound. I used a hobby knife to gently pry it away and then returned to the track. Operation was now much better and the gears seemed to begin to break in normally.
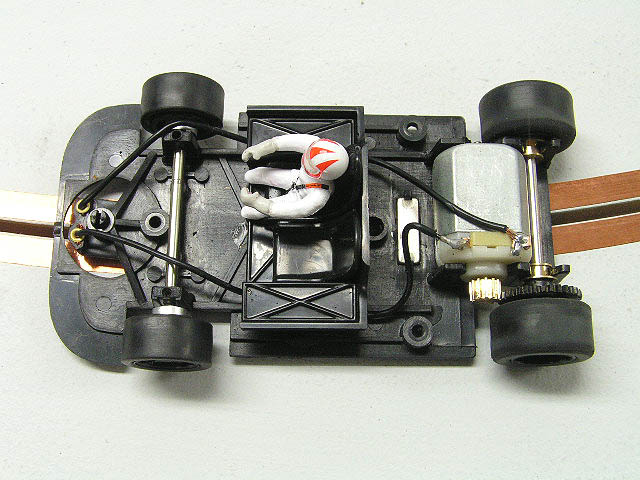
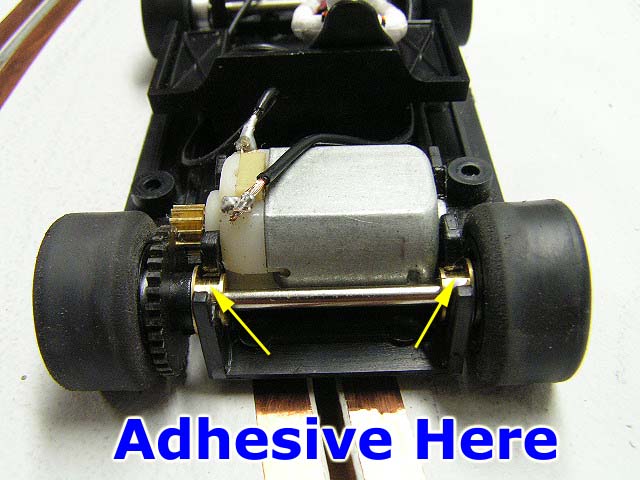
3 screws hold the body to the chassis and were easily removed. Inside we see the motor in a sidewinder configuration equipped with a 12 tooth pinion that turns the 32 tooth spur gear (2.67). The rear axle bushings impressed me as they are a very good fit on the axle with almost zero free-play. However, these bushings will need to be secured with adhesive as we noticed them spinning in the chassis mount. The motor is a standard Mabuchi type similar to Fly/Scalextric that they call an S31. It appears different than earlier versions and seems to have an edge over Fly standard power. The usual S3X motor would not have fit here, so this choice was obvious. Changing motors should be an easy affair. I have no specs on the motor as the Spirit website is not updated to even list these cars and does not even list this motor in the spares sheet.
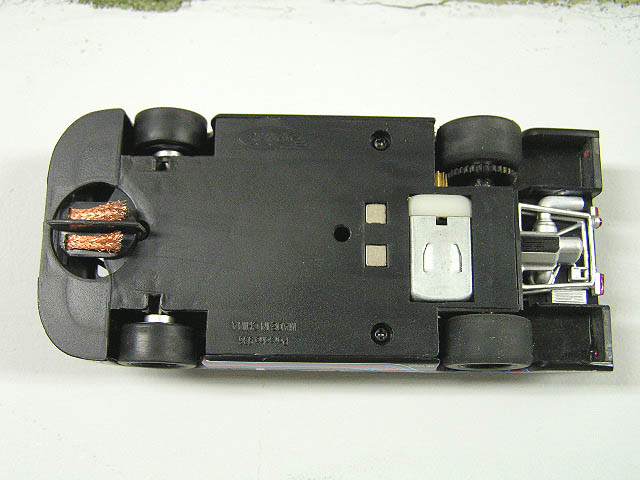
A thin bar magnet is used for magnetic traction which is enough for my taste. However, for magnet fans it might be too light but there is room to add more magnet if you decide to. This pocket will also accept the Slot-it C-shaped magnet. I installed one and the difference is more than noticeable as the photo might indicate.

If you do install one, use adhesive on each side to secure the magnet. There is room for some sheet lead placement as well so tuning for your taste should be a fairly easy accomplishment.
However, what surprised me about this model the most is the use of set screws for the spur gear and front axle. The screws are the same size as Slot-it (0.9) but no wrench is included with the car. I have always thought that this was an inconvenience to the enthusiasts, especially newcomers to our hobby who may not have this tool just lying around. BRS has a wrench in stock for only 75 cents, so if you are just starting out and invest in this model I highly advise this low cost addition to your tool box.
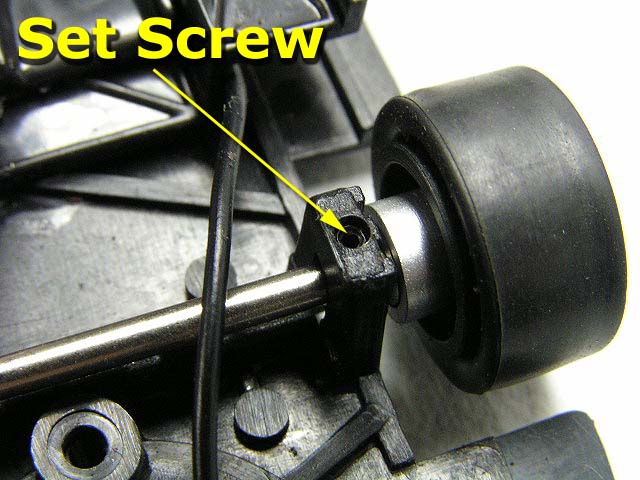
One item to note is be VERY careful when tightening the set screw on the spur gear. It is plastic and will not hold up to heavy torque. One was already stripped in testing and had to be held in place with Loctite. The another method was tried using a light drop of super glue and re-installing the screw inside. This works too, but be careful with the glue. If you get too much, it can spill over and seal the wheel to the gear making future removal difficult at best. The axle is too large for a Slot-it gear replacement as well, so again take extra care here. I think Spirit should have just made it aluminum if they were going to make it a set screw application. Changing over to complete Slot-it or NSR system might be the best options for those who do frequent gear changes.
Looking at this front axle you can see the 2 top set screws that allow you to raise the axle up so you can set your desired tri-pod effect. You then must remove one of the wheels to see the other 2 set screw areas. I really like this idea and kudos to Spirit for doing it. At first glance it appeared I would have to sand the front tires to get the proper height, but now I can set it like this which to me is much easier.
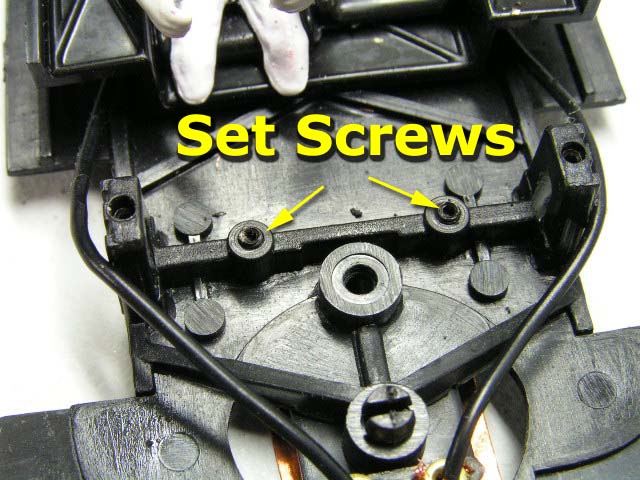
Plus it allows more flexibility for different track surfaces. Some tracks have higher rails, more uneven surfaces than others, so here you can tune to a specific track much easier. I would have liked to see the screws accessible from the bottom of the chassis so you did not have to remove the wheel, but it snaps back on easy enough.
A Little Work
The first item we started with was the rear wheels and tires. We removed the tires and sanded the inside of the hubs to remove the mold lines and any flash molding. After this, we mounted the tires and sanded them until they were as round and true as possible with slightly beveling the outside of the tire. This was easy enough and should only take you a few minutes.

Next we adjusted the front axle as previously mentioned to suit our taste. Then we added a light drop of adhesive (hot glue) over the rear bushings to keep them secure. Finally we oiled our rear axle bushings and each end of the motor along with a quick braid adjustment.
More Racing Action
The first laps told us we have done wonders. Our lap times fell from 4.6 seconds to 4.3 right away. Soon after some practice we settled into a good rhythm and 4.2 seconds ruled the day. Braking and acceleration are both crisp enough and the light magnet effect allows you a good window for correction without simply having a snap roll effect.
On our wood track the car was smooth enough and has great potential. The tires will most likely be the first item to change however for the best traction and ride. I slipped on Ortmann tires for Fly classics and although the inner rib is smaller, they fit well enough. You will need to sand them though as they are a little wide. This helped a great deal so if your running on wood, check with your favorite tire maker and see what they have to offer.
Summing It Up
This model has some issues but not enough to stop me from enjoying it. It also seemed to be approved by many other enthusiasts who were on hand to test it and to give input. Based on other enthusiasts opinions along with my own I can advise that you give this Spirit model a hard look. It adds yet another classic Porsche to your stable or perhaps you can start with this one. One quote I heard while testing: "By comparison, this model does not need any more work than a Fly classic and that has not stopped anyone from collecting them by the thousands."
Good point.
I am glad we chose this model and we will get the other release for a matched pair. A third is already planned which will be ideal for our new 3 lane routed course. Although it may not be for everyone, this model has all the potential to be a fun slot car like any other. And as we like to say: "Fun is what it's all about".
- Harry & Dan
As always feel free to contact me about this article or just the hobby in general at harry@homeracingworld.com, or better yet drop into our Message Forum and share your thoughts with other enthusiasts!
Thanks Go To BRS HOBBIES For Providing Us With This New Car!