
Wednesday June 17, 2009
Wednesday June 17, 2009
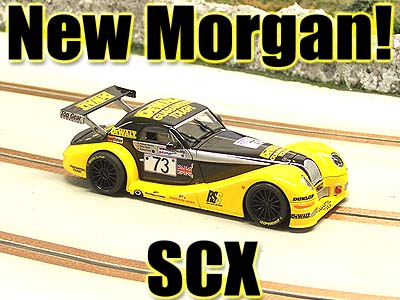
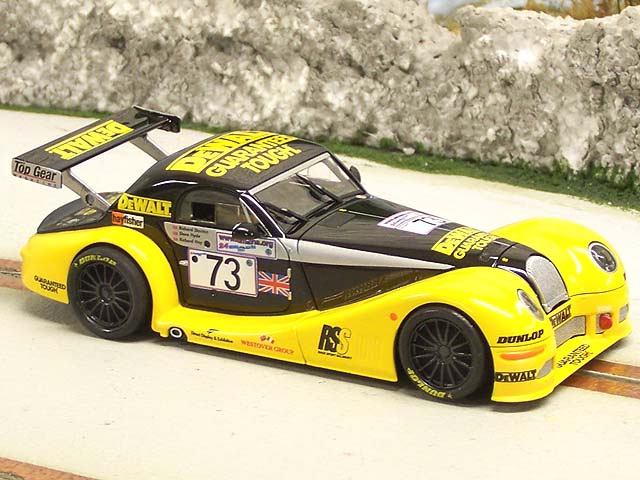
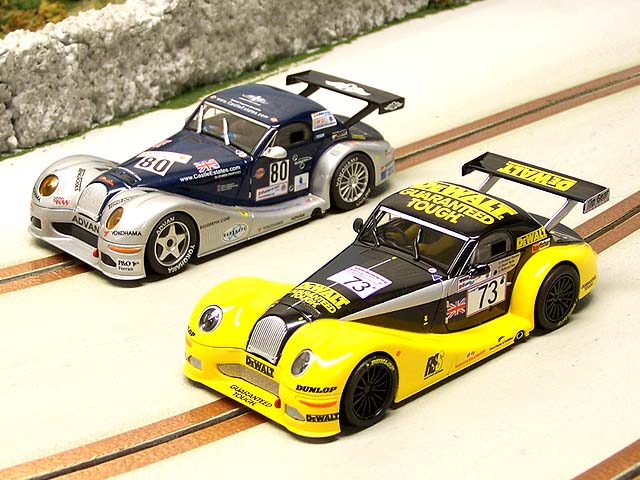
Perhaps one of the most popular models SCX has released in the past year is the Morgan Aero 8. A fresh model with a styling all to its own attracted many in our 1/32nd scale hobby. Not only did it look great, but it ran very well out of the box. This livery is one that most fans of this model have been waiting for and I can safely say it was well worth the wait.
For those just discovering our hobby, take time to check out our first review of the Morgan. I won't waste the time and space repeating myself here as the model is mechanically identical to that one. Not everyone will agree, but for me the familiar DeWALT Tools paint scheme looks great on just about any car it is on and certainly is the case here. I am one that enjoys this color combination and I feel SCX has done an excellent job with it.
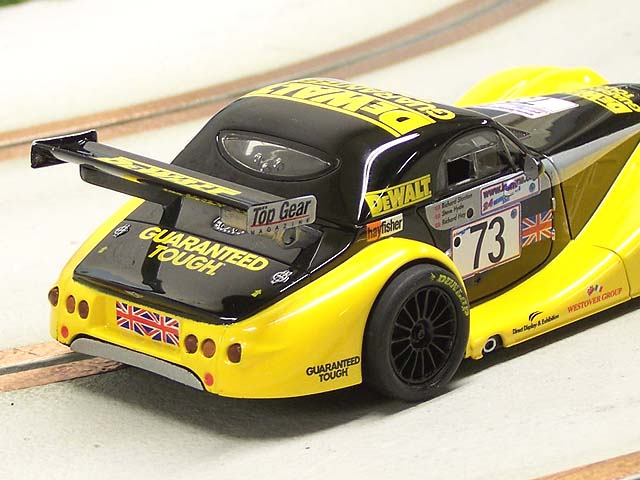
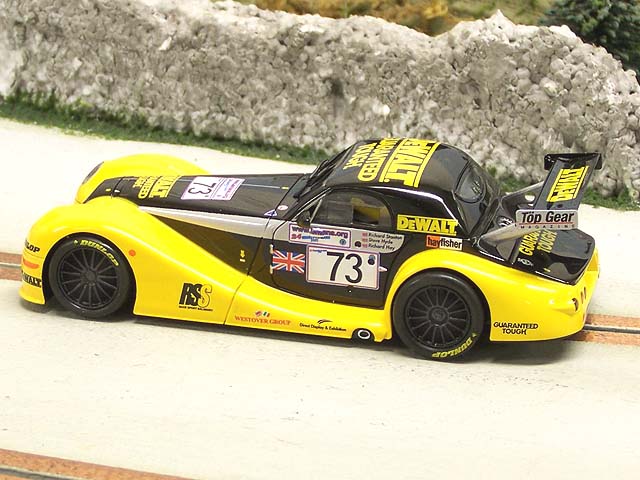
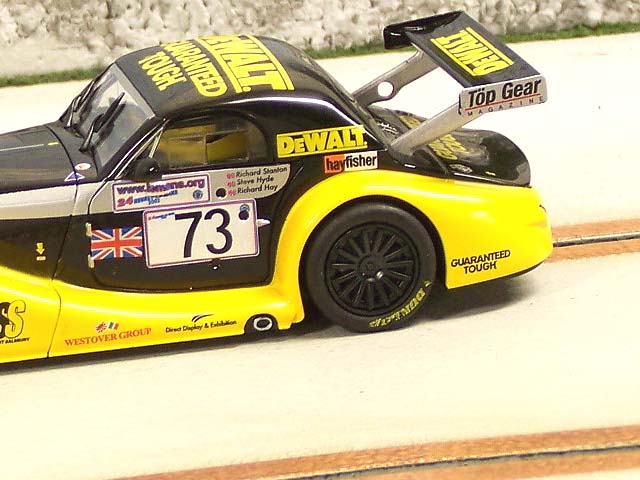
All the markings seem very accurate to the prototype but what really impressed me was the overall finish. It has long been said in our hobby that it is hard to make yellow look good. And for good reason as past models from most all companies seem to not have the high gloss finish or the deep opaque color it should have. As funny as it sounds, most refer to it (yellow) as looking "toy-like".
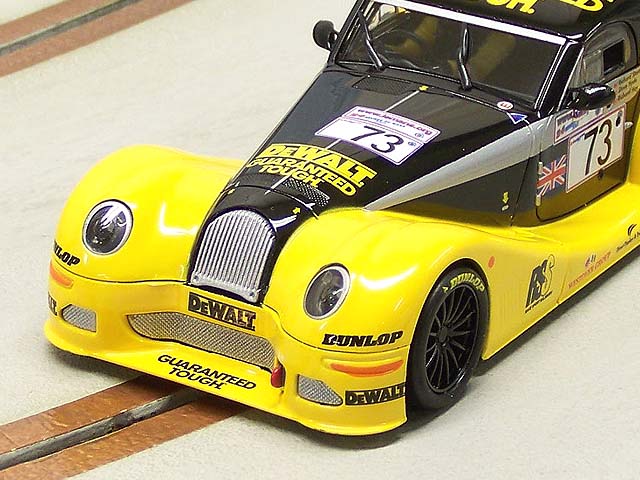
Well not on this model. The yellow is very opaque and just as important is a very high gloss clear-coat sealing it all in place. Yes, the car is certainly different than anything else out there and perhaps that is why I really like it. I think the lines of this car just gives you a hint of days gone by which is very appealing to me.
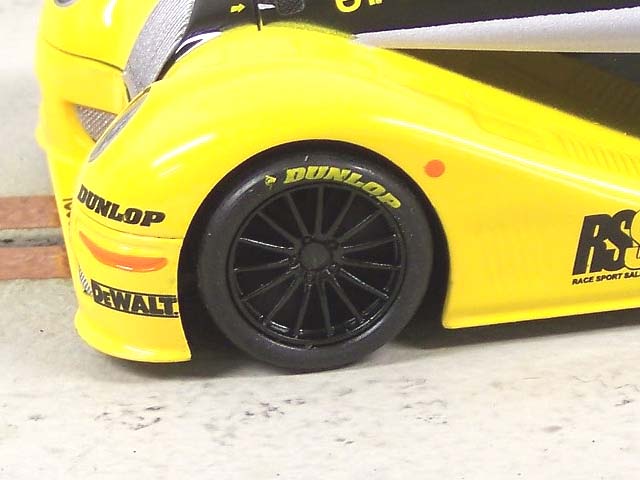
The wheels really grab your attention. According to prototype photos these wheels are very accurate although I have seen one or two with the rear wheel silver. But for the model SCX is doing, these are correct. Upon closer inspection I found them to be very round and true so I hoped for smooth out of the box performance.
Box Stock Track
Testing
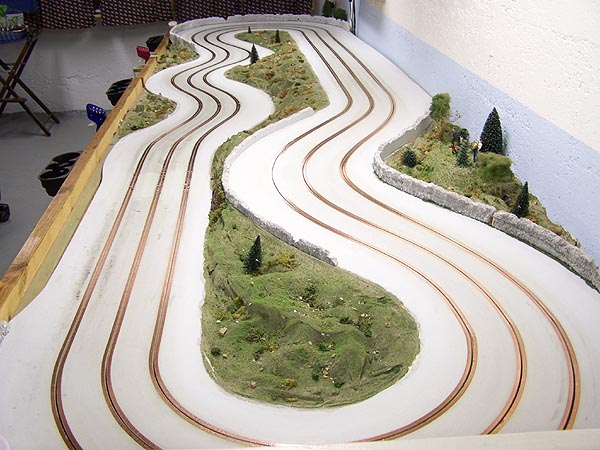
MidMo International
Speedway
4 x 16 - 3 Lane MDF Routed Wood - Flat Latex Surface
Copper Tape Conductivity - Aftermarket Power @ 12 Volts PARMA 25 OHM Control
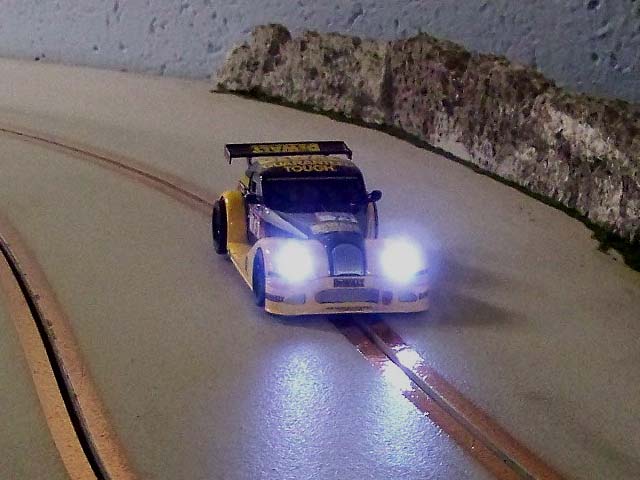
Straight from the box to the track this car ran very well. Of course, we can always make things better. Sanding the wheels and original tires helps a lot on wood tracks. After-market tires are also one of the first changes we make to improve grip. But it ran very well just the way it is. This says a lot for a model designed for magnetic plastic track racing. So I want the newcomer to know that even if we had a little wobble here and there, it is nothing out of the ordinary. On plastic track with the magnet in place, this car is a doll to run.
This model comes with the RX-42 motor. SCX is changing to the higher speed RX-42B for new releases next year, but this model still has the standard 42. If you bought the first Morgan and it came with the 42B, then some motor swapping will be in order to make things run evenly.
All in all this car is well worth the price. It is fun out of the box like a ready to run model should be and it is still within most budgets. If you like this style of model, don't wait. Grab one and find out how much fun they truly are.
Going "PRO"
NOTE: You will need a 0.9mm
(0.035") Allen Wrench.
This is a standard size for most parts such as
these in our hobby. Contact your favorite dealer and they most likely have them
in stock.
However, we are not finished with this model yet. In case you did not know, SCX makes a line of parts to upgrade your existing models. Since we have looked at complete PRO versions of the Audi and Porsche and liked what we found, I thought getting some of these parts and performing a small upgrade to this model would be interesting.
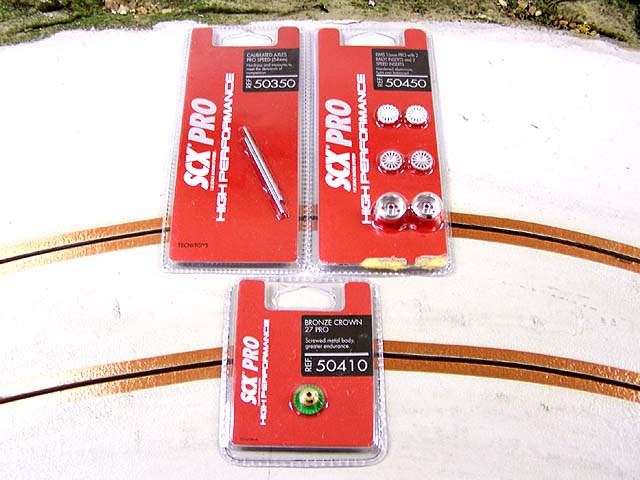
First we ordered part # 50450. These are the rear aluminum wheels that come with 2 sets of inserts. Although they are not the right color, that is easily taken care of. Our second order was the PRO SPEED axle set part # 50350. You get 2 axles in the card and each are 54mm long. We might have to trim them a little, but again that is an easy enough task.
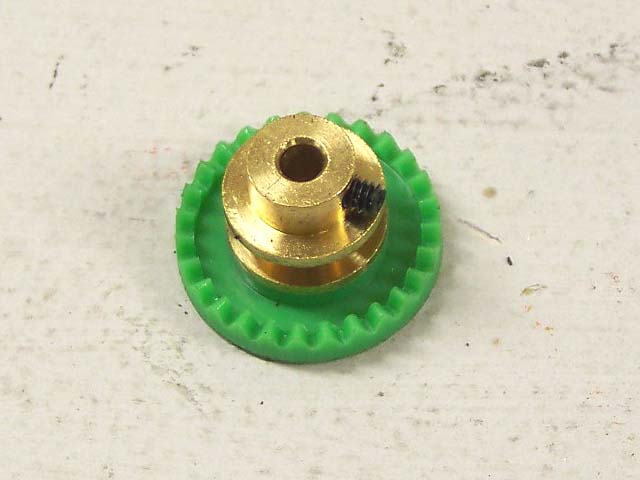
Finally we ordered the 27 tooth bronze crown gear part # 50410. I wanted to keep the stock gear ratio for our models as they work well here.
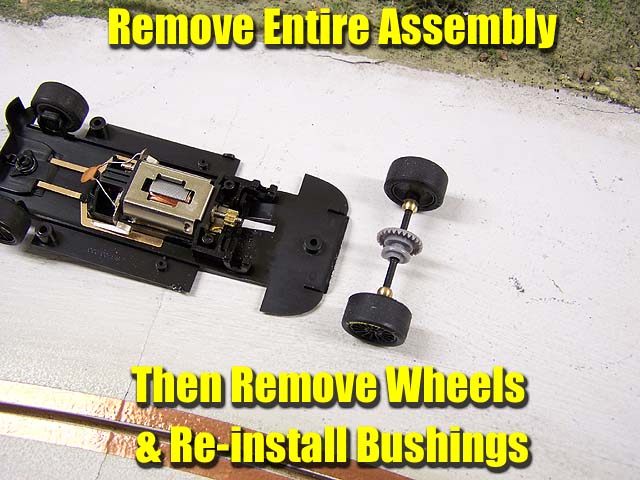
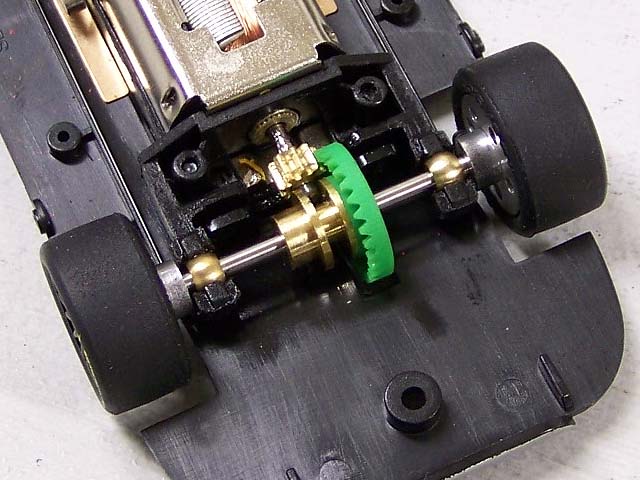
Installation is about as easy as it gets. Remove the original axle, gear and wheel assembly. Then twist the wheels off the axle and remove the bushings and re-install them in the chassis.
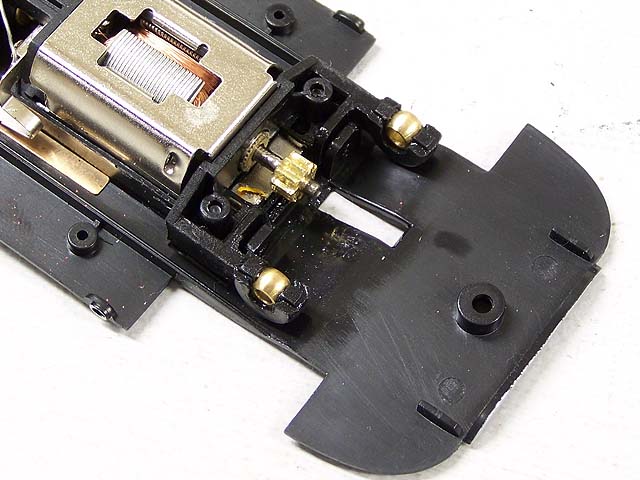
Then install the new axle and then the wheels to set the correct width. I found the axle needed to be trimmed about 4mm off the end to allow the wheels to sit correctly and allot the inserts to seat fully inside the wheel.
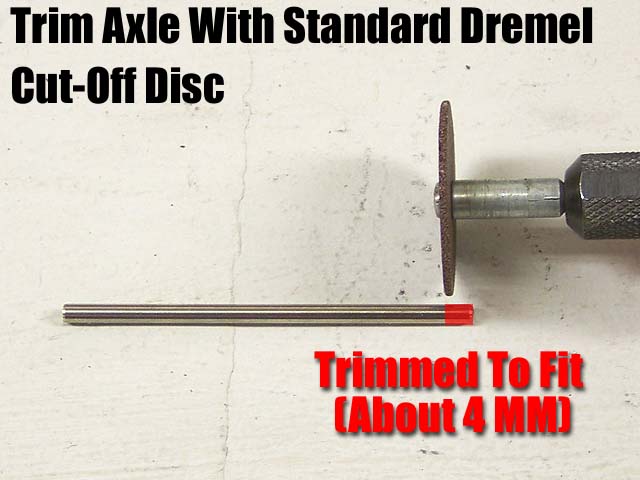
I used the standard cut off disc in our Dremel and this had our axle trimmed quickly and ready to go.
NOTE: SCX makes the correct sized axle set for this model part # 50340. I just used these because I had more than one project and was not sure what length axle I needed. Since it is easier to remove than add to, I went with the longer size and just trimmed to fit.
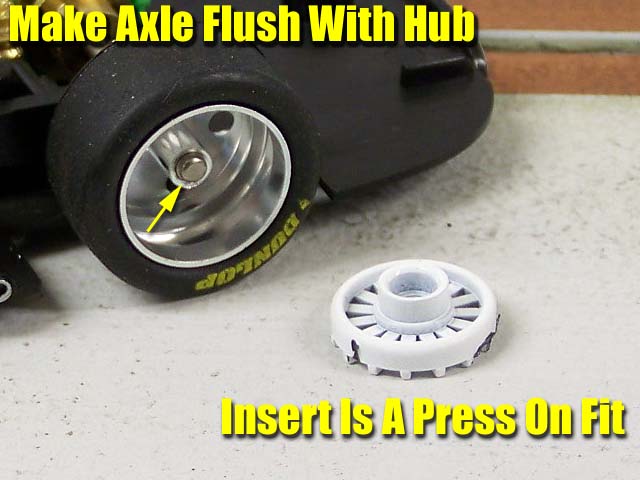
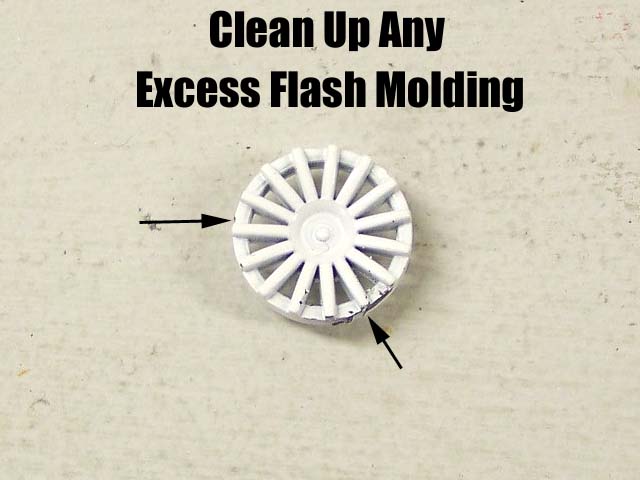
When you look at the inserts you will most likely see some excess flash molding on the edges. Clean these up with a hobby knife or sandpaper to get the edges as smooth as possible. As you can see, the insert press fits over the hub inside the wheel. It counter-sinks slightly, so this is why you want to clean the inserts up to allow a smooth, even fit.
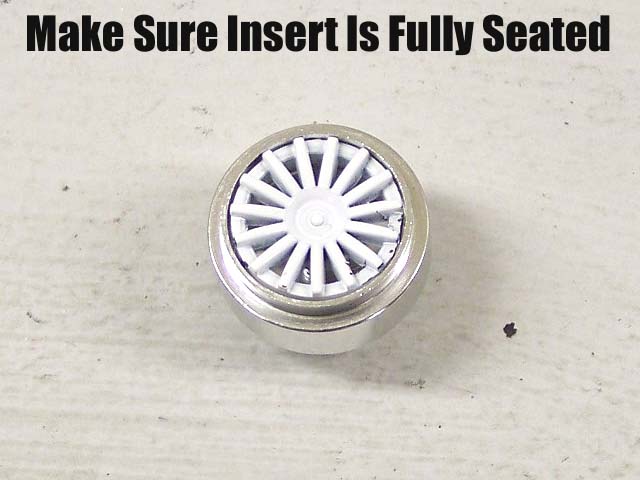
You can press the inserts in by hand and they fit nicely. In fact, I did not add any adhesive to them as they fit this tightly. Once they were installed, it was time to paint them. A light coat of primer first, followed by one good coat of gloss black. Allow proper time to dry and it was time to get things installed.

Time to put it all together. Install the axle and gear, then set your wheels on and get them as even on each side as possible. Now secure your crown gear. I like the slightest amount of space between the teeth of the gears. A good guide is to tear off a scrap piece of ordinary notebook paper and place it between the crown and pinion.
All finished. Although it might appear like a lot of work, it truly isn't. It took less than 20 minutes to complete the conversion. Of course, you have to wait for your paint to dry, so allow yourself a few minutes here and there.
The end result? An incredibly smooth and quite model. I cannot describe in words the difference only a few higher quality parts can make for your slot cars. It almost instantly makes the model feel and perform as if you have sanded on the wheels and tires for an afternoon. The gear noise is virtually gone as well.
Ok, you might be thinking this is a great conversion, but what about cost? I am happy to address this. The SCX PRO line of parts are very affordable. Compared to some other brands they are also a bargain. I researched this with several dealers and came to some average prices:
50450 Wheel & Insert Set: $5.95
50350 54 mm axles (2 per card): $4.95
50410 Bronze 27 tooth crown: $4.95
This is about as inexpensive as it gets. And the quality here is just as good as any other after-market parts I have used. Will they work with every model on the market? Of course not. But as far as my simple home racing is concerned these are all I need for my SCX fleet.
In the end I have to say that both the model and this line of parts are winners. I really enjoyed this conversion and plan to outfit our original Morgan the same way. For the price it is well worth the results.
- Harry
As always feel free to contact me about this article or just the hobby in general at harry@homeracingworld.com, or better yet drop into our Message Forum and share your thoughts with other enthusiasts!
Thanks Go To SCX WorldWide For Sponsoring This Review

Check Your Favorite Dealer For This & Other SCX Models
Copyright © 2008 HomeRacingWorld.com All Rights Reserved