
Saturday May 31, 2008
Saturday May 31, 2008
Most of us in this hobby have our favorite style or series of racing that we enjoy the most. Sometimes it is due to the class or series, other times it be simply the time period. But what if it is just about the fun factor a car delivers? As odd as that may sound, it seems to describe my recent attraction to the GT line of models from SCX.
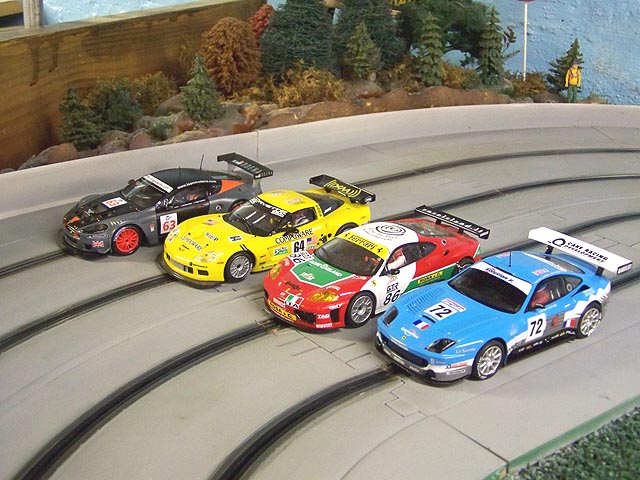
These models have been around for quite awhile in our hobby to say the least. I have had many different styles and brands over the years with some getting more attention than others. Although I know little about the 1:1 series as I do not follow it as closely as some, I do know a fun slot car when I drive one and this car combined with a few others has really delivered some very close, fun racing in our old basement.
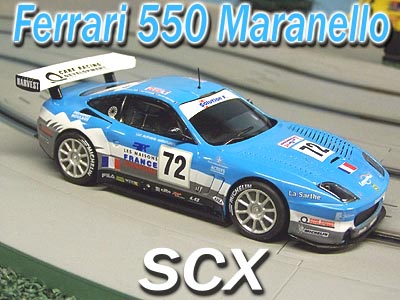
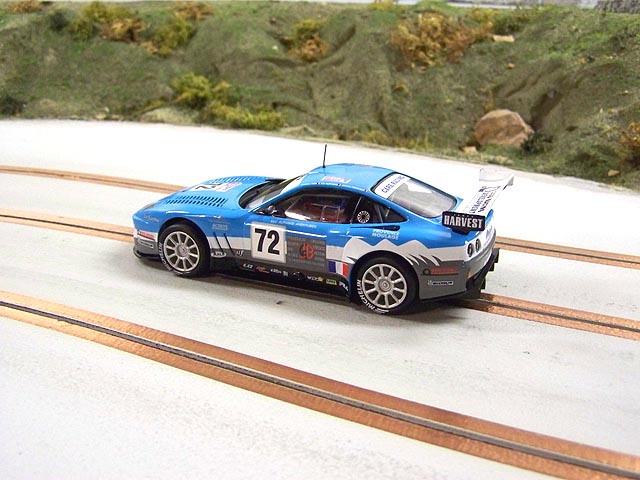
This particular Ferrari was on my list not so much for the livery, but so it could broaden our current field of models in the GT line. I did not have the 550 and expected it to fit right in with the 360, Aston Martin, and Corvette we currently are racing. It mind seem odd for SCX to choose a livery from 2003, but I am glad they did.
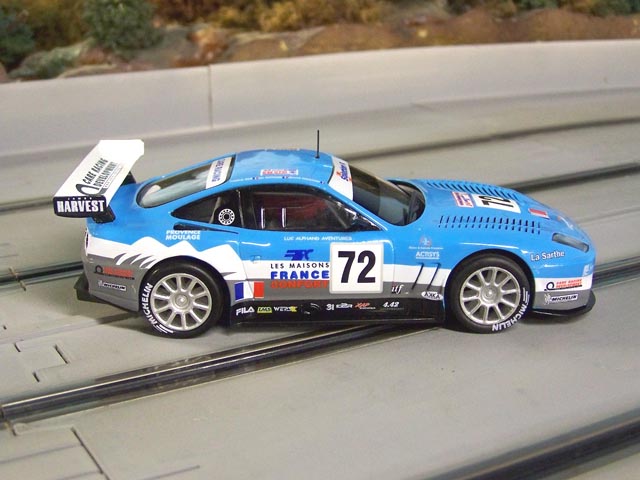
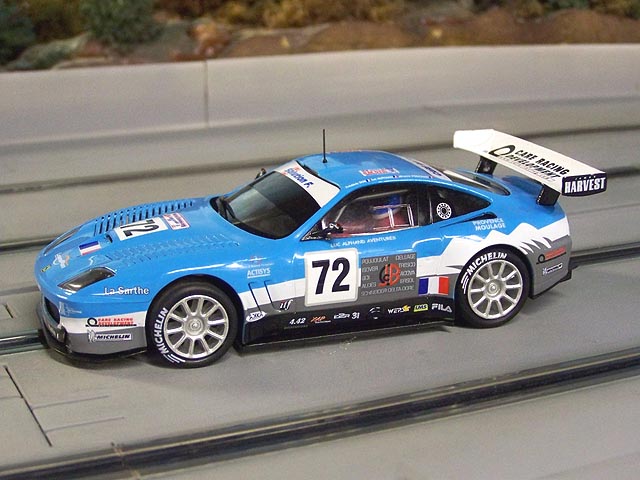
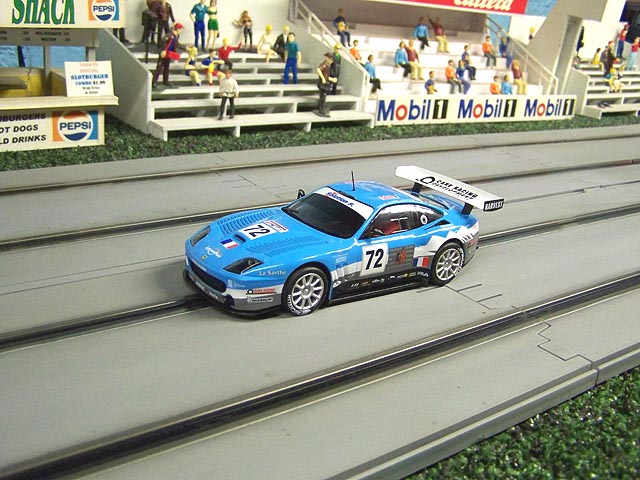
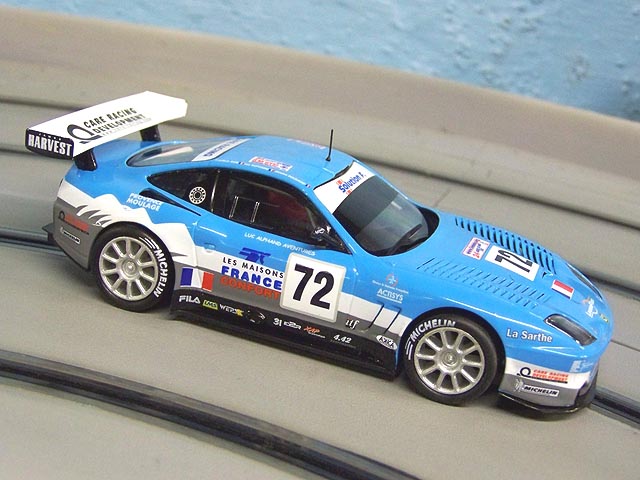
This model gets decent marks for scale detail as SCX has captured the overall shape and look of the car very well. The rear wing appears to be incorrect according to prototype photos, but still it plays the role well enough for most enthusiasts here. The bottom paint of gray should have been on the lighter side of silver, but again nothing too offensive.
Interior detail is more than enough considering you really cannot see much from the outside. Roll bars are visible along with our driver figure which adds enough detail for my eyes. The mirrors, top antenna and rear wing are stiff plastic and will not stand up to repeated hard crashes, so you better keep her in the slot!
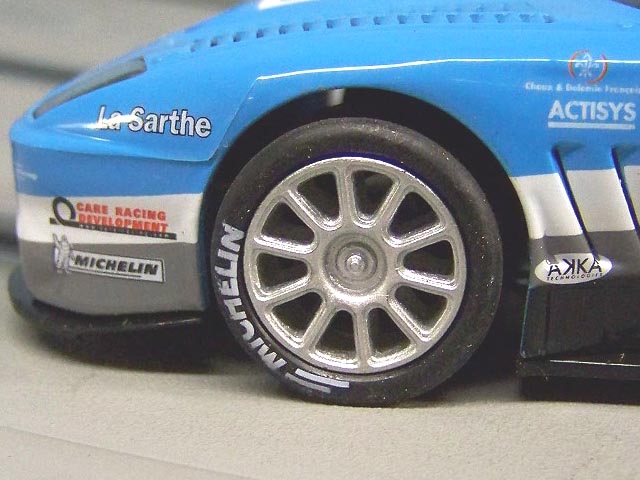
Wheels and tires look well enough in scale and most times just need some sanding to get them right. The compound here is a medium/hard to my feel and hook up well enough on plastic track with the magnet in the stock position.
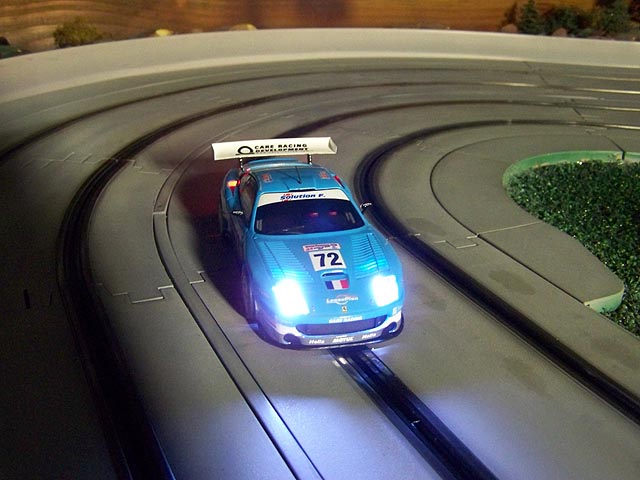
One of the features I like is that this car is fully lighted. This may mean nothing to some of you, but for me I truly enjoy this added detail of accuracy. Not only does it just make the car look right while we race, it offers the ability of night racing which we truly enjoy.

Looking underneath we see the car has the motor in the inline position with the adjustable bar magnet placed slightly in front of the rear wheels. The front guide is a self-centering affair with the braid double layered over.

The blade could be a little deeper here and there is some excess free-play in the guide. Nothing major for most home racers, but I must mention it for those that need to know.
Box Stock Testing
Artin Plastic Track- 12 Volt DC Aftermarket Power - 25 OHM PARMA Econo
Controllers
After adjusting the braids it was time to fly (no pun intended). This model has plenty of acceleration although not as punchy as some we have tested. Still, it powered out of the corners fine and the braking was crisp enough to dive reasonably deep into our tighter turns. After a 25 lap burst we posted a 4.1 second average which is just fine here at home.
Many racers can stop right here and simply enjoy the model as is. There are a few tune ups we like to do just to smooth things out even more, so by all means read on!
Under The Hood
After removing the 5 screws that mount the body to the chassis we see the inner workings of this machine. The RX-42B motor is equipped with a 9 tooth pinion that turns the 27 tooth crown gear. Although the gear mesh is a little rough sounding at first, regular break-n time will have it smooth and quiet soon enough.

There are 2 large tabs that come off the motor and make contact with the conductive strips that lead to the front guide. Here is where you can "bullet-proof" your power connection. We like to add a small drop of solder on each tab to make sure we have a solid contact. For most advanced enthusiasts this is a very simple modification.
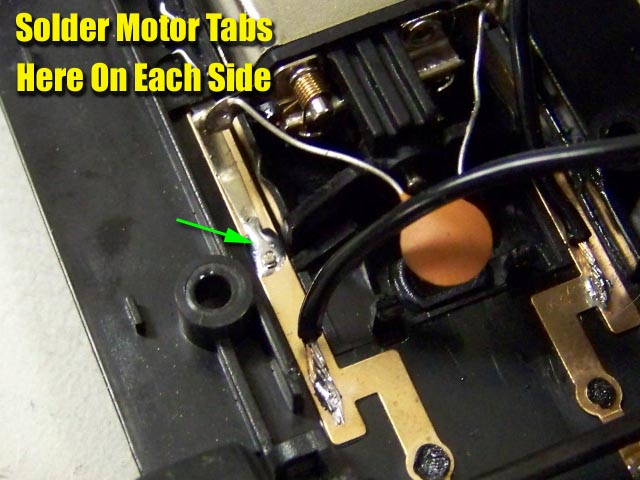
If you do not want to solder, or do not have a soldering iron, simply pop the motor pod assembly out and bend the tabs down slightly to increase contact pressure. Also while the motor is out you can check to make sure there is no oil or dirt on the contact strip. I use a pencil eraser to clean the area and this has worked very well.
On the motor: There have been some reports of these motors failing more often than they should. SCX has addressed this issue and has so far given great customer service for those that need replacement. Here at HRW, we have not a motor failure yet on any of the series. We run mostly at 10 1/2 to 12 volts ONLY, and so far I have nothing but praise for the RX-42B.
While we are near the motor you can perform an optional modification. I say optional as not all racers will want to do this given certain driving styles and track conditions. For our home racing here, we like to secure the motor pod assembly to prevent it from rocking. On our track, this body roll is not an advantage, especially if it introduces an excess of it and perhaps causing tire to body contact.
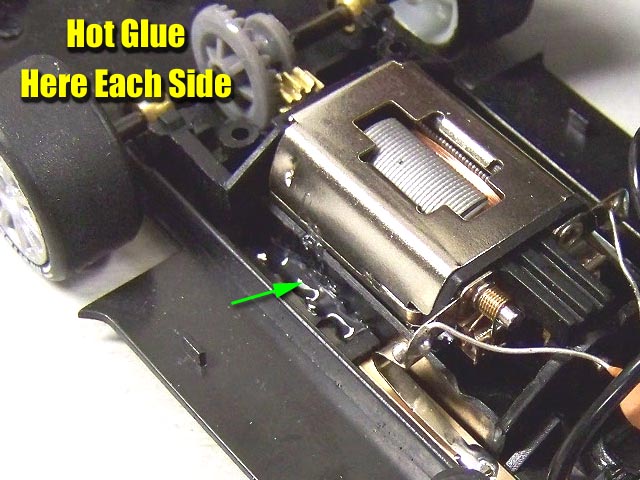
To reduce it only a little, you can simply use tape on the bottom of the chassis. For these cars however I utilize good old hot glue on each side of the pod assembly. You can then introduce float to the body by backing off the body mount screws.
Looking at the body we can see the contact strip assembly for the lighting system. This has always impressed me as it works very well when it has proper conductivity with solid solder joints and the circuit boards. It is the conductivity where the strips that hang down and touches the contact strips on the chassis that can cause problems. You can bend the tabs slightly to help increase pressure and also make sure the contact area is clean.

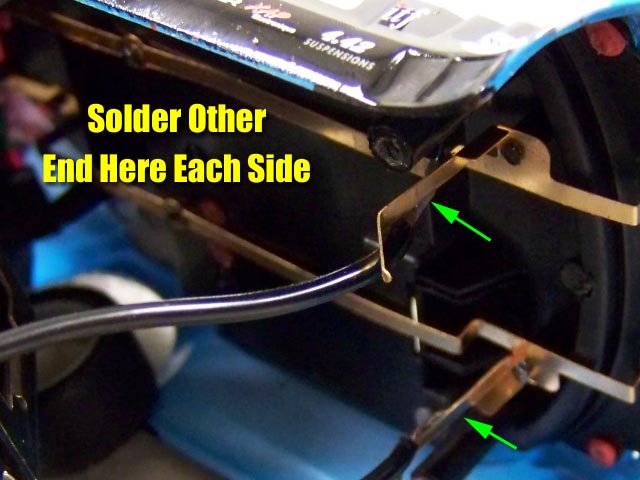
However you can "bullet-proof" this area as well with simple wiring. I use 2 wire leads that are soldered in place as shown. Since there is plenty of room inside thanks to the half-tray interior, tucking these wires out of the way is easily done.
The front guide is an area that could need attention. Make sure the tab ends are clean and also check the tops of the braids for excess dirt or oil. The radius the guide is allowed to turn makes things close for solid contact, but so far I have not noticed any major issues. Although we have detected some problems from time to time, doing the simple clean-up remedies the problem.
Wheels and tires usually need attention on all brands of ready to run models and such is the case here. Remove the tires and inspect the wheels for flash molding along the edges of the inner rib and outer wheel areas. You use light sandpaper and easily clean these up to allow the tire to seat to the wheel as true as possible.
Next we need to sand our tires. Using any method you prefer, clean them up for a solid contact patch removing any high spots. The compound of these tires are medium to soft, but with sanding and cleaning they can hook up nicely on most track surfaces.
Finally you can tune the magnet by loosening the screws to lower it (or raise it). Since we like a light magnet car on our plastic tracks, we simply leave ours as is. If one magnet is not enough, there is some room in the middle and front to add another smaller magnet.
Advanced Testing
Routed MDF Wood Track - Copper Tape - Aftermarket Power
25 OHM PARMA Econo Controllers
After these tune ups were completed we headed back to the track. This time we headed straight for the wood track to see how well we have smoothed things out. Our first few laps told us we had a winner on our hands as the overall operation of the car was much improved. The stock tires here work ok when they are cleaned and the track is run in, but after-market tires are most likely the best option for most wood track owners. I used K&D tires and the difference is very noticeable. Given the low price of the car, a few dollars invested in tires still does not hurt the pocketbook.
Post Race Comments
And price is something that deserves mentioning. As gas prices along with most everything else going up, hobby budgets are the first to feel the pinch for most. This car on CincySlots.Com at the time of this writing is $39.95. Other cars that will race right with it can even be found for less. This is something that may mean a great deal to those looking to run 4 lanes or more, or start a new race series at the local club track.
This is a very positive point in my eyes. You are getting a very nice slot car for a very nice price. It has a lot going for it on its own, and the price point just makes it even better. Is it perfect? No, of course not. But I have seen cars with equal or even less detail and slower performance, plus need work out of the box to run properly priced much higher.
For my hobby dollar this series along with a few others from SCX is very hard to beat. Decent performance right out of the box, combined with very acceptable scale detail and ease of tuning makes them worth a hard look from any enthusiast. We have collected several and the fun, close racing they have delivered were well worth the investment.
- Harry
As always feel free to contact me about this article or just the hobby in general at harry@homeracingworld.com, or better yet drop into our Message Forum and share your thoughts with other enthusiasts!
Thanks Go To CINCYSLOTS.COM for Sponsoring This Review!
![]()
Copyright © 2008 HomeRacingWorld.com All Rights Reserved