
Thursday August 13, 2009
Thursday August 13, 2009
Building Ozark Speedway
Part 3
Ok, let's talk about banking. I do not really make a true bank like other folks do.
I simply elevate each end of the track a few inches here and there.
This reminds me of the 1:1 dirt tracks I grew up on and is close to the 1:1 Lake Ozark Speedway right up the road.
I do not measure it really and I make each end a little different to make each corner a different driving challenge.
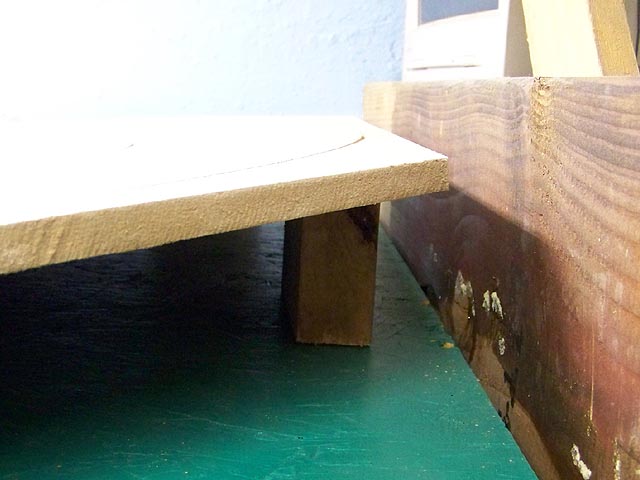
We just cut scrap sections of 2x4 and block up the ends. We cut one for the end as shown above and then one on each side.
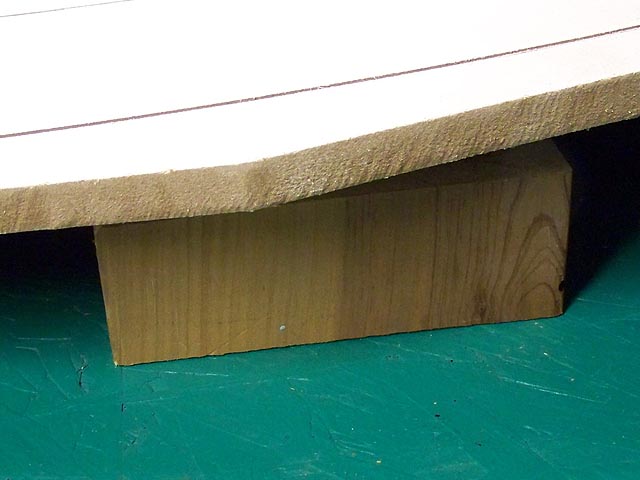
You can do this just about anyway you want. Be creative.
We then move and change them out until we find the banking we like.
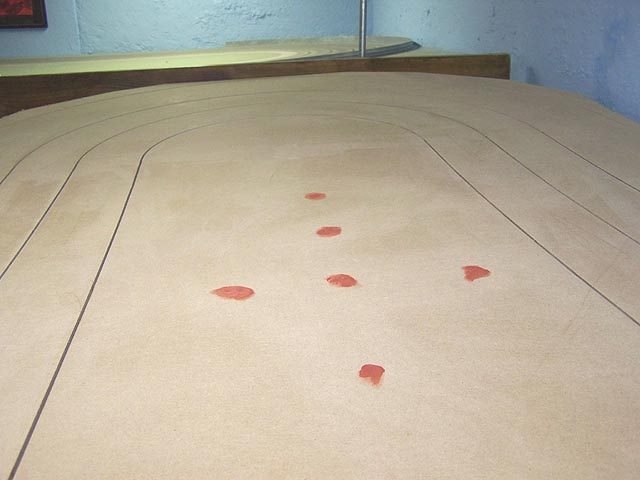
Next we "pin" the center down with screws.
I start by staggering the screws like shown above.
The first was measured 4 foot to be at the center of the track then I spaced the other 3 about 6 to 8 inches.
Finally I use 2 more screws on the outside. You may not think so, but this makes a pretty cool bank.
I used spot putty to fill up all the screw holes. You do NOT need to use putty. DAP wall spackling is best. I was out of it so I used what I had.
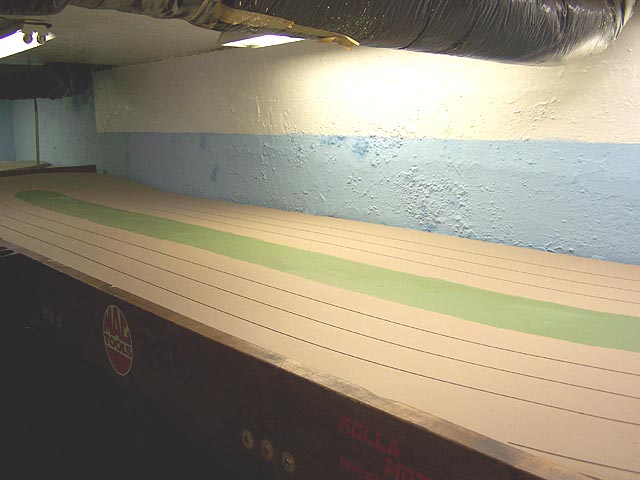
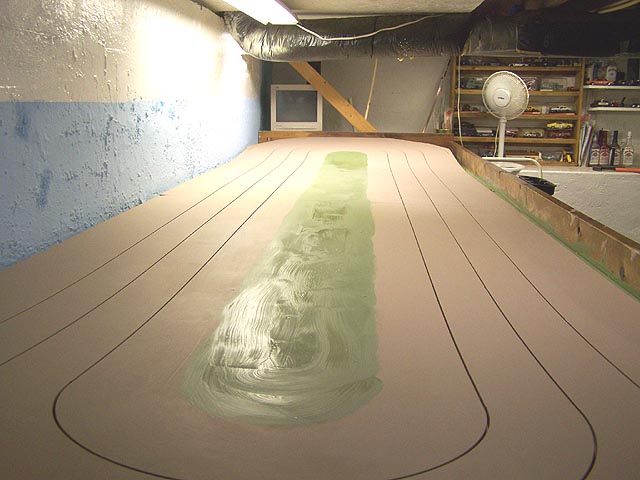
Ok, time to paint! We are making this track look more like a dirt track by using a light brown color.
We used VALSPAR FLAT LATEX paint found at Lowe's.
The brown is part# 2006-10A "Free Wheeling"...Perfect name huh?
The green is part# 6001-4B "Native Henna"
I was going to cut out the center, but did not see a good reason.
We have a habit of stacking cars there while we are playing and it also makes things easier to clean.
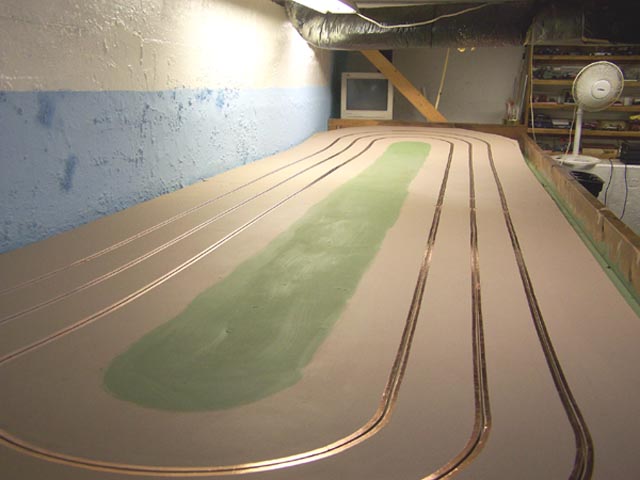
Time for taping. You can use just about any brand of adhesive backed copper tape.
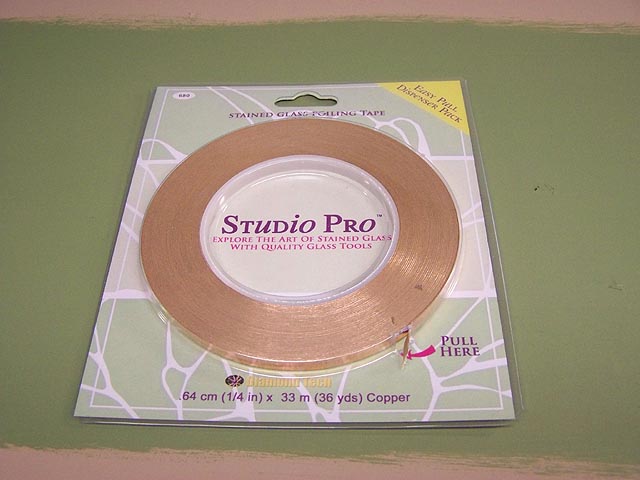
I chose this simply as it was on sale at Hobby Lobby.
To attach the wires to the tape, we notch out a small section and push the tape inside it.
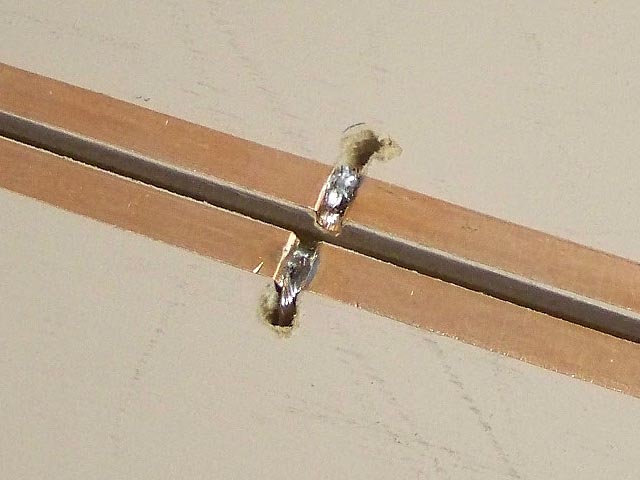
Then we lay the wire on top and fill with solder. It may not look fancy, but it works and the cars glide over it like it wasn't there.
Our wiring schematic is as simple as it gets.
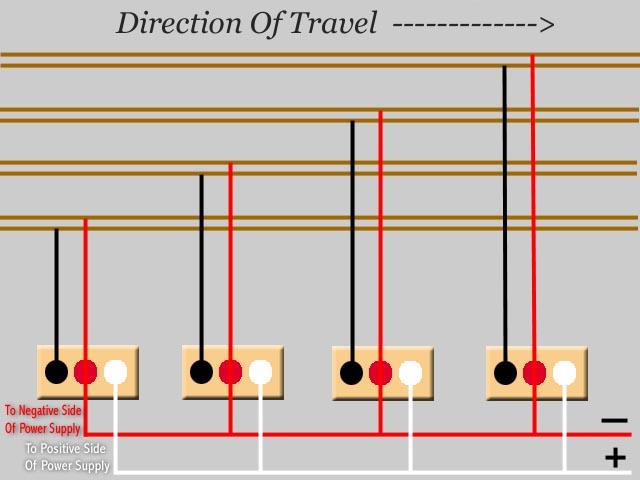
This shows 4 lanes, but I think you get the idea.
We are using PARMA 25 OHM controllers with a Pyramid 26KX Supply.
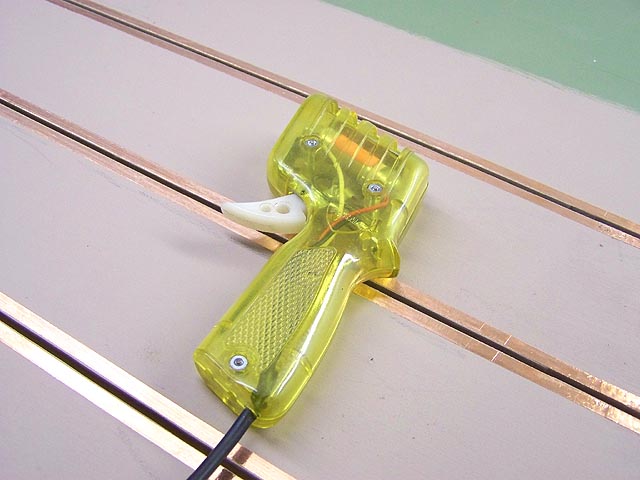
In my opinion these are the best controllers and power supply for home racing you can get for your hobby dollar.
Remember, we are keeping it simple. YOU can add any high end controller you want.
Although this one is new, the one on my other oval is going on 5 years without an issue.

The wiring of the controllers was accomplished by using the standard 3 bolt method.
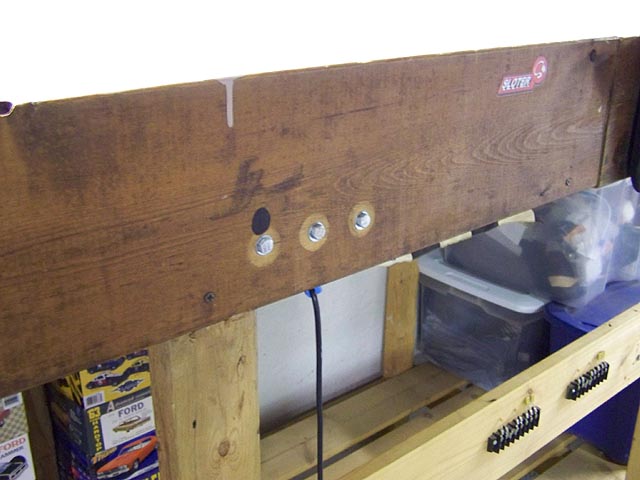
Except here we reverse the bolts so they do not stick out and hurt anyone.
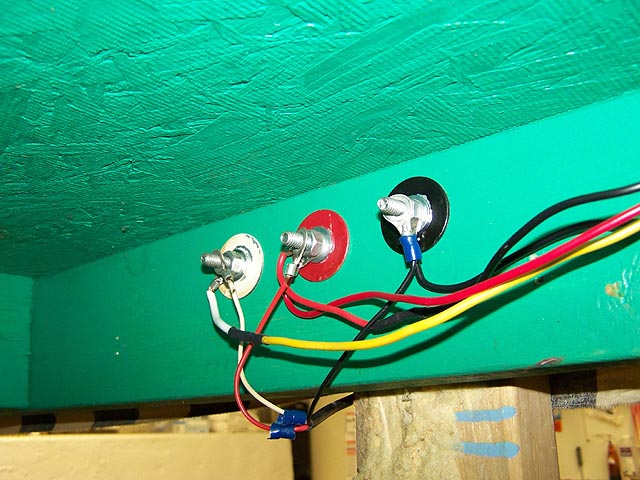
We also use loops on the controller ends and they are held in place by a second set of nuts.
The photo above has the controller loop nuts removed so you can see easier what we are doing.
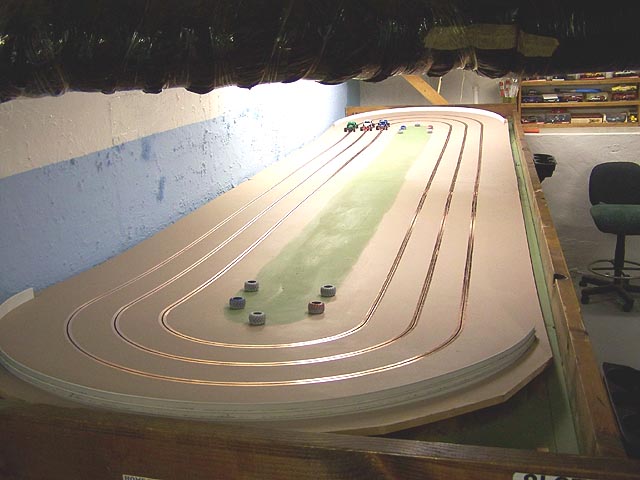
ALL FINISHED!
Except for a few details here and there to come later, she is combat ready!
All in all it took about a week to build.
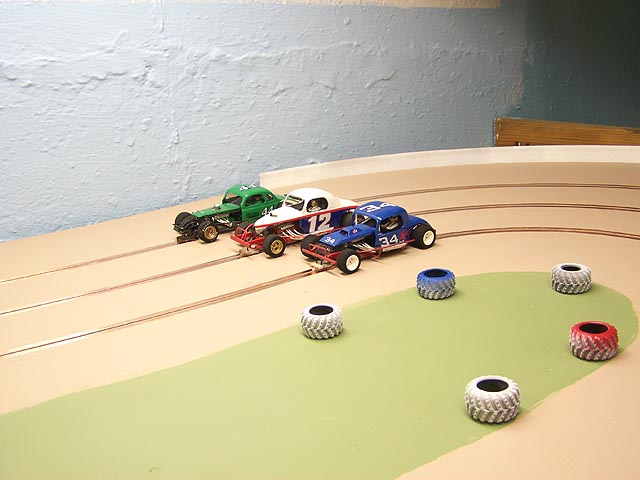
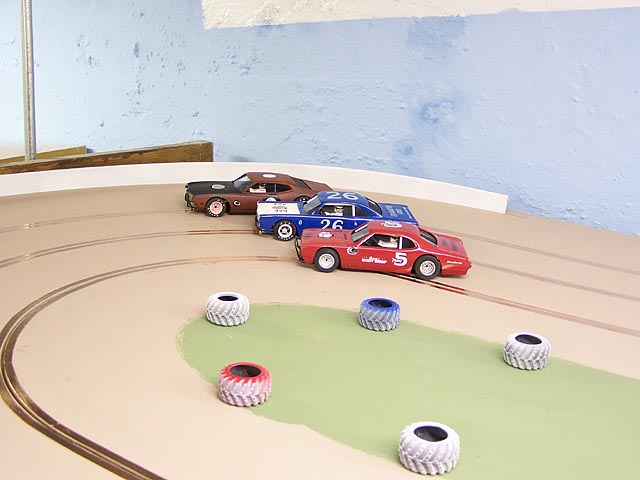
Plenty of room for our H&R Bombers, Modifieds and Coupes!
4 by 16 foot can be more than enough room to build a fun layout.
And sometimes keeping it SIMPLE makes things even better.
So what does it take to build a track like this?
2 Sheets 1/2 MDF (Medium Density Fiberboard) - $16.70 each
2 Quarts FLAT LATEX paint (brown/green) $7.00 each
2 rolls of copper tape (72 yards) - $6.99 per roll
3 PARMA Controllers - $25.00 each
Mounting hardware for controllers - $15.00
Wire. - $12.00
1 Power Supply. - $120.00
Check this out- ETRONICS POWER SUPPLY
$113.81 SHIPPED. That is a good deal for a supply that will last you many years.
How much? Around $284.00
That is a bargain in our hobby for a 3 lane track!
You can add a timing system later on when you need one.
For our simple fun, we can wait until next payday and just have fun!
This was a fun project and we are happy with the end result.
As much fun as we have building and racing oval cars, this track was the only real answer.
Never underestimate the fun factor on an oval!
- Harry
Copyright © 2009 HomeRacingWorld.com All Rights Reserved