
06/18/2012
06/18/2012

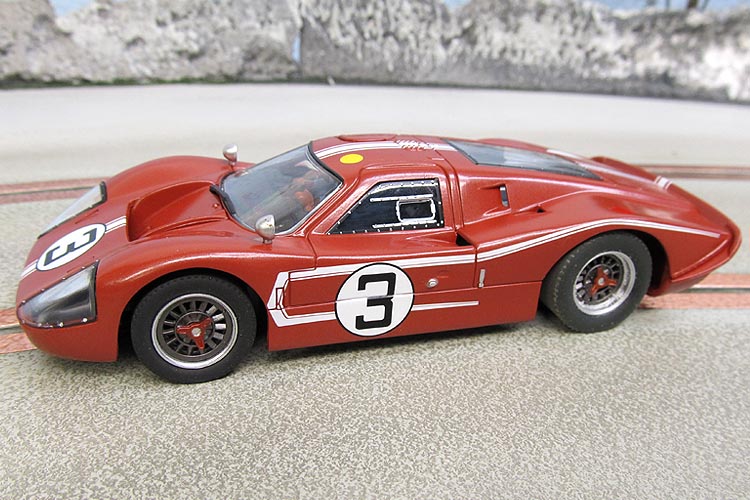
The MRRC version of the famous Ford MKIV has always been a favorite model of mine. As with models before and after it, the "Sebring" chassis is what we have as our platform to work with. With the help of fellow enthusiasts over the years I have learned a few ways to tame this chassis and truly make it a great classic performer.
Please remember these tuning tips are for my personal tastes. HOWEVER, some of the guide and motor modifications shown here should help you no matter how you like your models.
Parts List
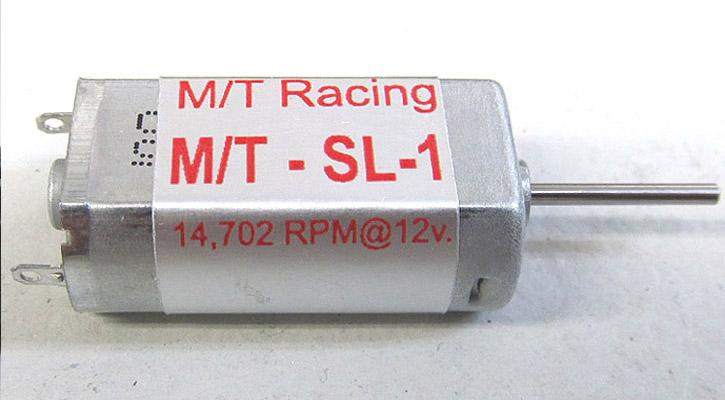
M/T SL-1 Slimline Classis Motor
FRONT END MODIFICATIONS
The first thing I like to do is address the front guide. The guide is fine, but the height needs adjusting. I also prefer to do a braid change. The stock braid is too stiff for my taste.
After removing the guide sand away the slight lip on top of the guide mount.
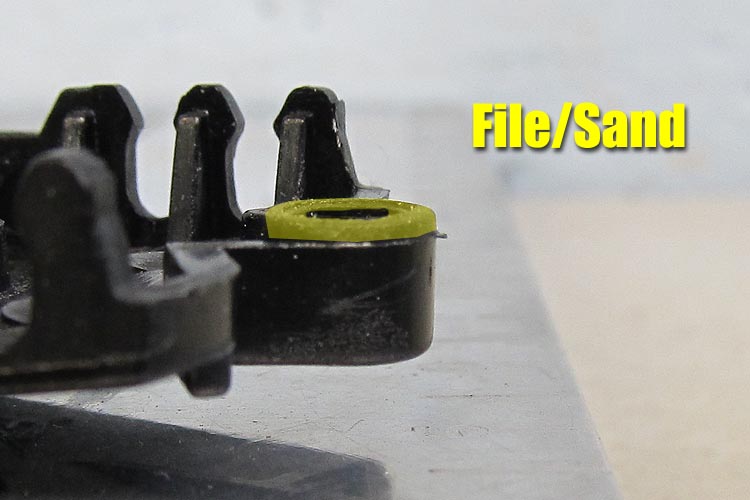
Doing this allow you to shim the guide down and allow you to get very close to that tripod effect.
Next, remove the stock braid and replace it with SCC braid. I like the SCC braid as it fits these guides well and is very flat.
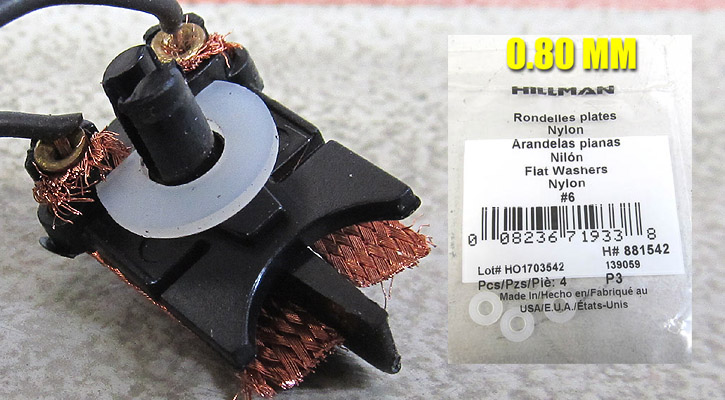
Once the braid is in place, install a shim on top of the guide. These nylon washers from Lowe's work great for this. Just trim one edge of it off with a pair of side cutters and it will fit in place nicely.
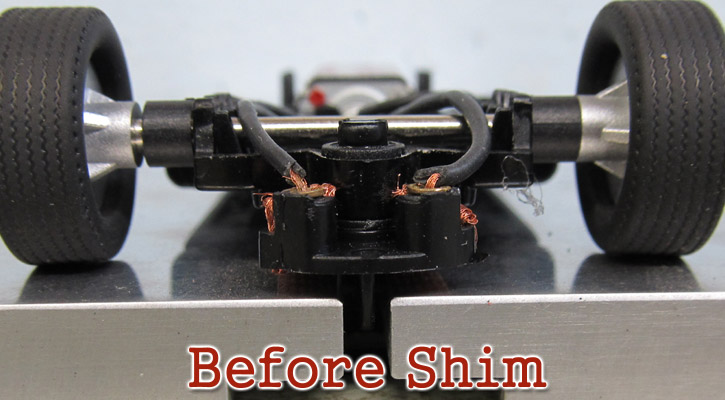
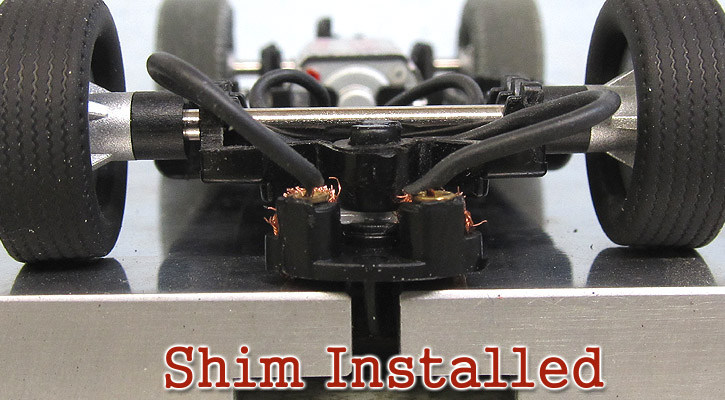
The above photos show you how the shim really helps lower the guide and improve the ride height.
Next we need to shim the front axle to reduce the roll effect. I like to use either a flat plastic shim or tubing.
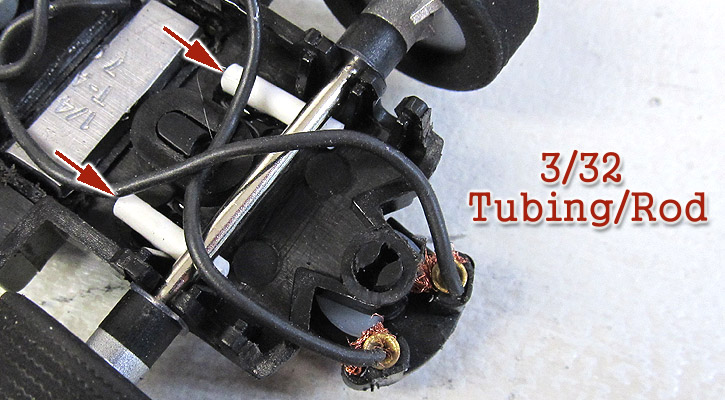
Slip the tubing under the axle until the axle spins freely but almost all gap between the tubing and axle is eliminated.
MOTOR PREPARATION
Our next project is the motor. First, I replace the stock motor with one from M/T Racing. I like the milder action this motor has over the stock version and it gives the car a great classic feel.
Before we install the motor we have to add a part to it. After you install the pinion you will need to install tubing on the end so the motor shaft end is the proper diameter for the crown gear.
*You need to perform this step even if you stay with the stock motor.*
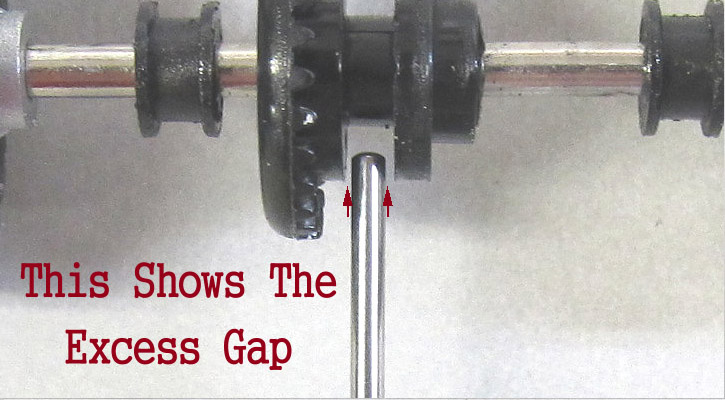
MRRC uses a crown gear that leaves too much gap and allows excess side to side play causing premature gear failure.
It is also a source for the excess gear noise they have.

The tubing slips over the motor shaft and allows a more precise fit.
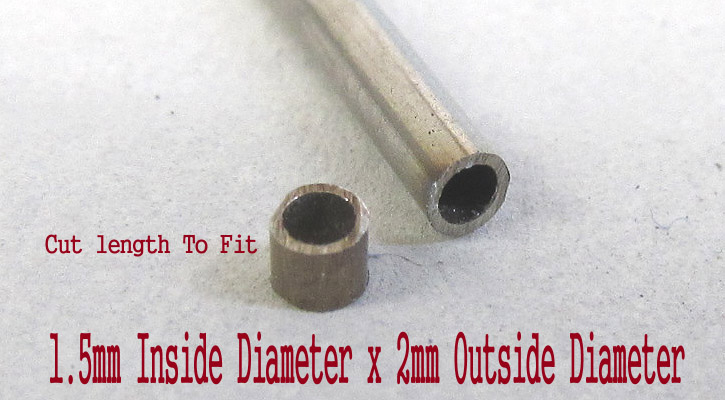
Cut a small section off using your Dremel sanding disc or you can use a small razor saw.
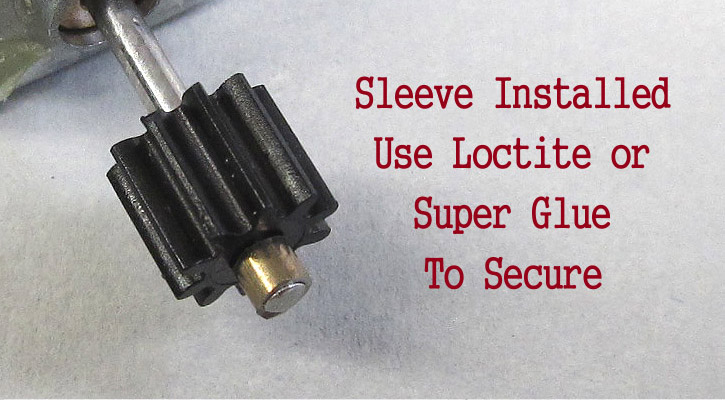
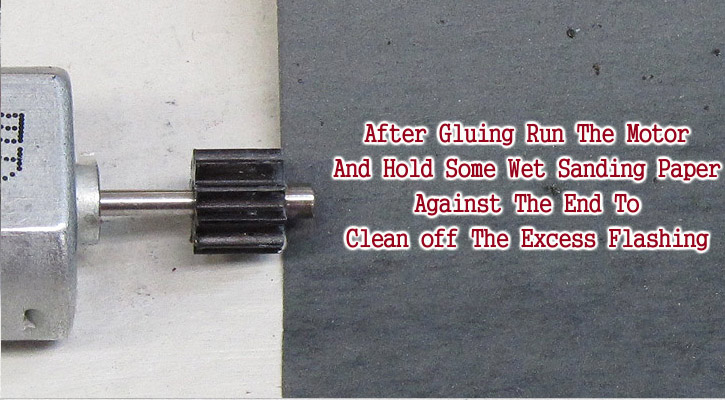
Install the sleeve and then clean up the edges.
WHEELS & TIRES

Paul Gage makes an excellent replacement tire for these models. Make sure you use these tires as it has an offset groove inside.
Before installing, make sure you sand the wheels to make sure any flash molding is removed. If you have a tire machine like a RAZOR, this is the perfect time to use it.
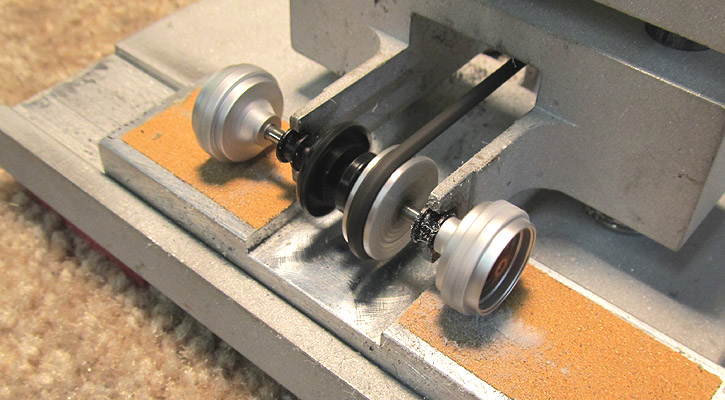
If you do not have a tire machine you can do it by hand. Either hold a sanding barrel from a Dremel or Emory board against the wheels while they are spinning or sandpaper taped to you your track.
Once your wheels are clean and you are ready to mount the tires, coat the wheels lightly with adhesive. These tires fit very well, but might expand using the stock, higher RPM motor. I use clear nail polish but you can use anything you prefer. For easier removal you could use clear silicone adhesive but you will have to wait for it to fully cure.
MOTOR INSTALLATION
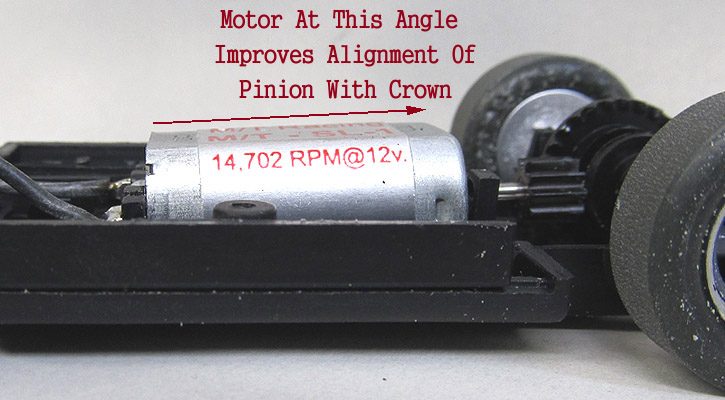
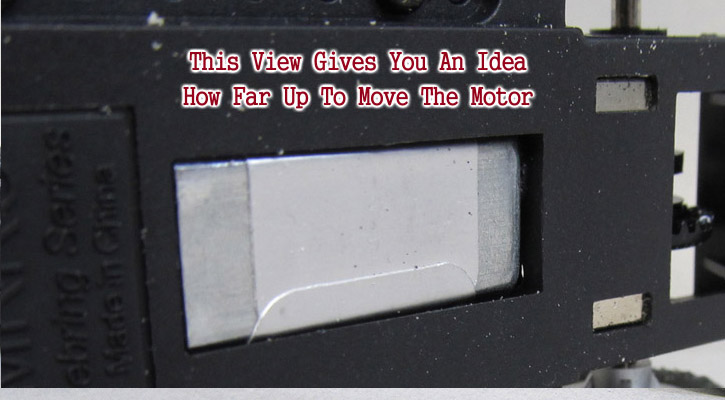
Now we can install the motor. Using just a little pressure, you can angle the motor slightly from underneath. You do not need to alter the chassis to accomplish this.
This improves the gear mesh and really makes a difference when trying to achieve quiet and smooth operation.
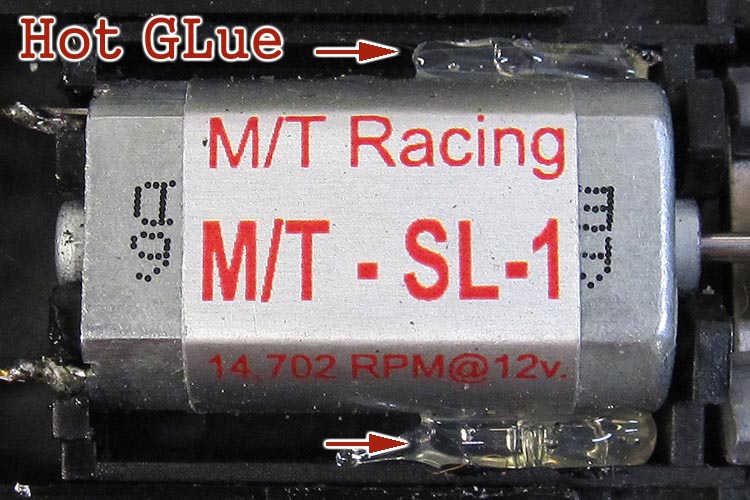
Using regular hot glue, flow a bead on each side of the motor.

Then run another bead from underneath. This will secure the motor.
FINAL ASSEMBLY
Test run your chassis first to make sure the motor is secure and it is handling the way you think it should. You might need to sand the front tires or add another shim to get your tri-pod effect correct for your track surface.
After this, install the body and begin enjoying one of the nicest looking classics in our hobby.
Once you take a little time with these chassis, the results are well worth the effort. You should now have a silky smooth classic car ready for battle.
- Harry
Questions or Comments? CONTACT ME
Copyright © 2012 HomeRacingWorld.com All Rights Reserved