
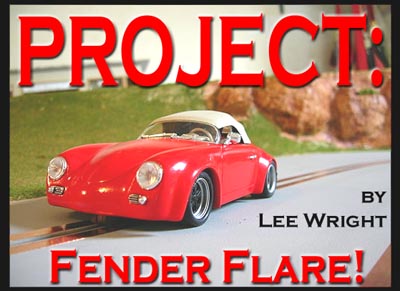
Thursday December 06, 2007
Thursday December 06, 2007
After I finished the first Ninco Porsche 356 a lot of people wanted a “How To” on the fender flares I made for the car. I never took step by step pictures on that car so when I started on a new one I did to make a little article about the process. So here is my little article of how I do them.
Starting off:
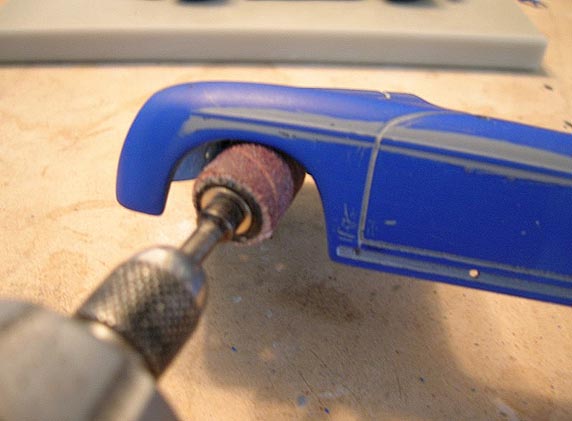
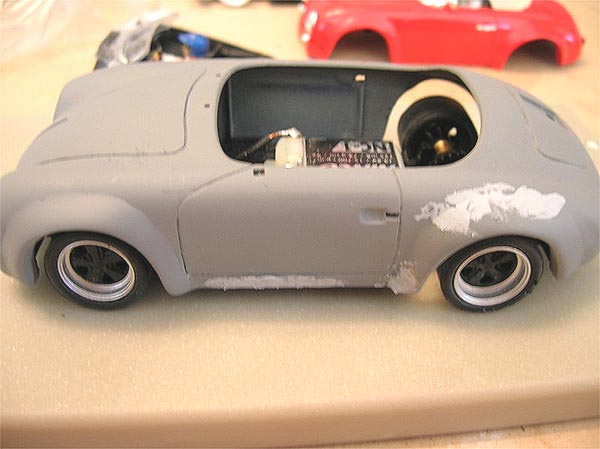
I start off by selecting the wheels that will be used on the car and see how they fit with the body on and see what needs to be trimmed to make things fit. On this car with the wheels I chose, the body around the wheel wells needs to be trimmed. To do this I use my Dremel with a sanding barrel (see photo) to trim away at the body.
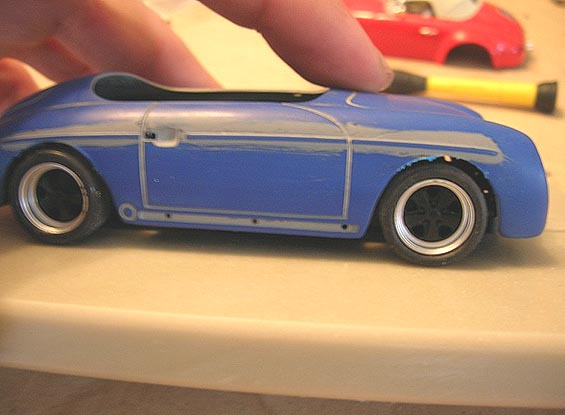
After sanding the body I test fit it to make sure the body fits correctly and enough has been trimmed away.
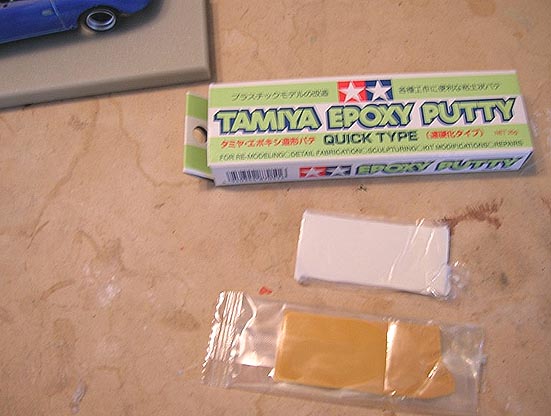
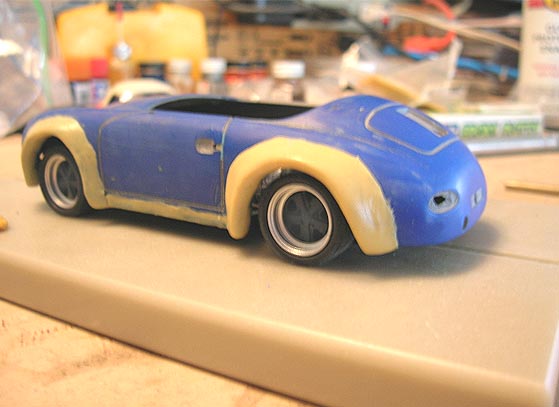
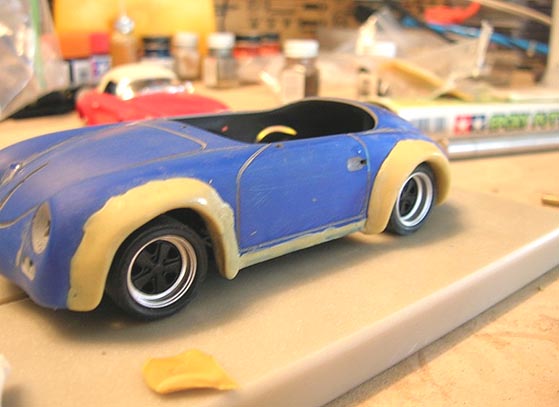
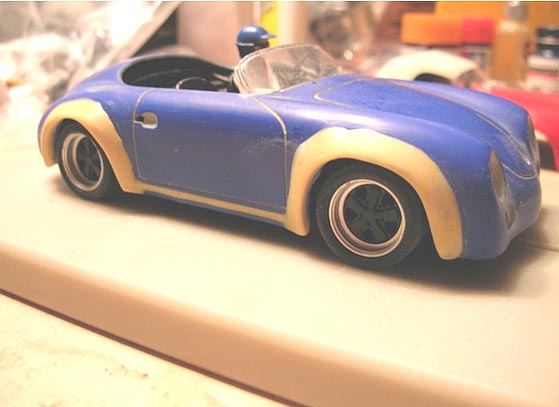
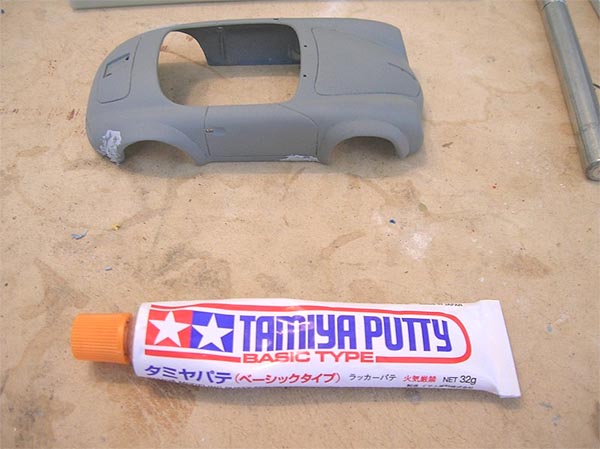
Now with the wheels and the body test fitted it is time to start making the fender flares. For this I use Tamiya 2 part epoxy putty. I cut two strips of each, the gray and the beige putty about a ¼ inch wide and knead them together until it all becomes a beige color.
I start to apply it to the body and form it around the fender area. I try to work it as close to the shape I want them as I am applying it to the body. With the Tamiya putty you can use water on your fingers to smooth it out as you are working.
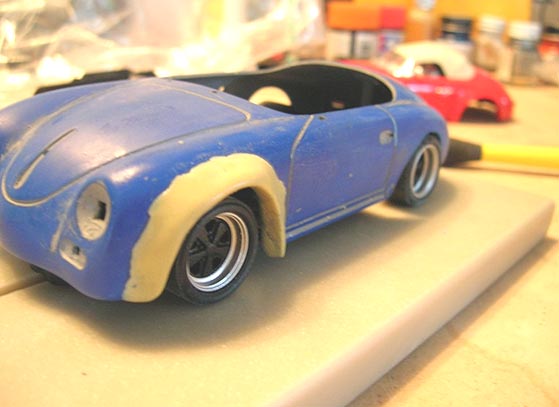
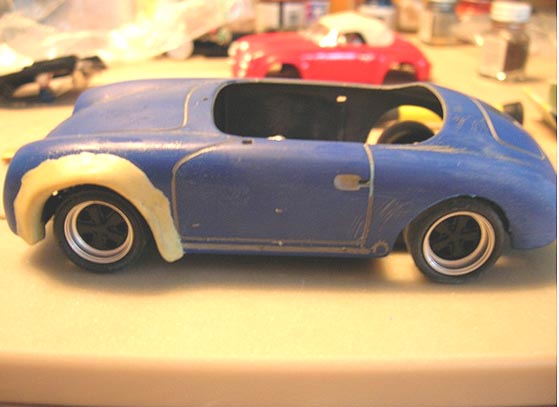
After I get the first one done as close to the way it will be, I go to the rear and try to shape it to match the front. Then from there just continue on to the other side of the car and do those. Once both sides of the car have been done I usually let it dry overnight before I start sanding them.
Sanding and Shaping:
When I start to do the final shaping of the fenders I use a combination of sandpaper, fine grit sanding pad and a Dremel with a 320 grit abrasive finishing buff. I start off with a 150 grit sandpaper and take off any rough or out of shape spots it may have. I then use the sanding pad because it forms to the shape as its being used and I find it just works better. Once everything is shaped evenly and looks correct with the body back on I use the finishing buff on the Dremel to go over everything and finish everything off.
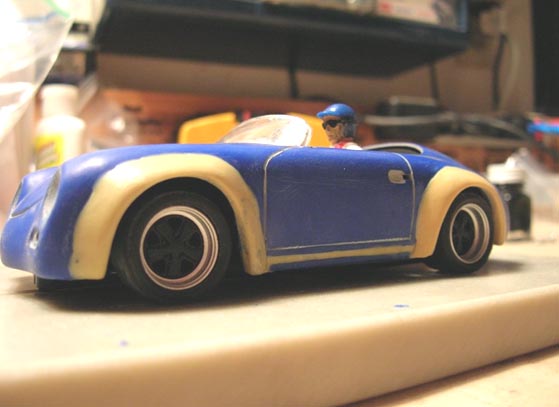
Once everything is smoothed out and shaped I spray the car with a primer to show any imperfections that were missed. I will then use a spot putty or glazing putty to fill in any rough edges where the fenders blend into the body.
I give that a few hours to dry and use the sanding pad and abrasive buff on the Dremel to finish smoothing everything up. The body should now be ready for primer and paint.
Conclusion:
It really isn’t as hard as it looks to do this kind of modification to a body, but it does take patience because the shaping and sanding takes time and can be very tedious to get it just the way you want it to look.

There are different ways of flaring fenders but this is the way I do it as the extra work involved and all the sanding doesn’t bother me because its pretty fun to see the car take on a whole new look right before your eyes.
As always if you have any questions I will be more than willing to help just send me a email at: CrewCab@tampabay.rr.com
- Lee