
"Recreating The Glory Days Of Racing...One Jalopy At A Time"
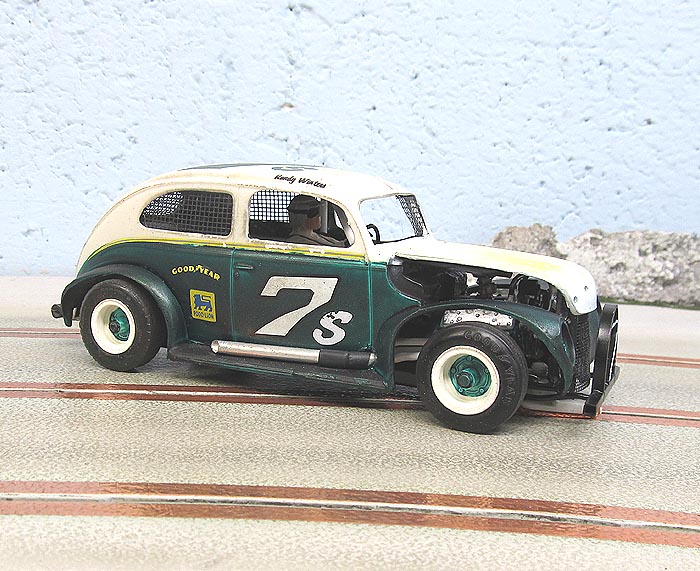
Here is a project inspired by Kevin "Cheater" O'Connor. He built a couple cars in 2 different styles. One of them was an old coupe with shaved fenders, skinny tires all the way around, HAWK 18K motor and custom urethane tires on the rear.
The body is from another friend and fellow modeler Jim Troye. Jim won a box full of pre-built kits and gave me one. It looks great, but had some missing parts so there was a slight amount of custom work to do.
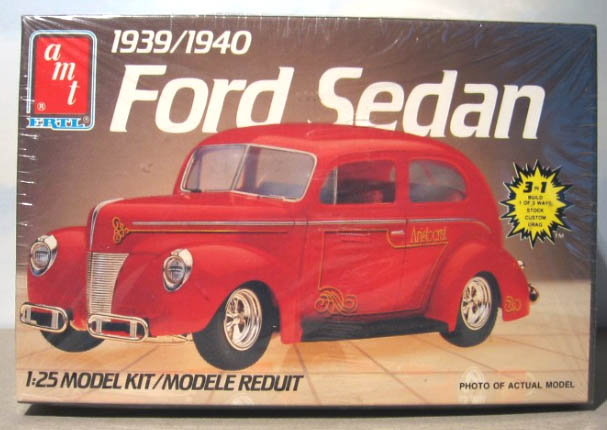
The model used was the same as this mold in the AMT kit.
For added inspiration all that was needed was a quick cruise through the web. Among many photos I found this one to be close to what I wanted to do.
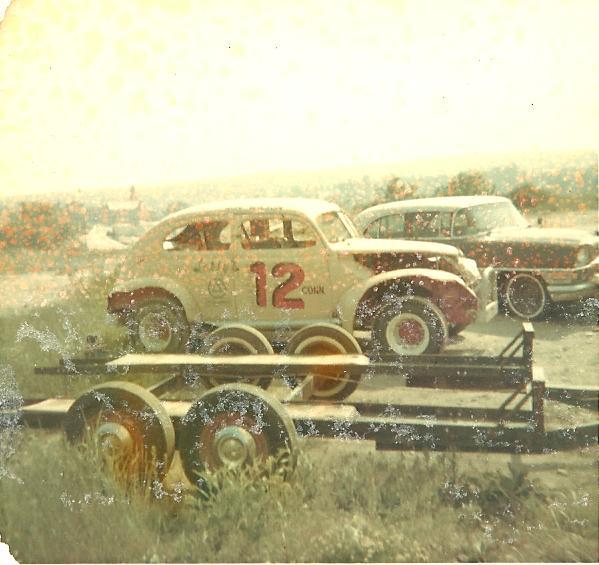
It is not a perfect match, but it has the style I like. Especially the drain pipe exhaust running down the side.
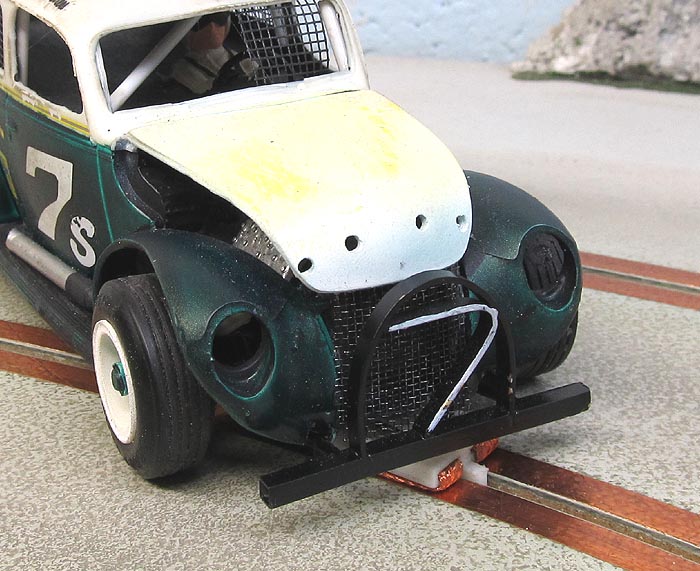
I had this AMT kit for a long time and it comes with 2 different hoods. So instead of trying to shape one myself, I modified this one. I drilled some holes in front off center to look more the part of an old jalopy.
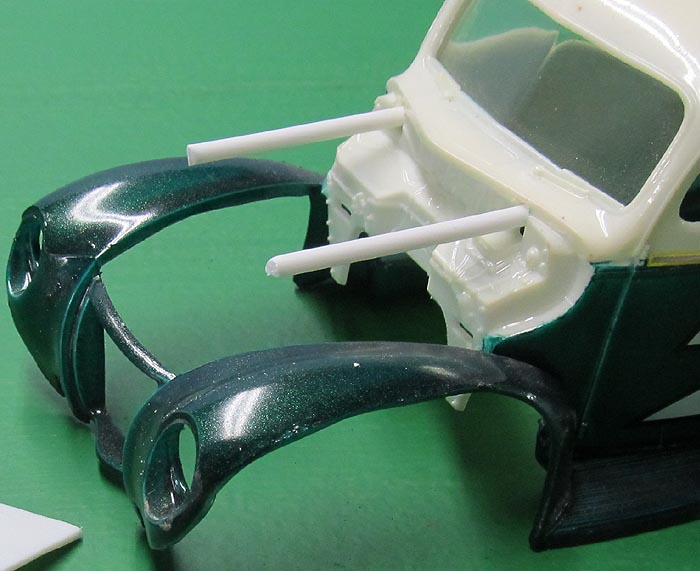
I used styrene tubing to help support the hood. Remember, this is not a car for looking at...it is going to race and race hard.
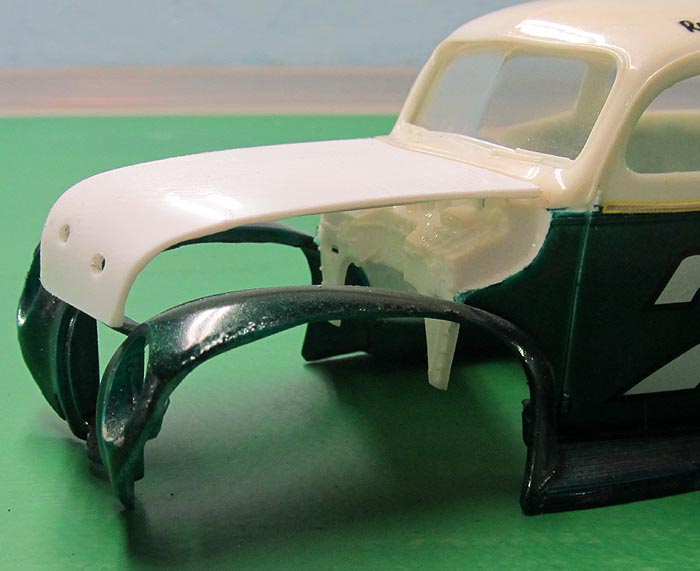
So far so good. A little more shaping and it is time to paint.
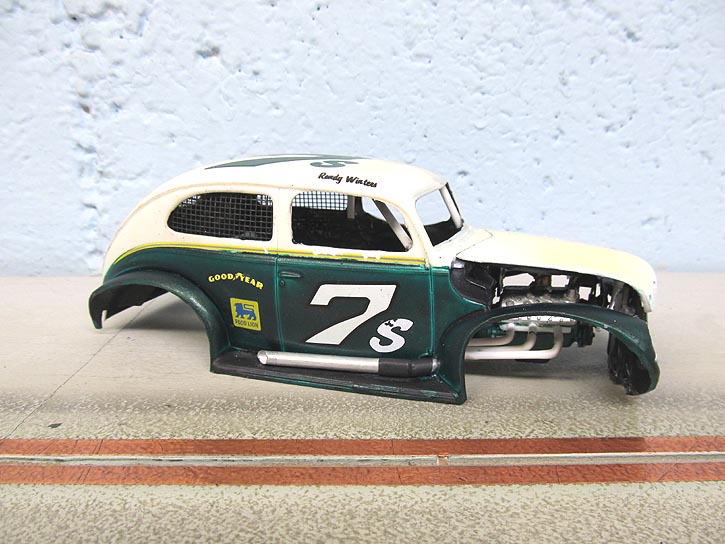
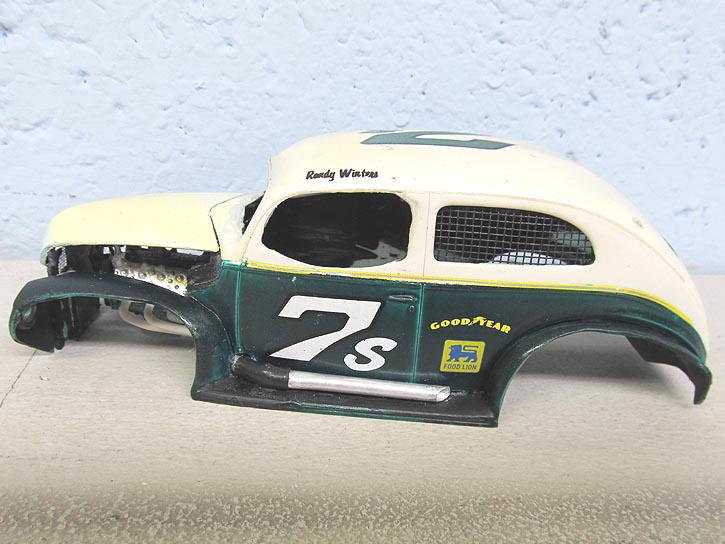
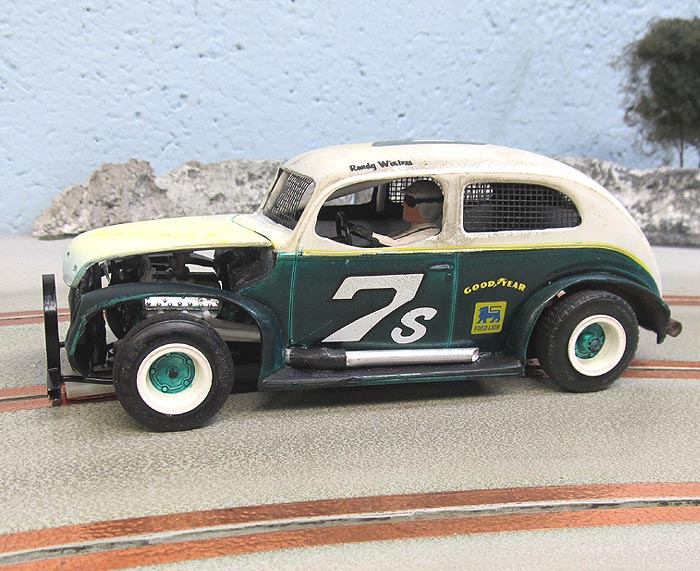
I also took the flathead motor from this kit. I drilled holes and used styrene rod for the exhaust. Then I cut some aluminum tubing and used shrink tubing as a "collector". Ran this on the running board and we have what is shown above.
Cut some more tubing to make visible bars. These bars in the A pillars are not just for show. They help strengthen them. I have lost many a body to these breaking. Finally, added our trusty screen in the rear windows. Trimmed out the drivers window a little more so our driver can crawl in and out :)
The hood was a hard match to the existing paint. I had to coat the base green, as the previous owner painted it all green then white. Plus it has aged and yellowed due to using Future for a clear. I sprayed white, then a dusting of yellow and then white again. The effect works close enough for this old jalopy.
Time to start working on the chassis.
In the spirit of this build, I continued to use old, leftover parts from the "boneyard".
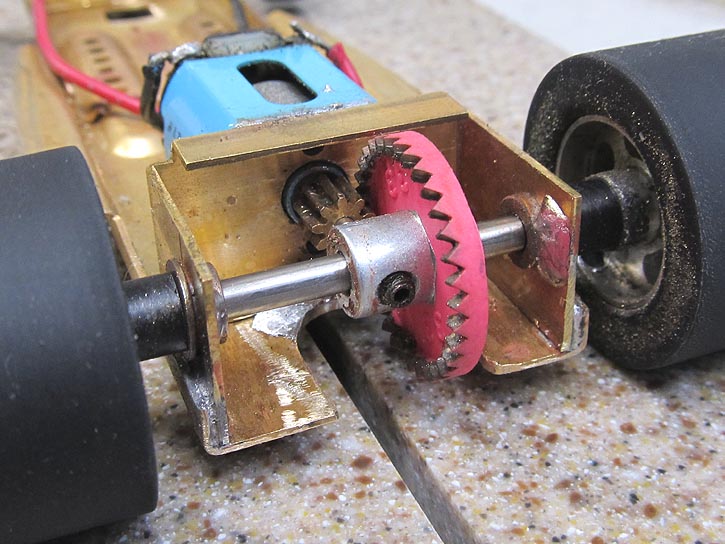
I used an older "scrap" H&R rear bulkhead. The motor mount tab and axle holes were damaged so I cut away the old uprights and motor tab and used a motor bracket that Smith Scale Speedway sells and soldered it in place.
I had to trim away the bottom for the gear to clear. It still will have "Cheater Legal" ride height and it has standard H&R gearing of 9 to 33.
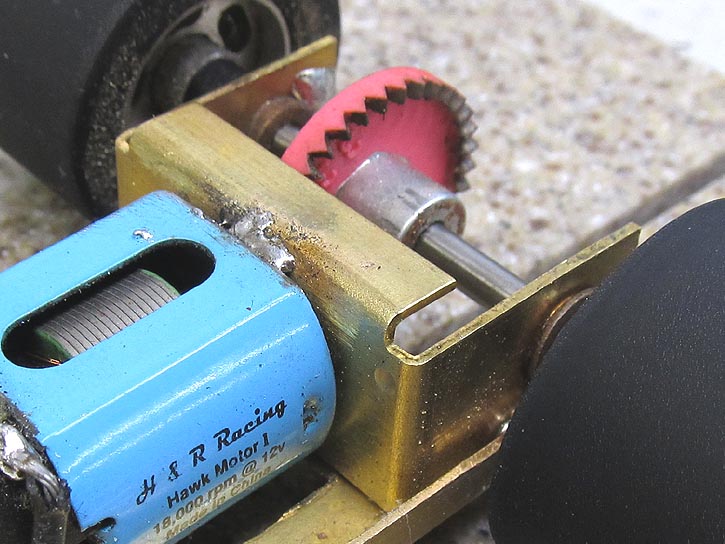
I tacked in the motor for testing. All our Jalopy builds use the 18K HAWK motor. More than enough speed for fun and it keeps the cars running more to scale.

I trimmed the front axle bulkhead down to just the uprights I needed and sanded the rest away. Using a brass rod for a front axle because I am cheap like that.
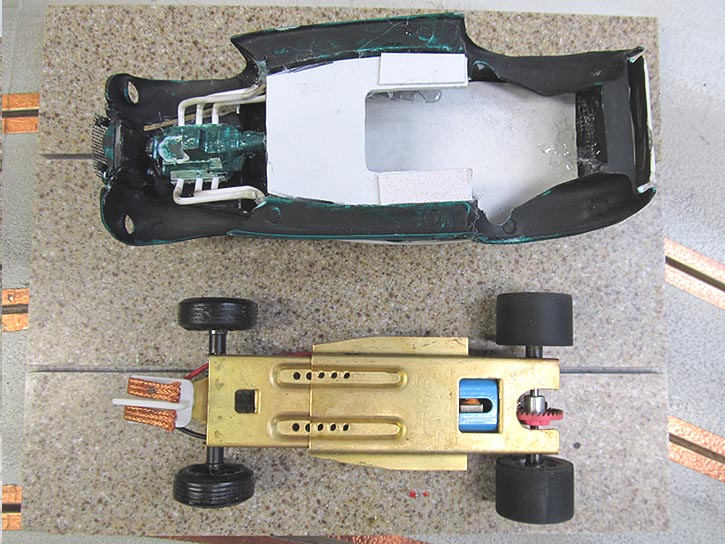
Trimmed the side pan to match the contour of the body for mounting.
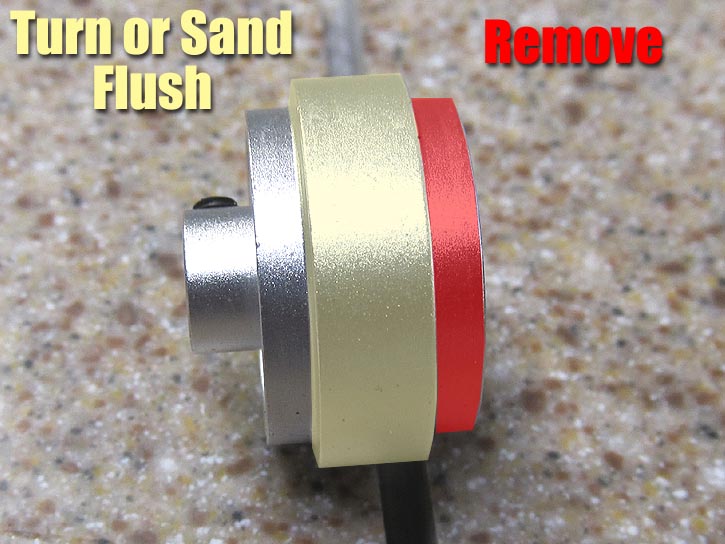
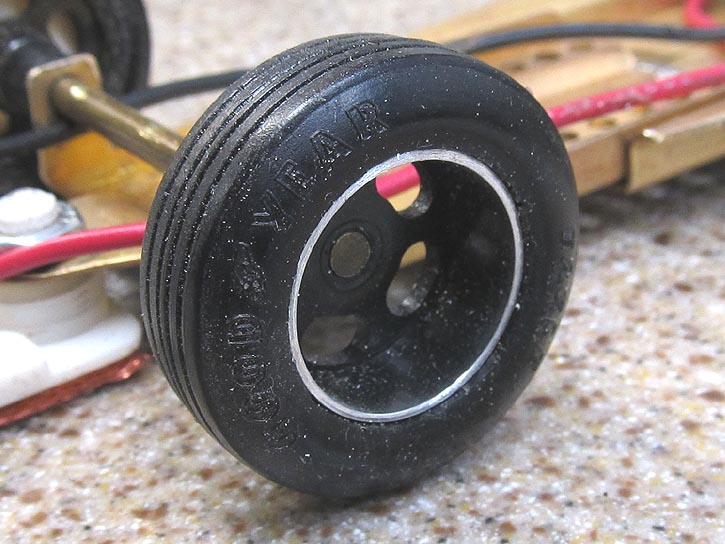
Found some older H&R wheels that had the hard rubber tires on them. Both had been in some hard crashes and were bent badly. I straightened them out the best I could by mounting them on a steel axle and using pliers. Not perfect, but actually better than I expected. Certainly true enough for my fronts.
I had to turn down the center rib flush and then I sanded the front of the rim flush as the above photo shows.
This gave the width I wanted for the MOPARDEVIL Custom Tires on the front. He has some great molds of classic tires and has shared them with us in the past year or so.
I used clear nail polish to set them on the wheel. This allows you time to adjust the tire to the wheel. I gave it a slight recess for scale appearance.
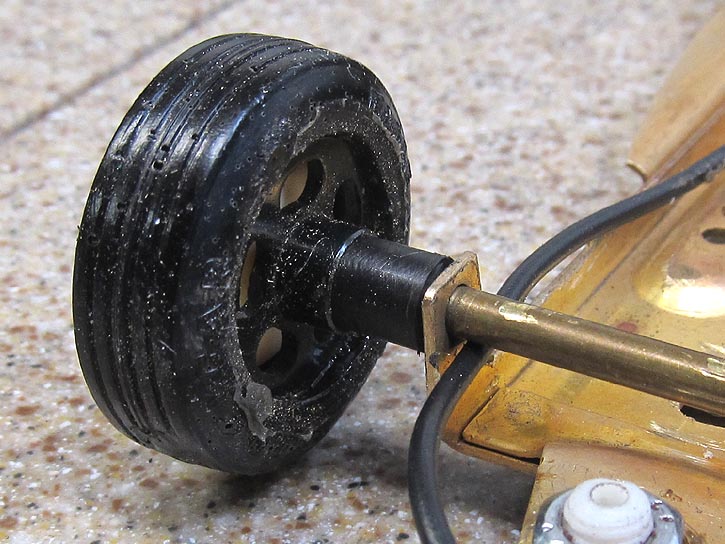
Painted the inside black to "hide" it a little better. Little more sidewall here, but nothing too bad. You can now see how I trimmed the front axle carriers a lot better.
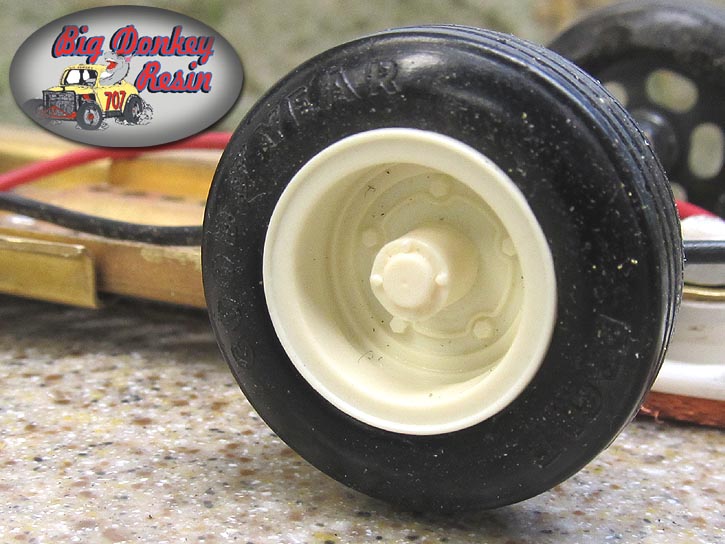
Used the Big Donkey Resin Wide 5 inserts. The recess allowed it to sit about as good as it gets.
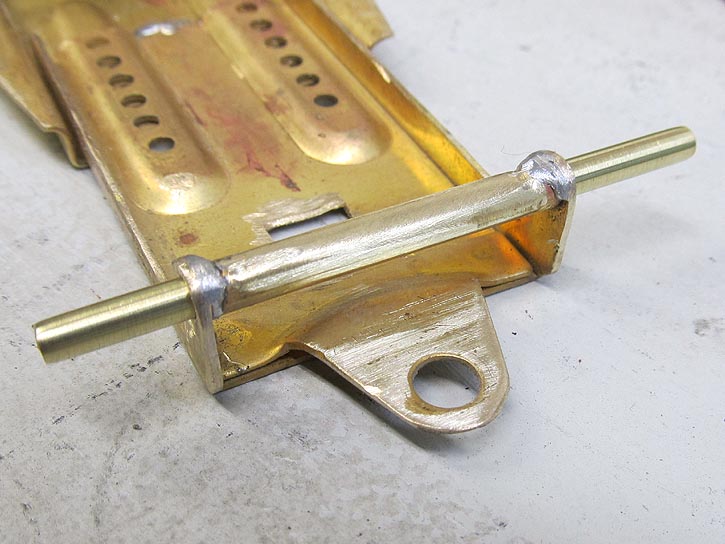
Time for some more chassis work. Decided to isolate the front axle using brass tubing. This is always a good idea to help keep the guide wires from rubbing in tighter areas like this one.
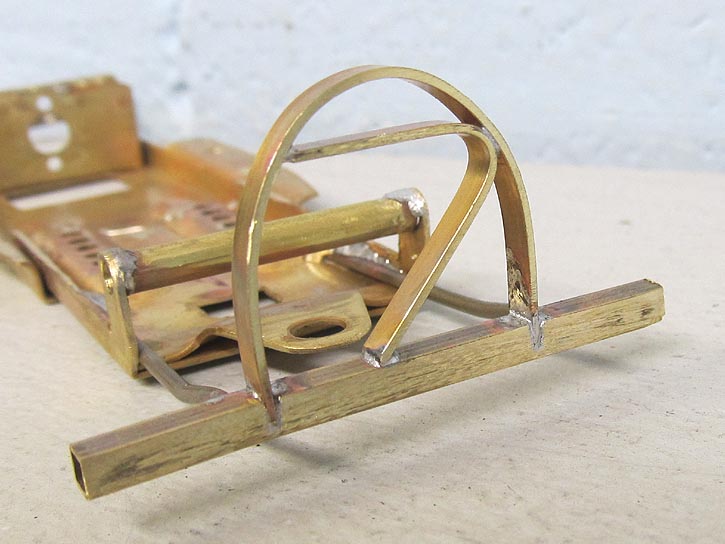
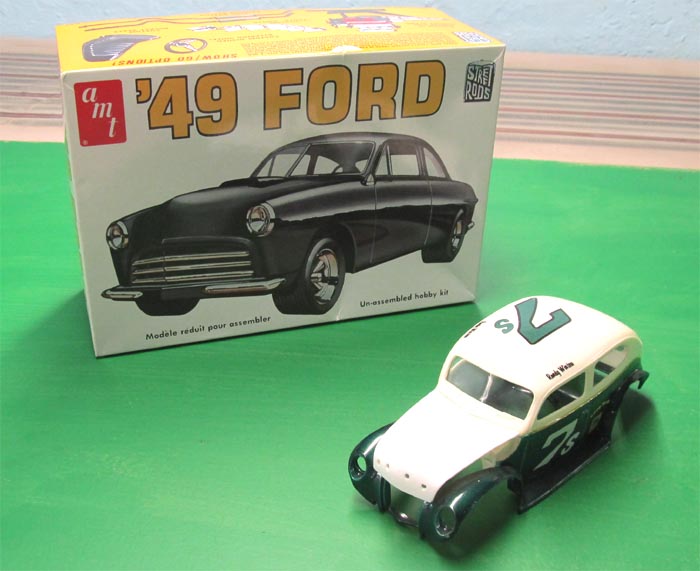
Had to get a little creative for the front bumper assembly, the 1:1 boys certainly were! Old #7 comin' at ya!
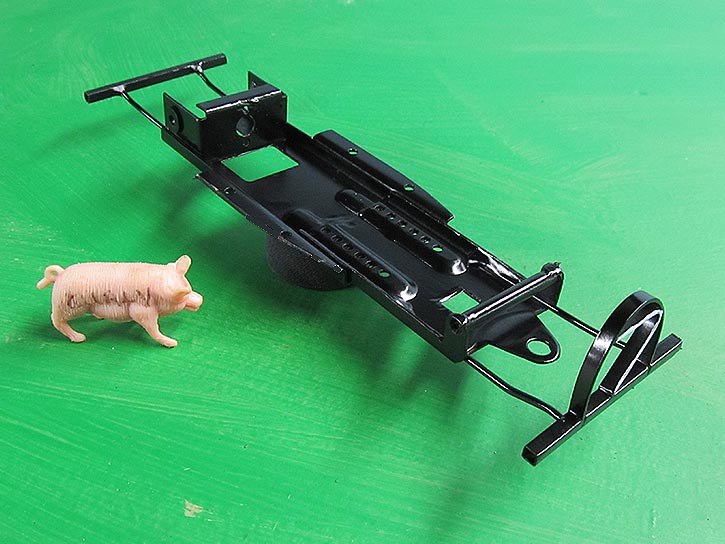
Chassis is finished. Road tested first and then a trip to the paint shop. Classic black will do and it appears old Curly approves.
All finished! I did not like the look of the rear bumper assembly so I made a different one glued right on the body.
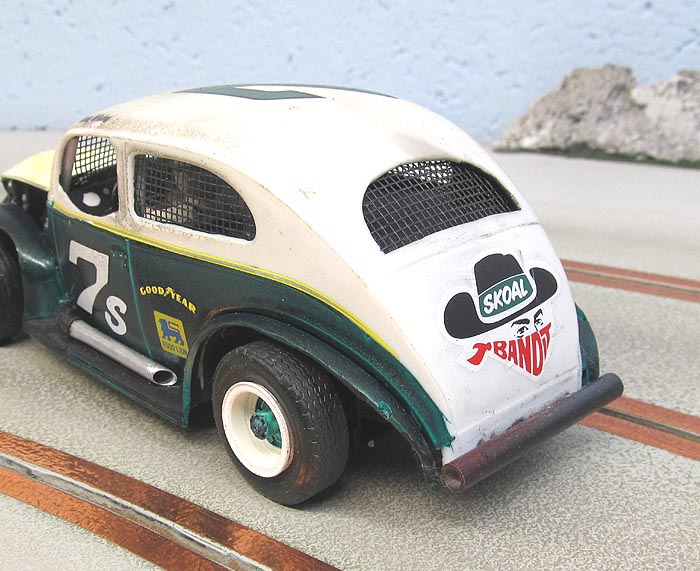
These scale tires are urethane and really hook up well. I really like the looks of them.
This was a very fun project. I rarely have a body in this condition to build around, so that challenge made this even more enjoyable.
It won't win any model contests but it captures the spirit of these old hammers well enough for me.
Hope to see some of you build a few in the future. I have many more to go :)
- Harry