
Building "MidMo International Raceway"
This is a very special project. We have always wanted a routed road course and when my son left to join the Army, he left behind nearly half of our basement to work with. What was great about this space is that it did not have the huge "cap" that has been poured in the other areas of the basement. This meant we could build a track with a more traditional height to it compared to our other tracks.
After building our own oval and several other routed tracks, we knew what we wanted for the most part. Space was still an issue but more than enough to create a decent and challenging course. The area is 4 by 16 feet. Since we already had a 4 lane 5 x 16 oval in wood and a 4 lane 4 x 16 Artin plastic track we chose to only go 3 lanes. This would allow us a slightly better radius to use so things were not too tight. Given the fact we do not have a large group of racers living or racing near us, 3 lanes would be a perfect addition for this course and expand our basement to 11 lanes of total racing.
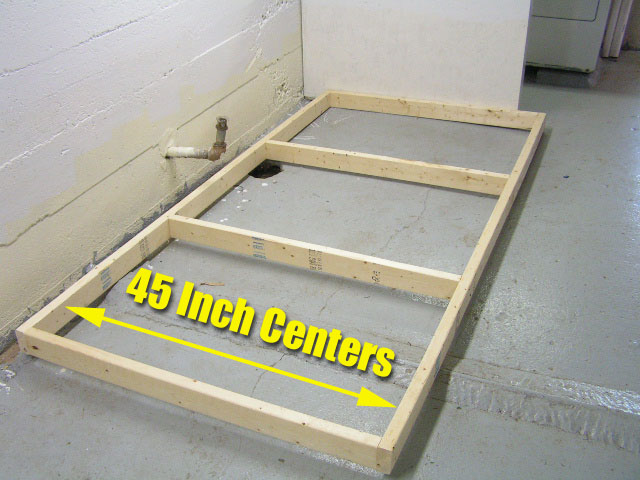
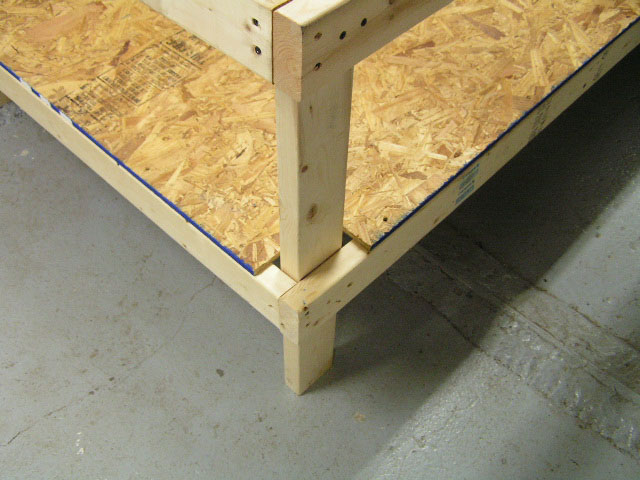
Our first task were the tables. We used traditional building techniques to construct two 4 x 8 tables joined on end. We built these with a bottom shelf section for added storage.
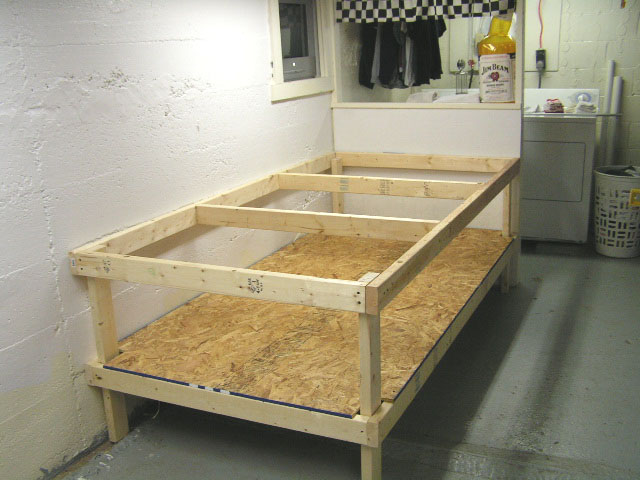
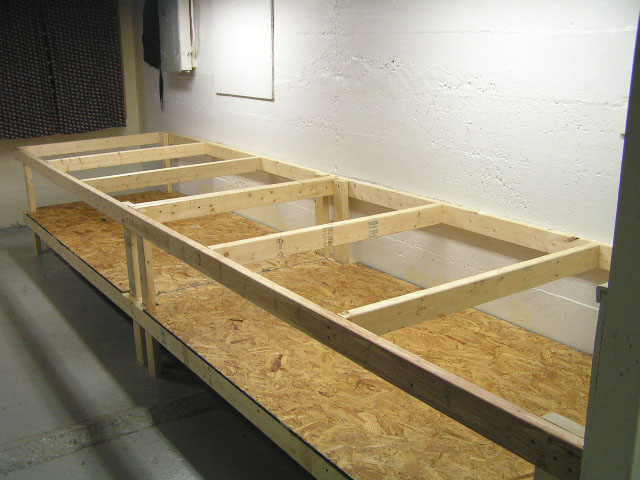
The top and bottom frames are identical. We just notched the OSB to fit around the table legs.
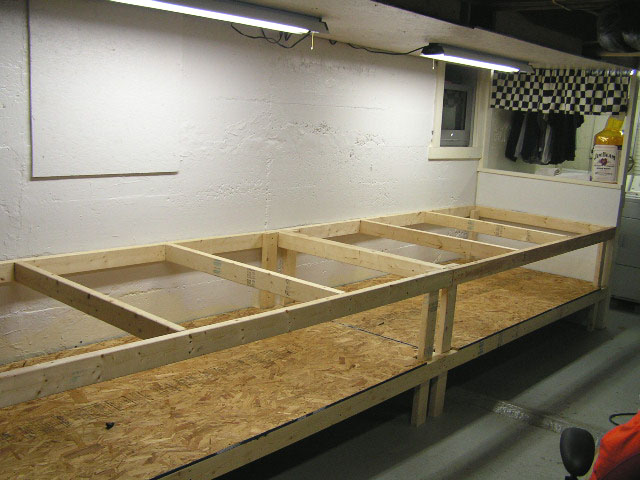
Tables are completed and ready for some MDF!
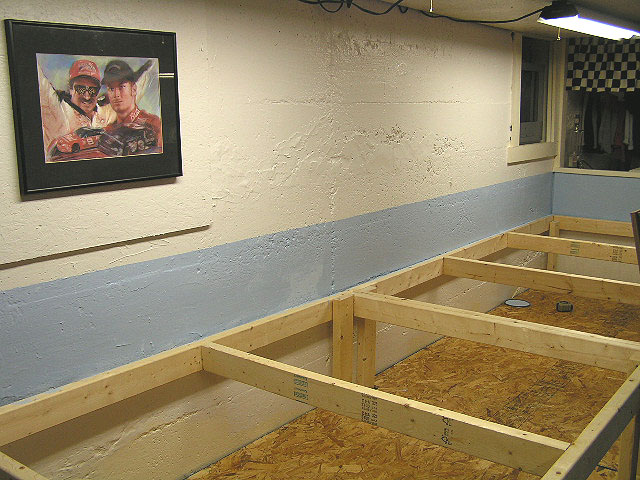
Before we laid down the MDF we painted a simple sky blue backdrop. This is not much, but does add a little more scale appeal and helps create some better photos up close.
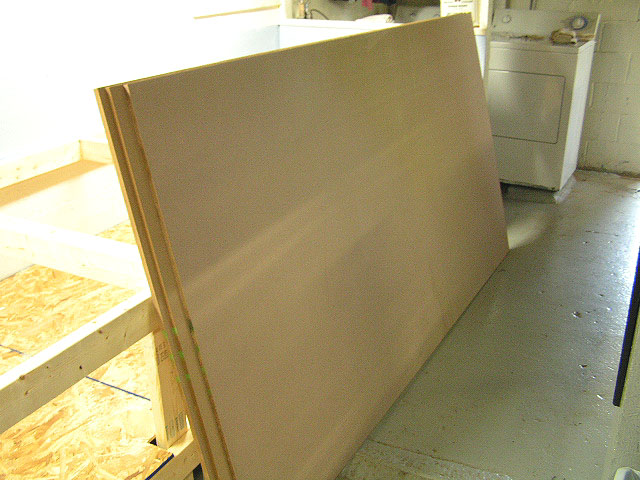
We are using 1/2 inch MDF. I had the folks at Lowe's cut off one inch off the ends and sides to make it a true 4 x 8. (Most MDF comes with this extra inch as to make up for any slight damage to the edges in shipment,)

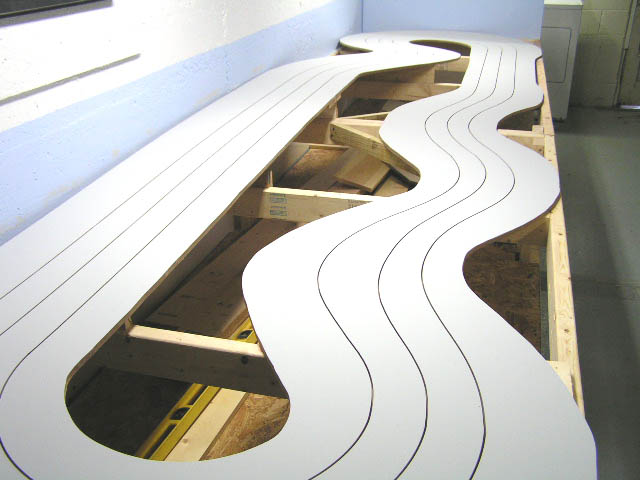
With the MDF laid flat on the tables, it was time for the design. I was going to use 3 1/4 inch lane spacing with plenty of apron on the outside for sliding. After drilling the radius gauge, it ended up being just a shade over 3 1/4. No matter...it worked:)
These methods are covered by the great Luf (OldSlotRacer) of Archer Raceway. His video and tools were used for this track and highly advise anyone wanting to build a wood track to order them.
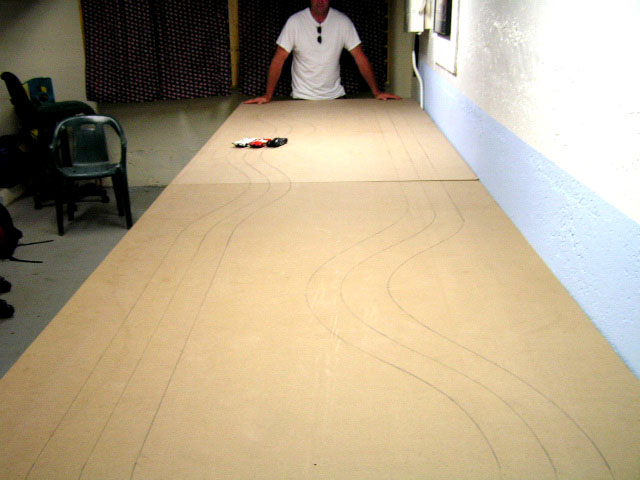
To be honest, I did not know exactly what I was going to do until I had a chance to have the MDF and work with it. Sometimes this is the best way. You can have all the fancy software and tons of track plans at your disposal, but nothing beats just getting the wood down and taking the time to draw it out. The above design was what we settled on. I must have penciled in 3 to 4 different plans before we came to this. You may not think so, but this can be a lot of fun. Draw one out, look at it and try another. Envisioning what you want to create.
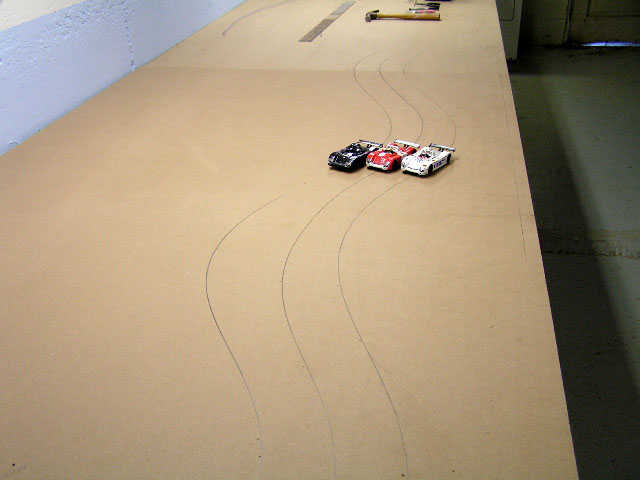
I am not much of a fan on squeeze sections, or at least drastic ones that put the cars on top of one another. However, I did want to tighten up one portion of the layout. Here we see the chicane area where we brought the lane spacing in a 1/2 inch and then bowed out the inner lane a touch. After racing on it now, I think we made a great little area that enhances the racing action.
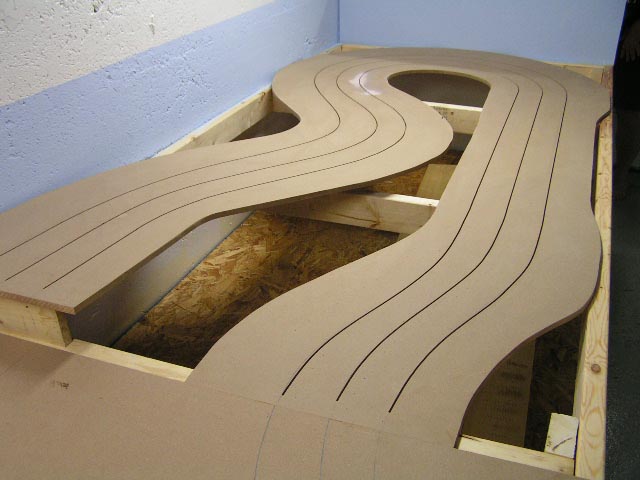
The first cut is completed. Nothing motivates you more than cutting in your first section:)
You also see where I made a mistake on the inner lane. Nothing that Bondo cannot cure. So those who might be a little intimidated by routing your own track, don't be. Make a mistake? No problem. It CAN be fixed.
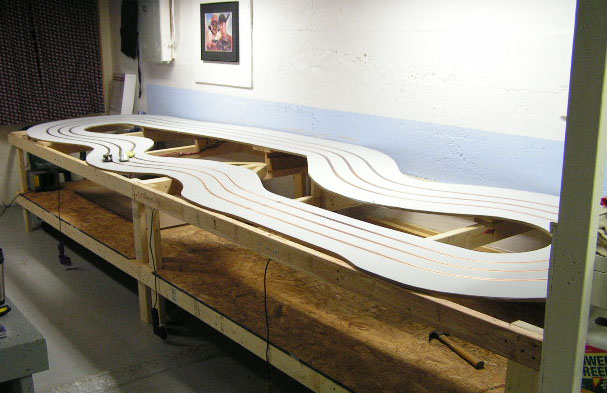
You also see on the left where I am playing with elevation changes. I simply used 1 x 4 pine boards and screwed them in place. I moved them several times to get the track where I liked it.

The second half is completed.
I routed both sections outside except for about 6 inches where the track would be joined. Unfortunately I did not get photos of it, but I think you get the idea. Once the other section was put in place where we wanted it and it was secured with screws, I routed the final transition to make sure we had it perfectly smooth.
Does it make a mess indoors? It can, but using a shop vac cleans that up nicely. In fact, we used Luf's method and held the end of the vac right next to the router and this cut down a lot on the dust.
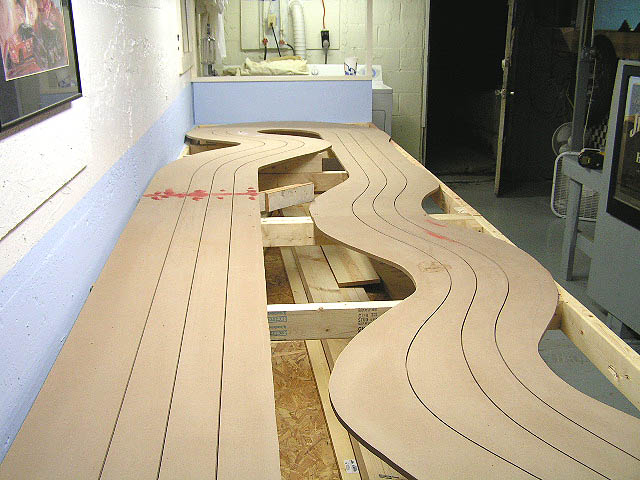
Another view. Yes, she is coming to life:)
It was finally time for paint! We used a flat latex and rolled 3 coats on the surface.
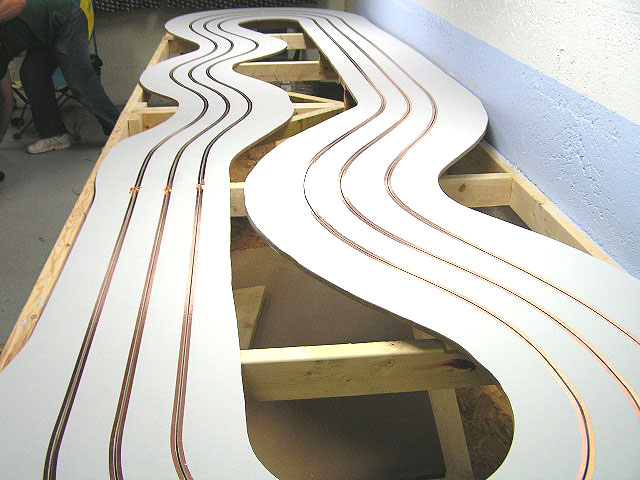
Time for taping. Our good friend Jim Troye stopped over to lend a hand. Not a huge task really, we had it done in under an hour.
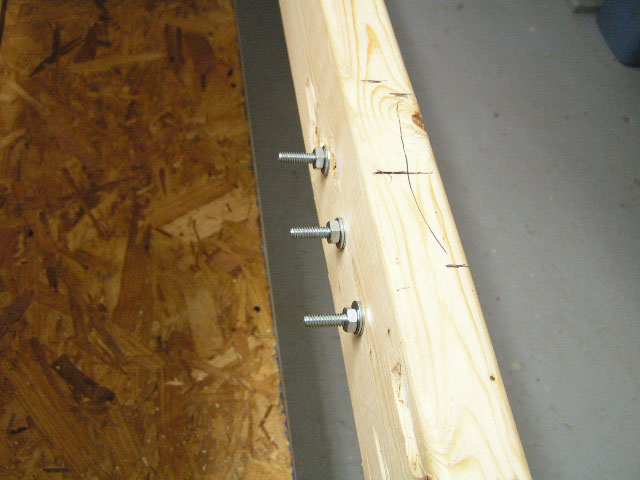
Before we went any further it was time for installing some of the wiring. Just the drivers station bolts were installed.
We used these as would install PARMA 25 ohm controllers and make them semi-permanent. Using round electrical ends fastened to the controller wires, we mounted them to the bolts with a second nut which made them nice and secure.
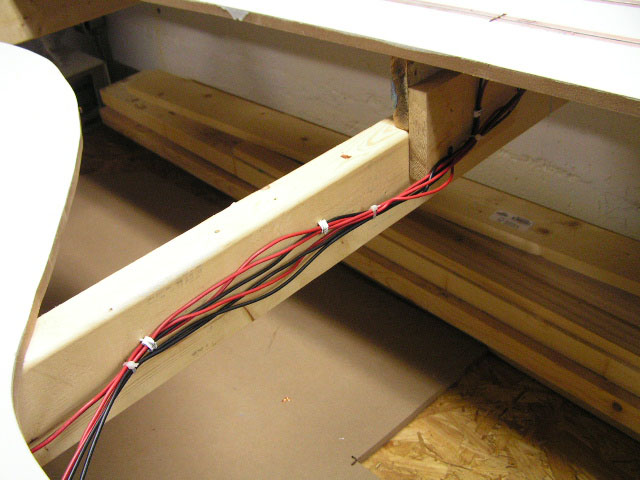
Wiring completed.

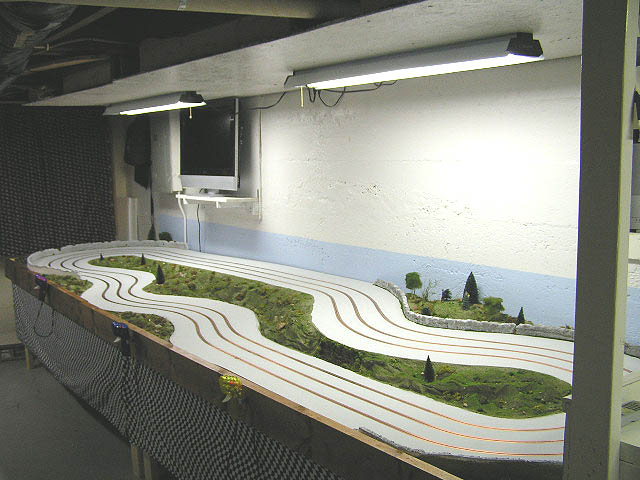
Want to know the downside of getting to this stage? You cannot help but want to play :) Scenery? Yeah, yeah...we will get it done?
In truth, testing at this stage was important. Since we had not installed any scenery, we could still tweak the elevations easily from underneath without harming anything. We tested for 2 days and did adjust it here and there. This step was critical for us in getting the action we wanted in all 3 lanes.
The photo above does not really show it well, but we created a slight off camber "dump" to this section. Looking at the photo there is about a 1/2 inch angle from the inside to the outside. The driver on the inside (Yellow Jag) really has to let off the pedal to get through without rolling it over. Talk about an equalizer. Anyone who has raced on it knows that this ended up being the most challenging section of the course.