
06/07/2009
06/07/2009
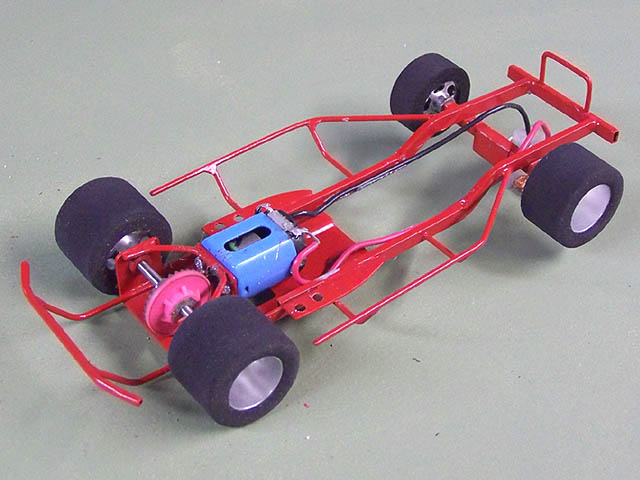
MODIFIED CHASSIS DETAILS
Start with using K&S brass rectangular tubing.
K&S 3/32 x 3/16 Rectangle Brass - Stock# 262
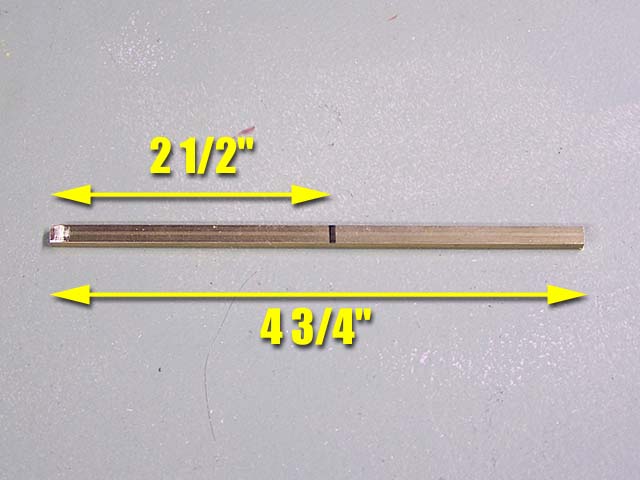
The sizes shown are a general guide. You have to look at your model kit and decide how far to go. But this size works well for most builds and can be adjusted later quite easily.
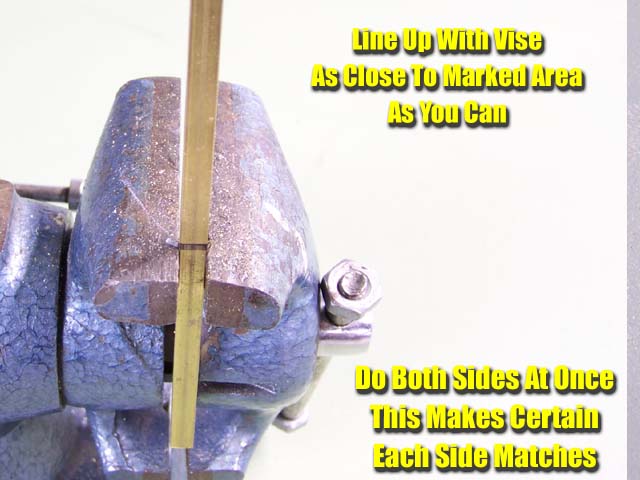
Just line it up as close as you can. It does not have to perfect.
This is like horseshoes and hand grenades. Close enough counts.
REMEMBER - Do both pieces at the same time. Much easier this way to make sure they are even.
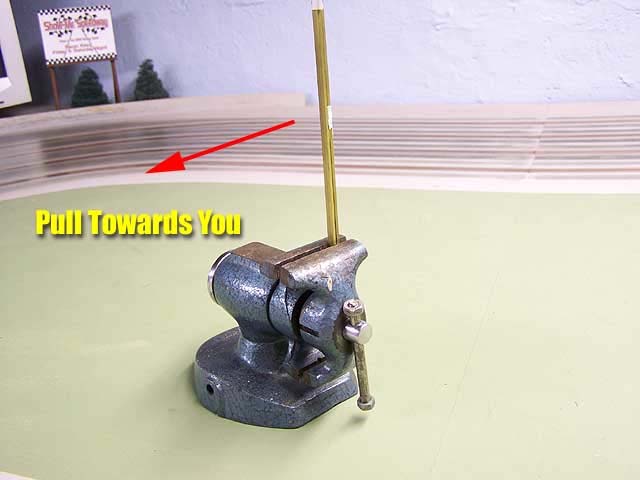
Ready? "PULL!"
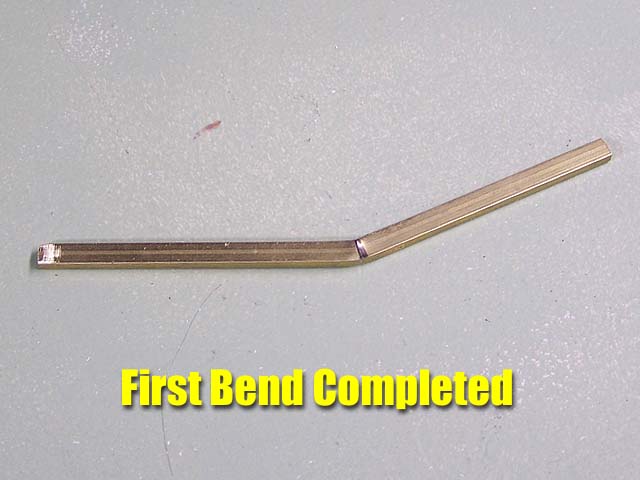
First bend completed.
The brass WILL wrinkle. It really does not bother me in the slightest. You could go through all the time to cut each bend, then refill with solder.
But it just is not worth it to me. Once sanded and painted, no one will ever know or care.
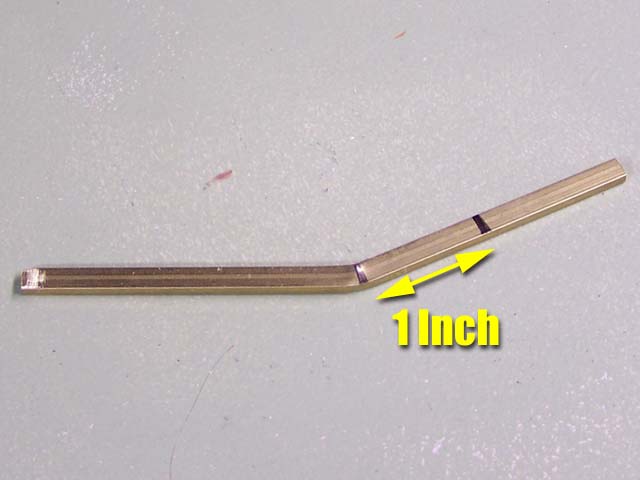
Time to mark the second bend. I use a general rule of 1 inch distance between the bends.
And there you have it. Just bend the ends so that they look parallel. This helps make sure your chassis rides evenly.
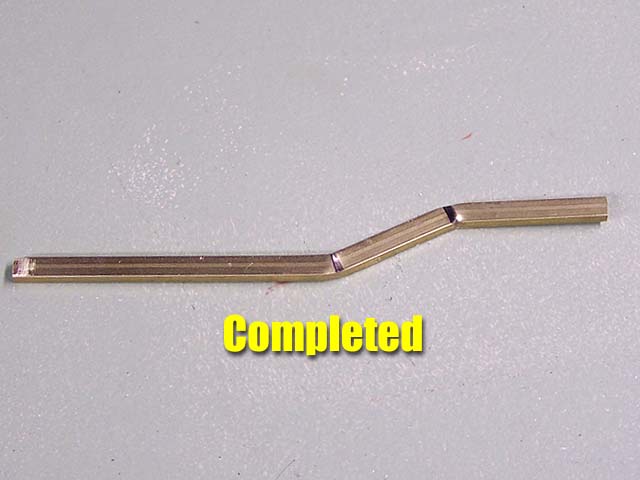
Think you cut it too short? Too long? No worries.
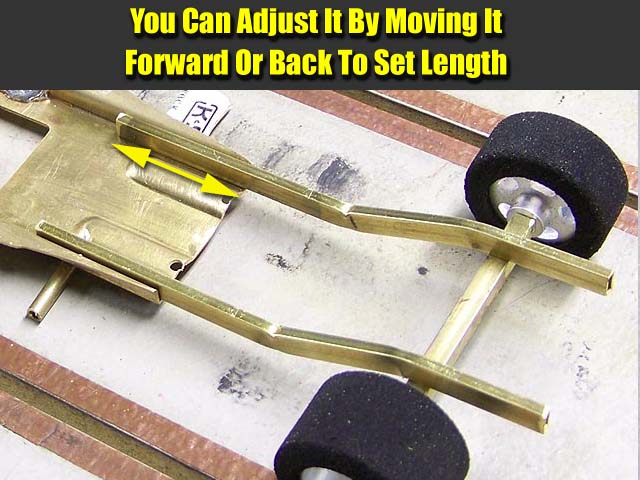
Look at the above photo. You can slide these rails to the front or back to adjust to the model you are building.
Then clamp and solder in place.
Copyright © 2009 HomeRacingWorld.com All Rights Reserved